Folded Book

Book folding is my absolute favourite craft that I have learnt over the years!These folded books are so versatile; I’ve made them as gifts with meaningful words for loved ones, Christmas decorations (I made a Christmas tree and put it on the desk at work – it got SO many comments!) and even table numbers for our wedding centrepieces. Once you’ve got the hang of making the template and the folding itself, it really is such a simple process to create something that really draws people’s attention.
The first time that I attempted making one of these was a gift for my now-husband a few years ago – he LOVED it but the process of actually figuring out the template and how to fold the book was not easy to decipher. There were a lot of posts out there trying to explain the steps but nothing quite in-depth enough to make it a streamlined first book folding experience.So, here’s my attempt at making this process as easy as possible for you!! The most important thing that you'll need for this project is the right kind of book. I tend to look for my book folding books in secondhand book shops – gravitating towards standard sized hardcover books that have at least 300 pages. The more pages the book has, the more defined the letters will be and the longer words you can fit in. You can also pick books to fold the have meaningful words associated with them! For all the Harry Potter nerds out there, here's one I made using the Order of the Phoenix book in hardcover:

We're going to start with creating your template – potentially the most tricky part of the process. I'm relatively tech-savvy, but figuring out how to make this template took me a good few hours of tearing my hair out, so I'm going to break it down into simple steps for you as best as I can.
Creating Your Template
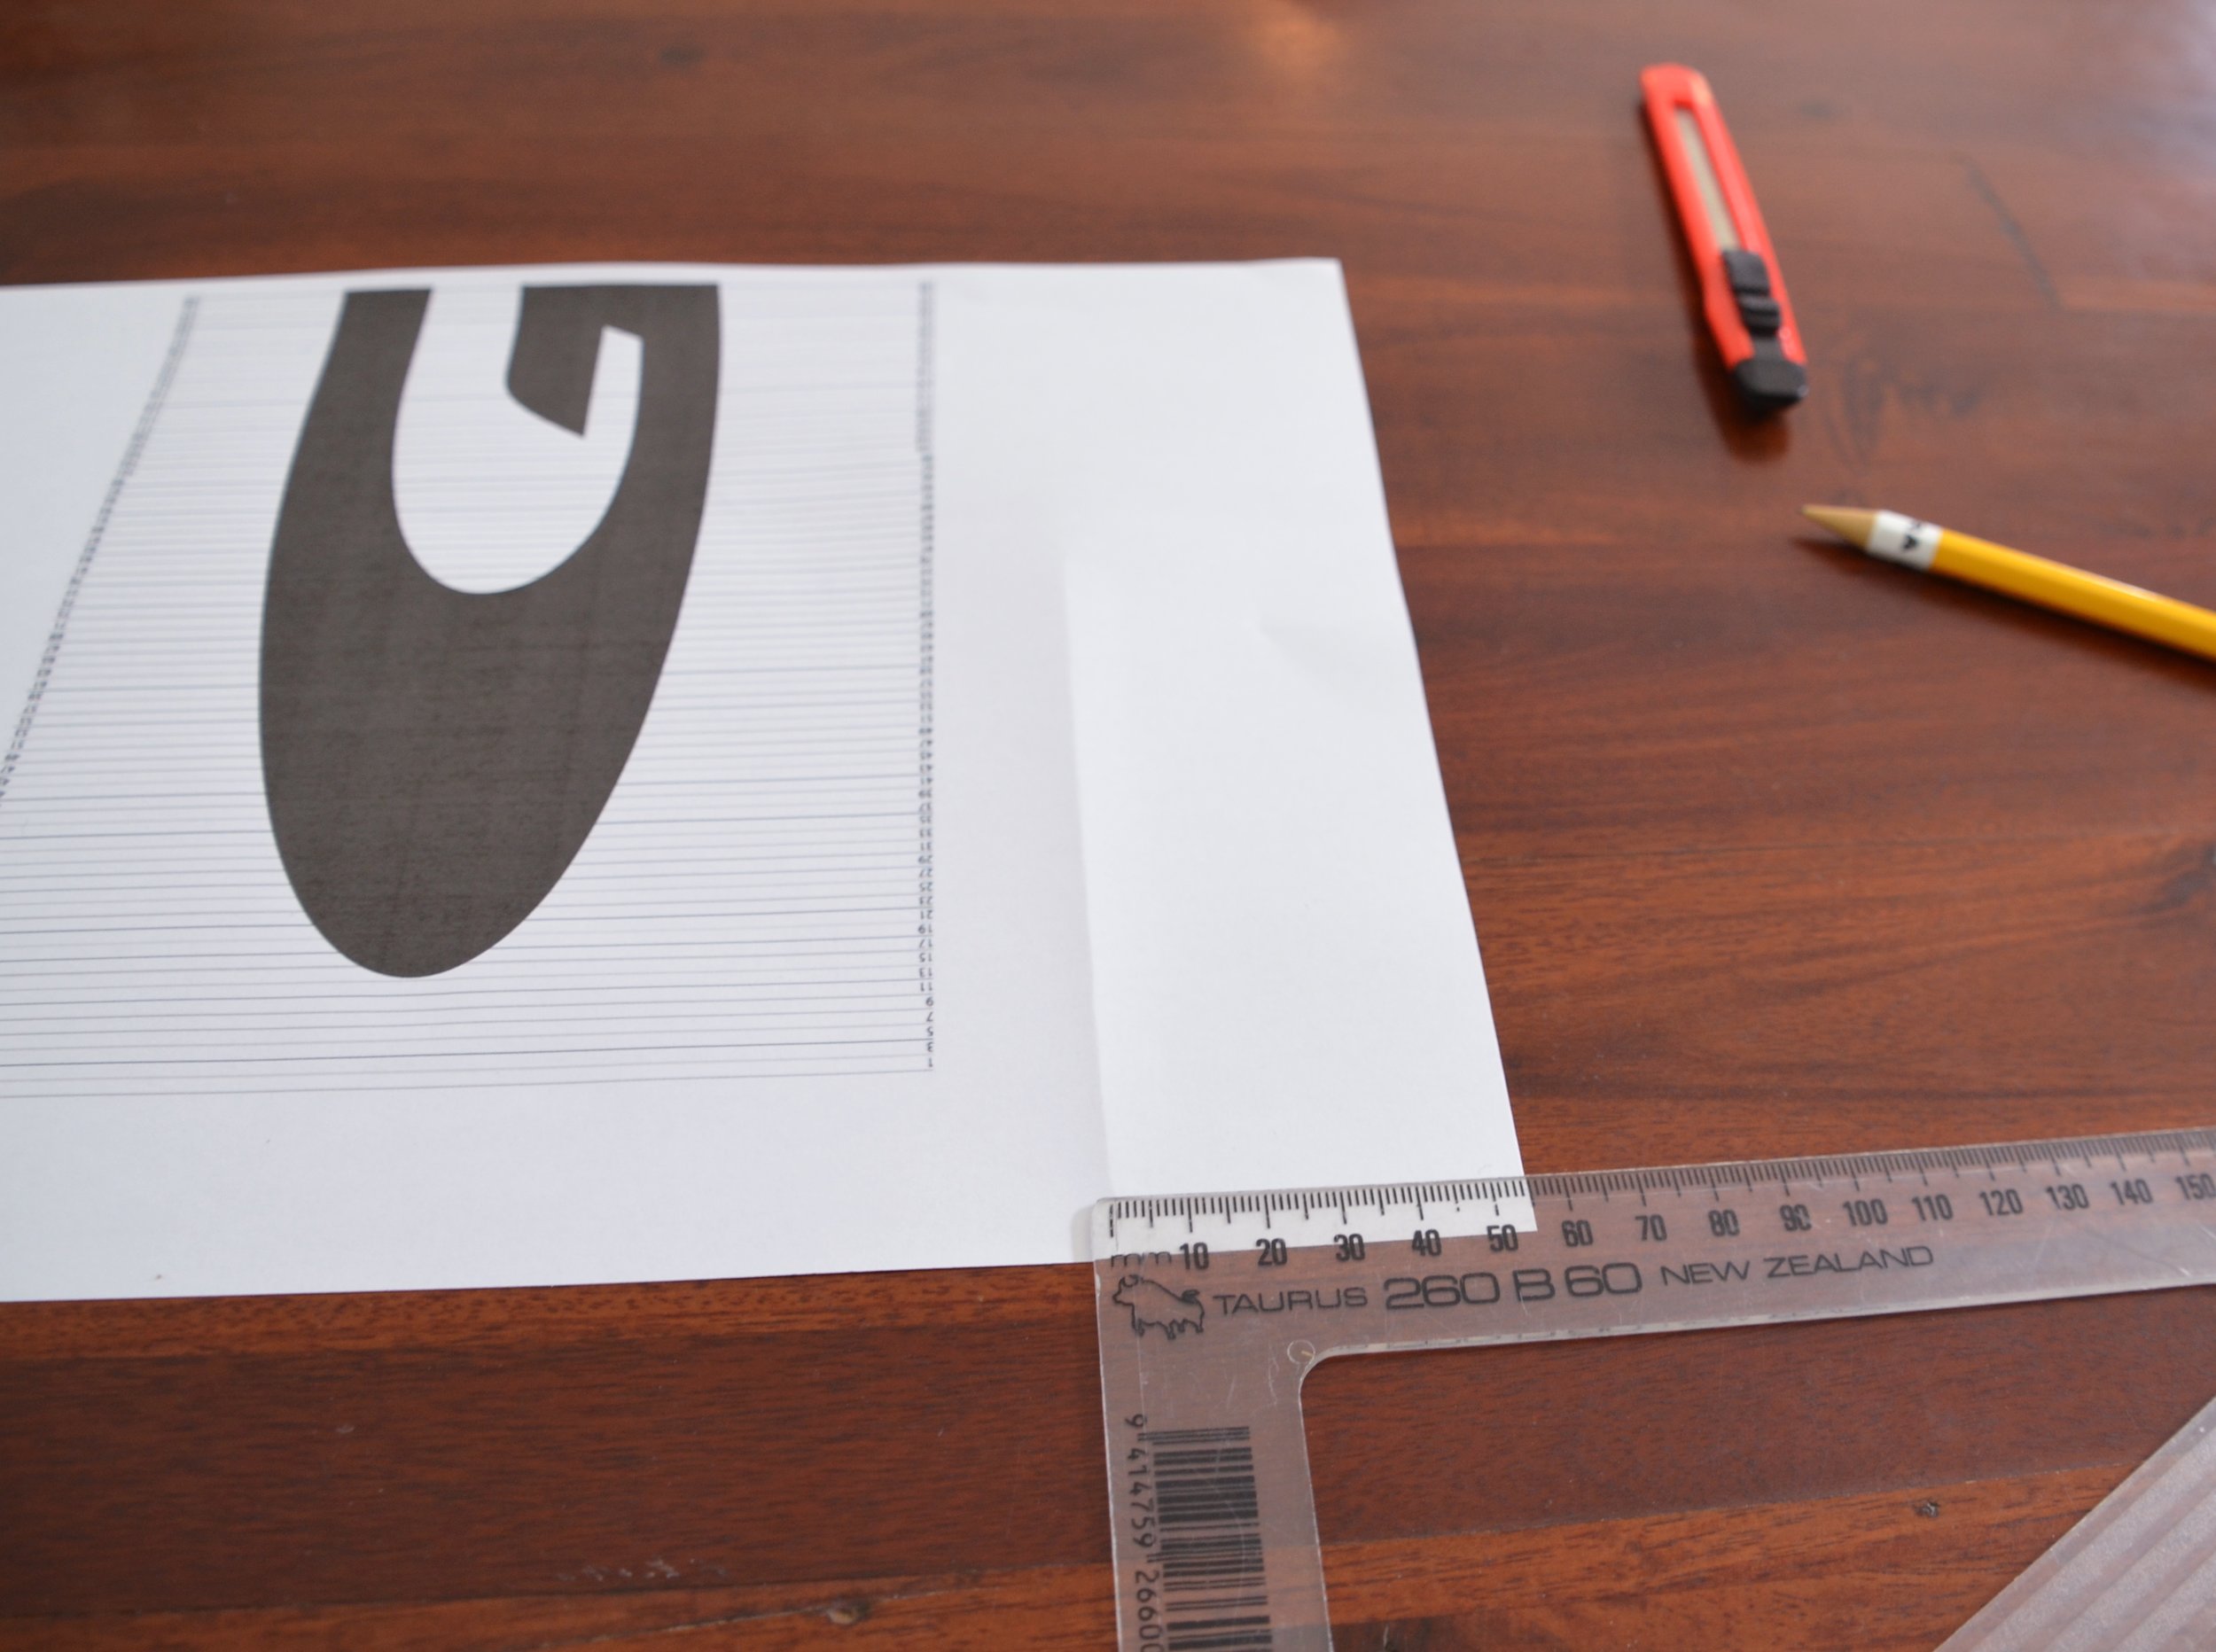
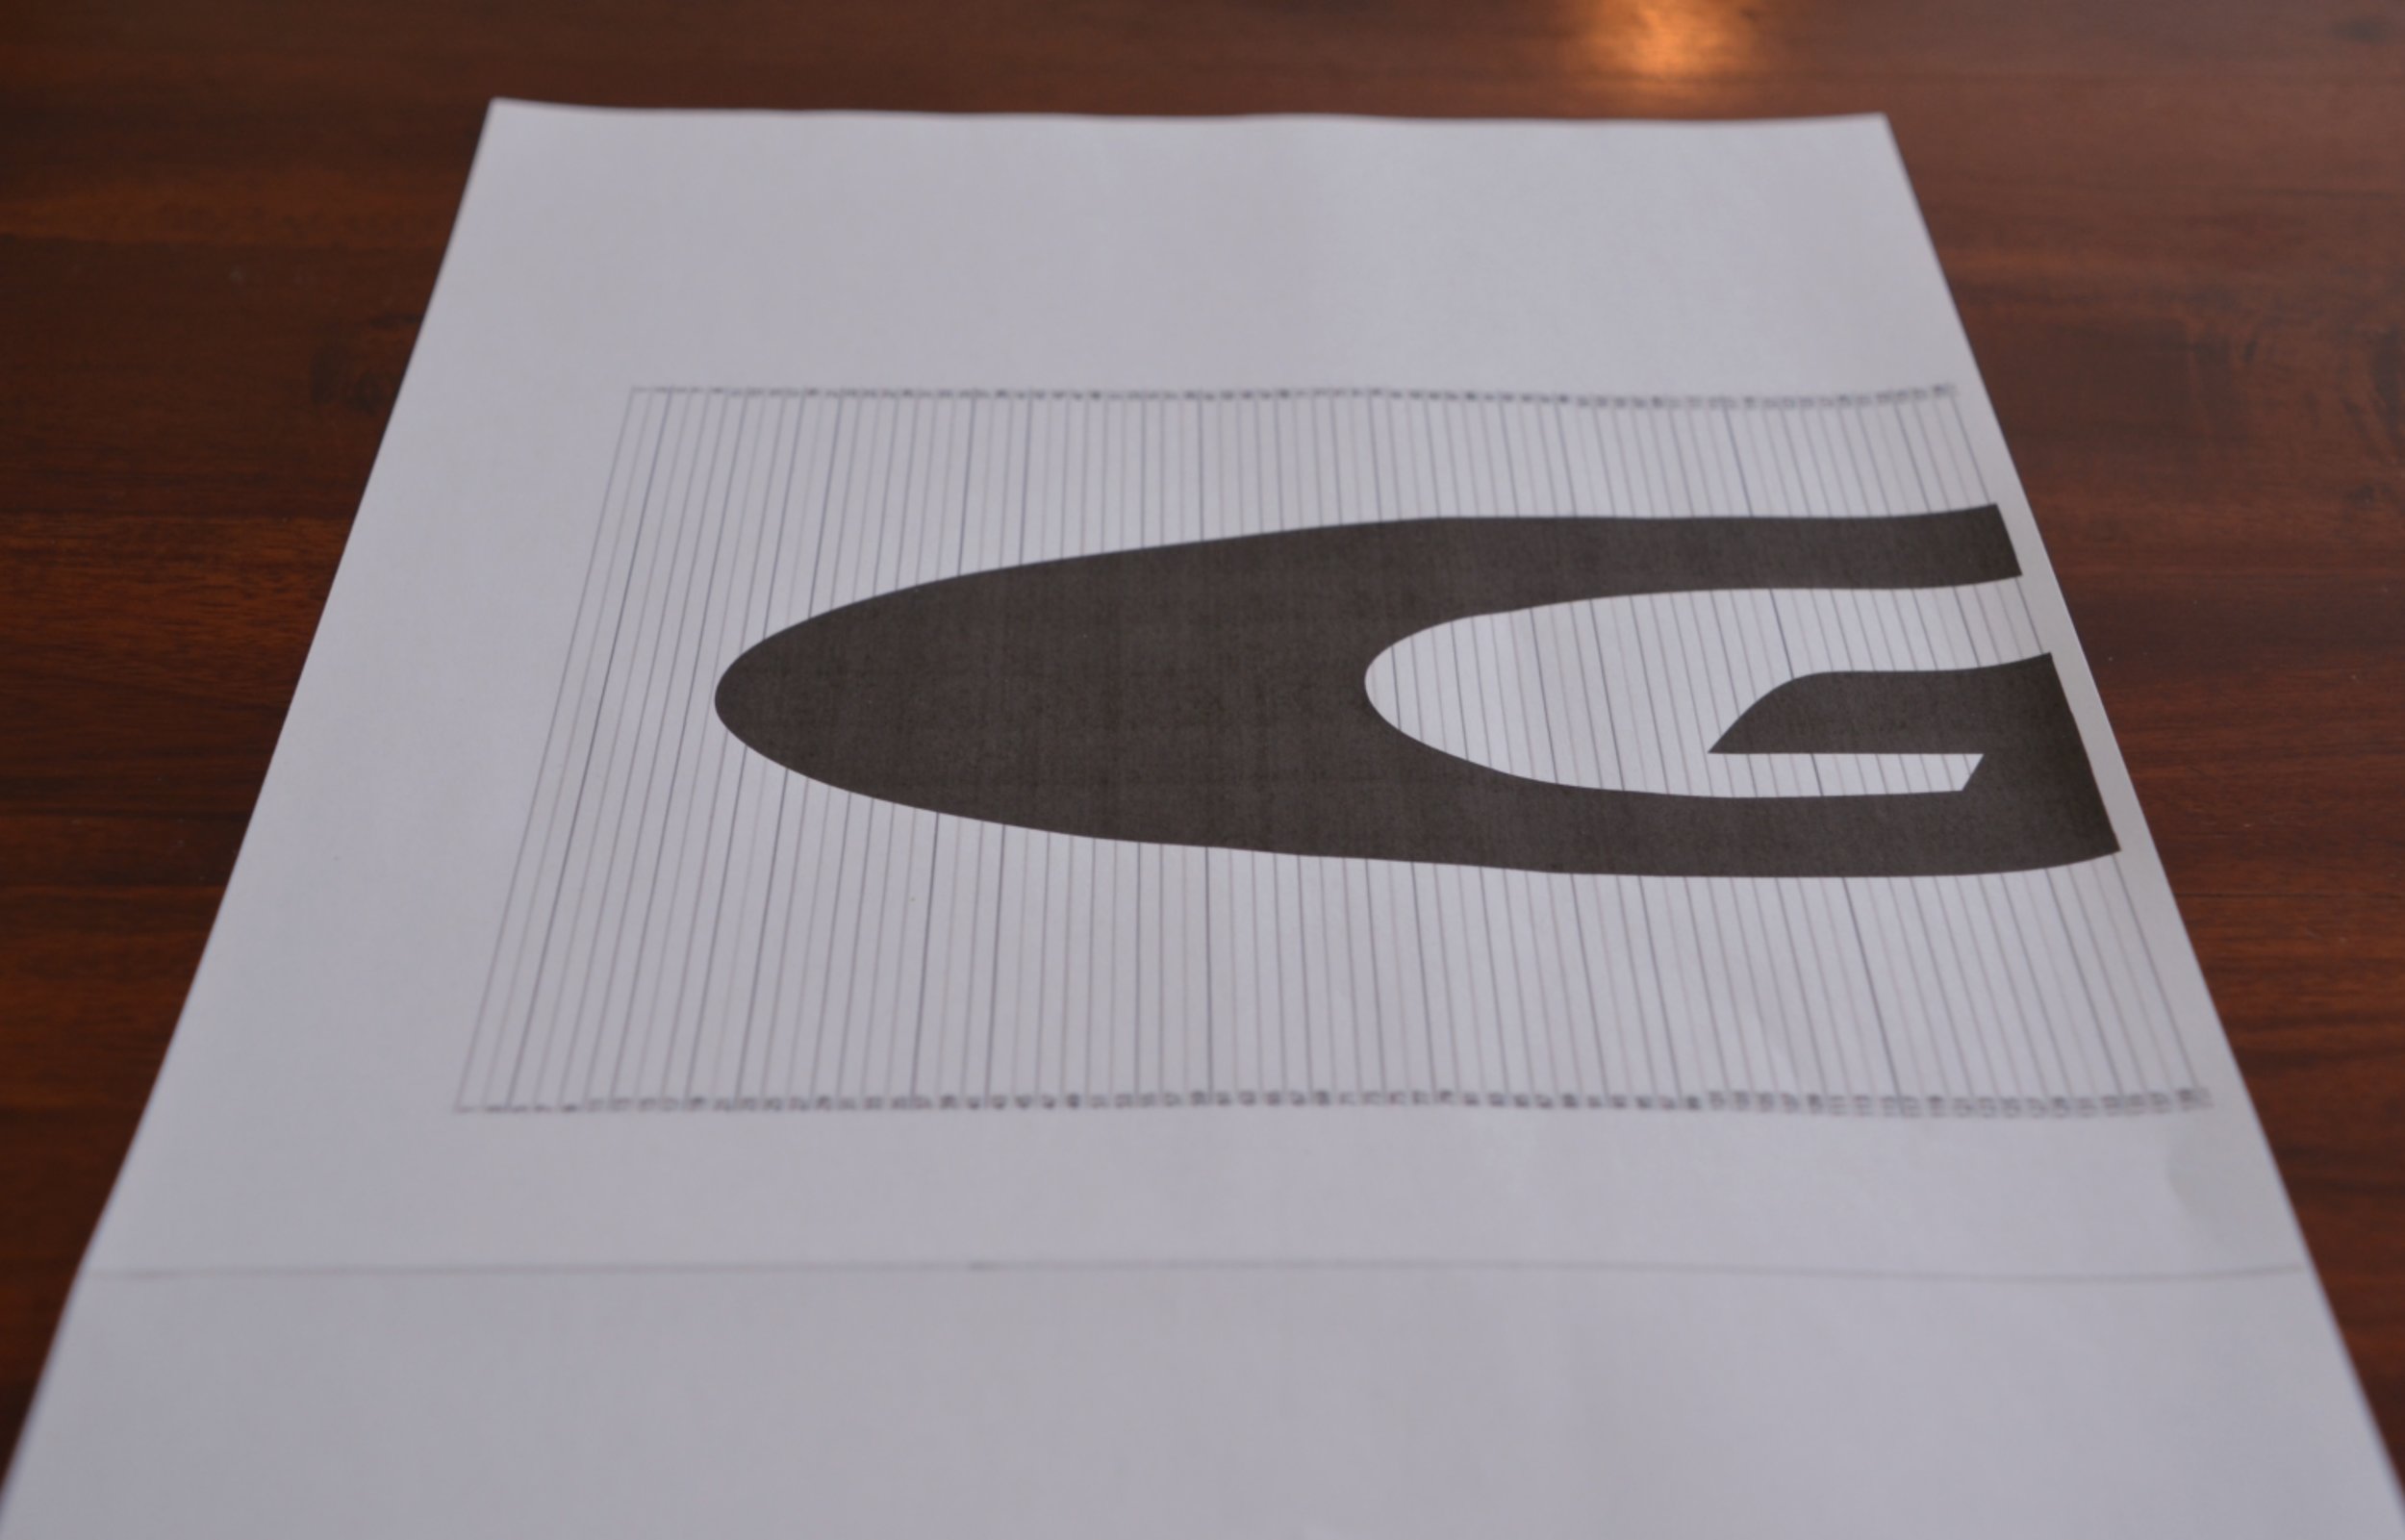
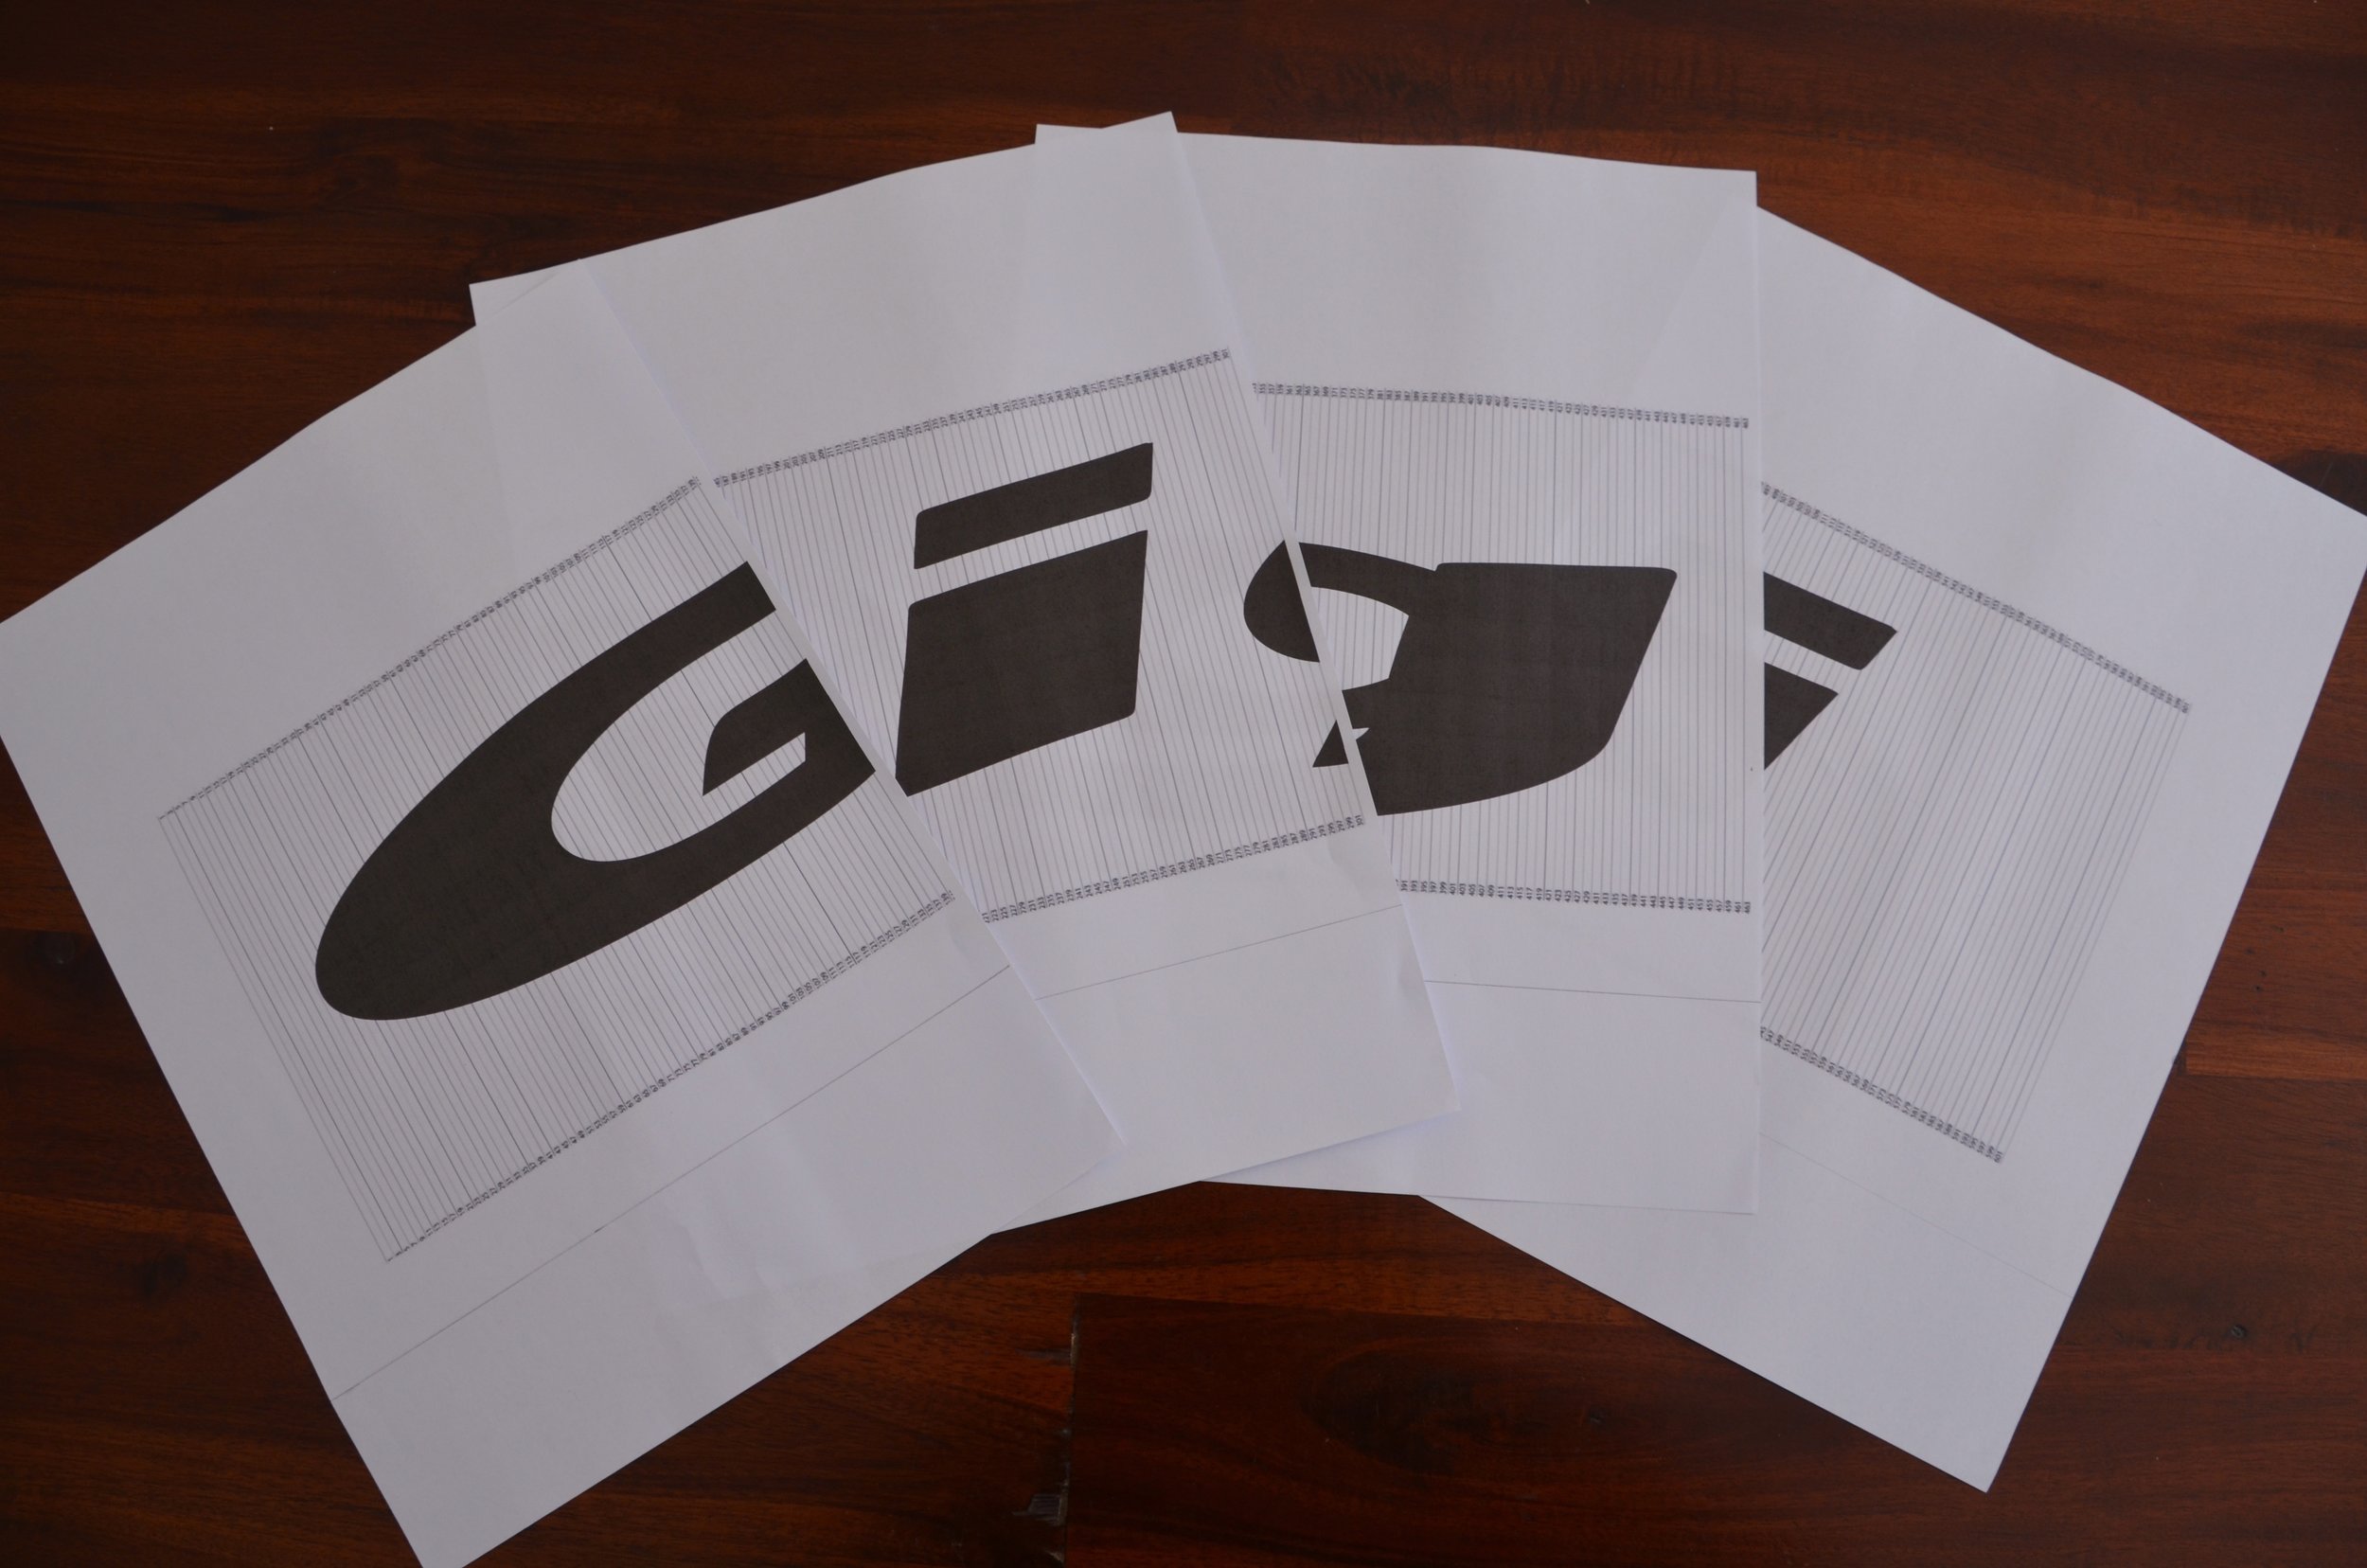
The program that I use to create my template is called Gravit - and it's free! Once Gravit is open, File -> Import -> Place Image (use the image below).

Hit the text button (T) and use the cursor to drag your text space to fit the template. Write your word in the space, and choose the font that you would like your folded book to display.

Once you have done this, you will need to adjust where the text sits on the template, so that the start of the words sits at the page that you would like to start folding at, and the end of the word sits at the page where you will end folding. Additionally, the top and bottom of the words need to stay within the boundaries of the template.

You can either fold from the first page to the last, or leave a few pages at either end.
Once you have done this, export the file as a PDF (File -> Export -> PDF Document) and print this off across multiple pages so that the height of the template on the page is roughly equivalent to the height of the book.

Now that the template is done, you can start preparing the book for folding! Other than the book and the template, you will need access to a computer with internet to make the template, as well as a printer, ruler, pencil and craft knife.

Folding Your Book
Firstly, line up a page of your template with the book so that the lettering is sitting approximately in the middle of the book.

Use the ruler to figure out how far away the edge of the paper is sitting from the edge of the book, and draw a line at this distance on each of the pieces of template paper – this will show you where to line up the template with your book and ensure that the word is translated correctly into your folding.
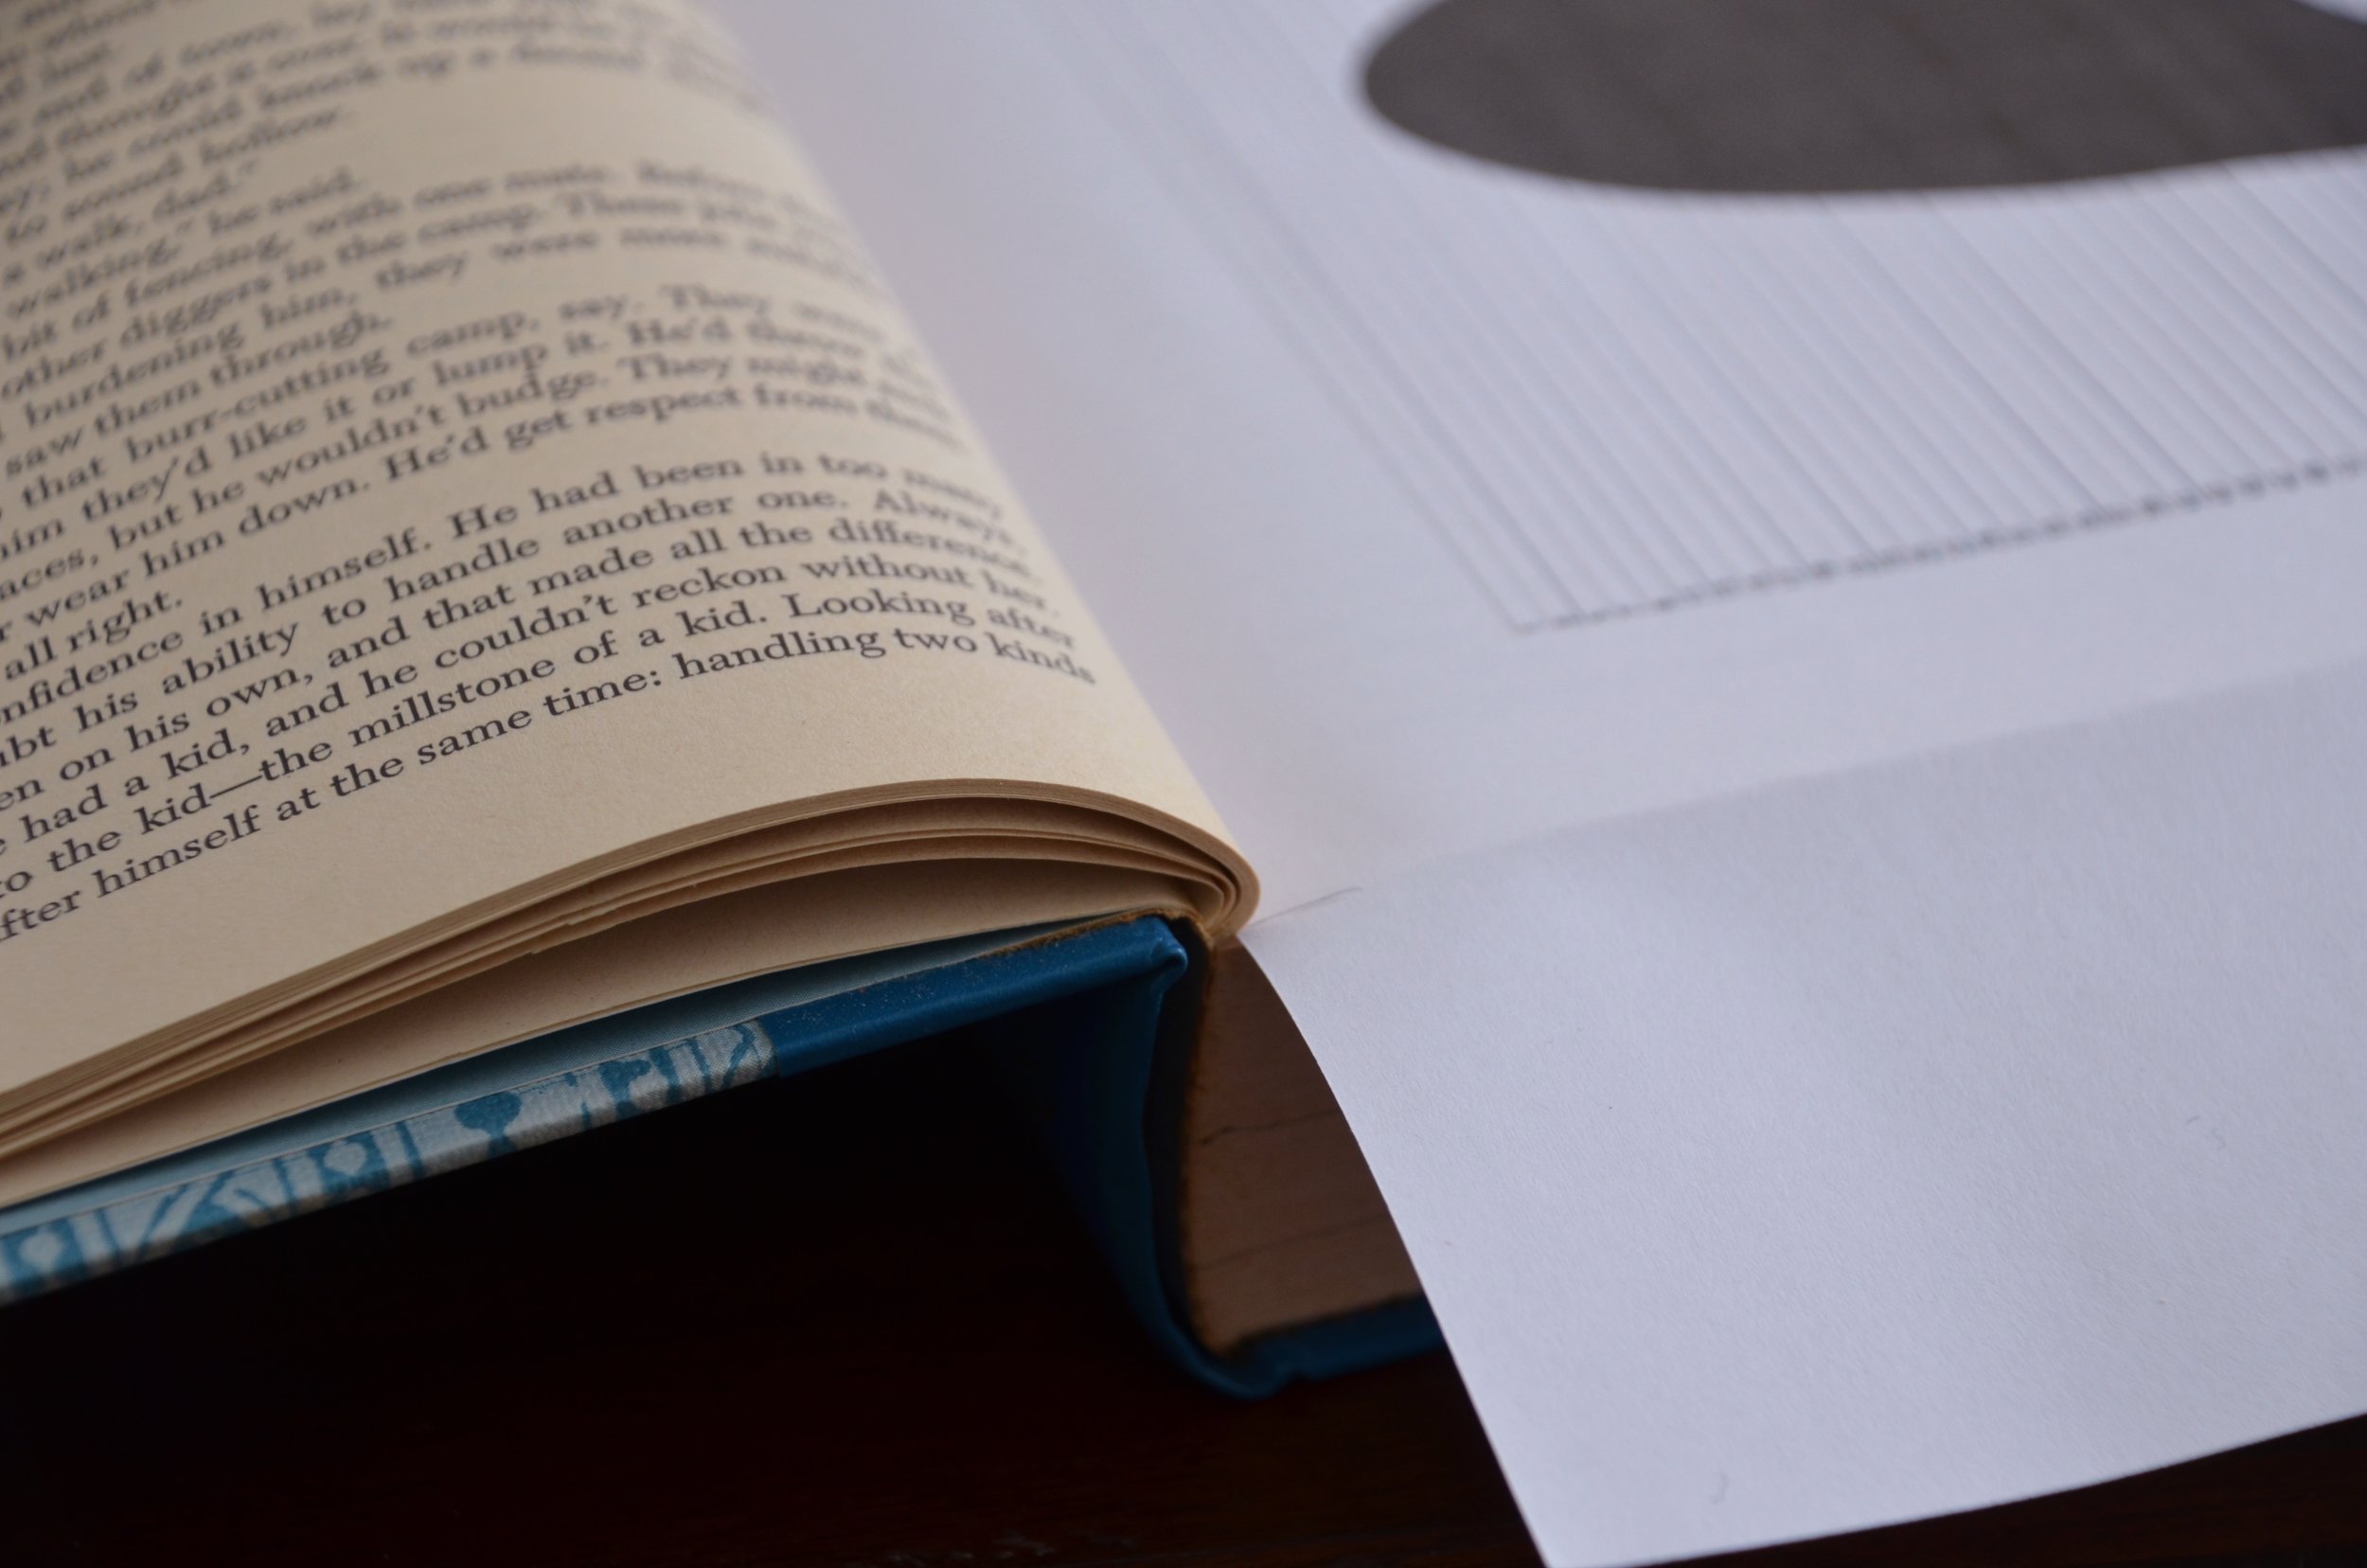
Now the template is ready, we need to prep the book! Start by using the ruler to draw a line across the spine of the book, across the pages approximately 3-4cm from the spine. Do this at both ends of the book.
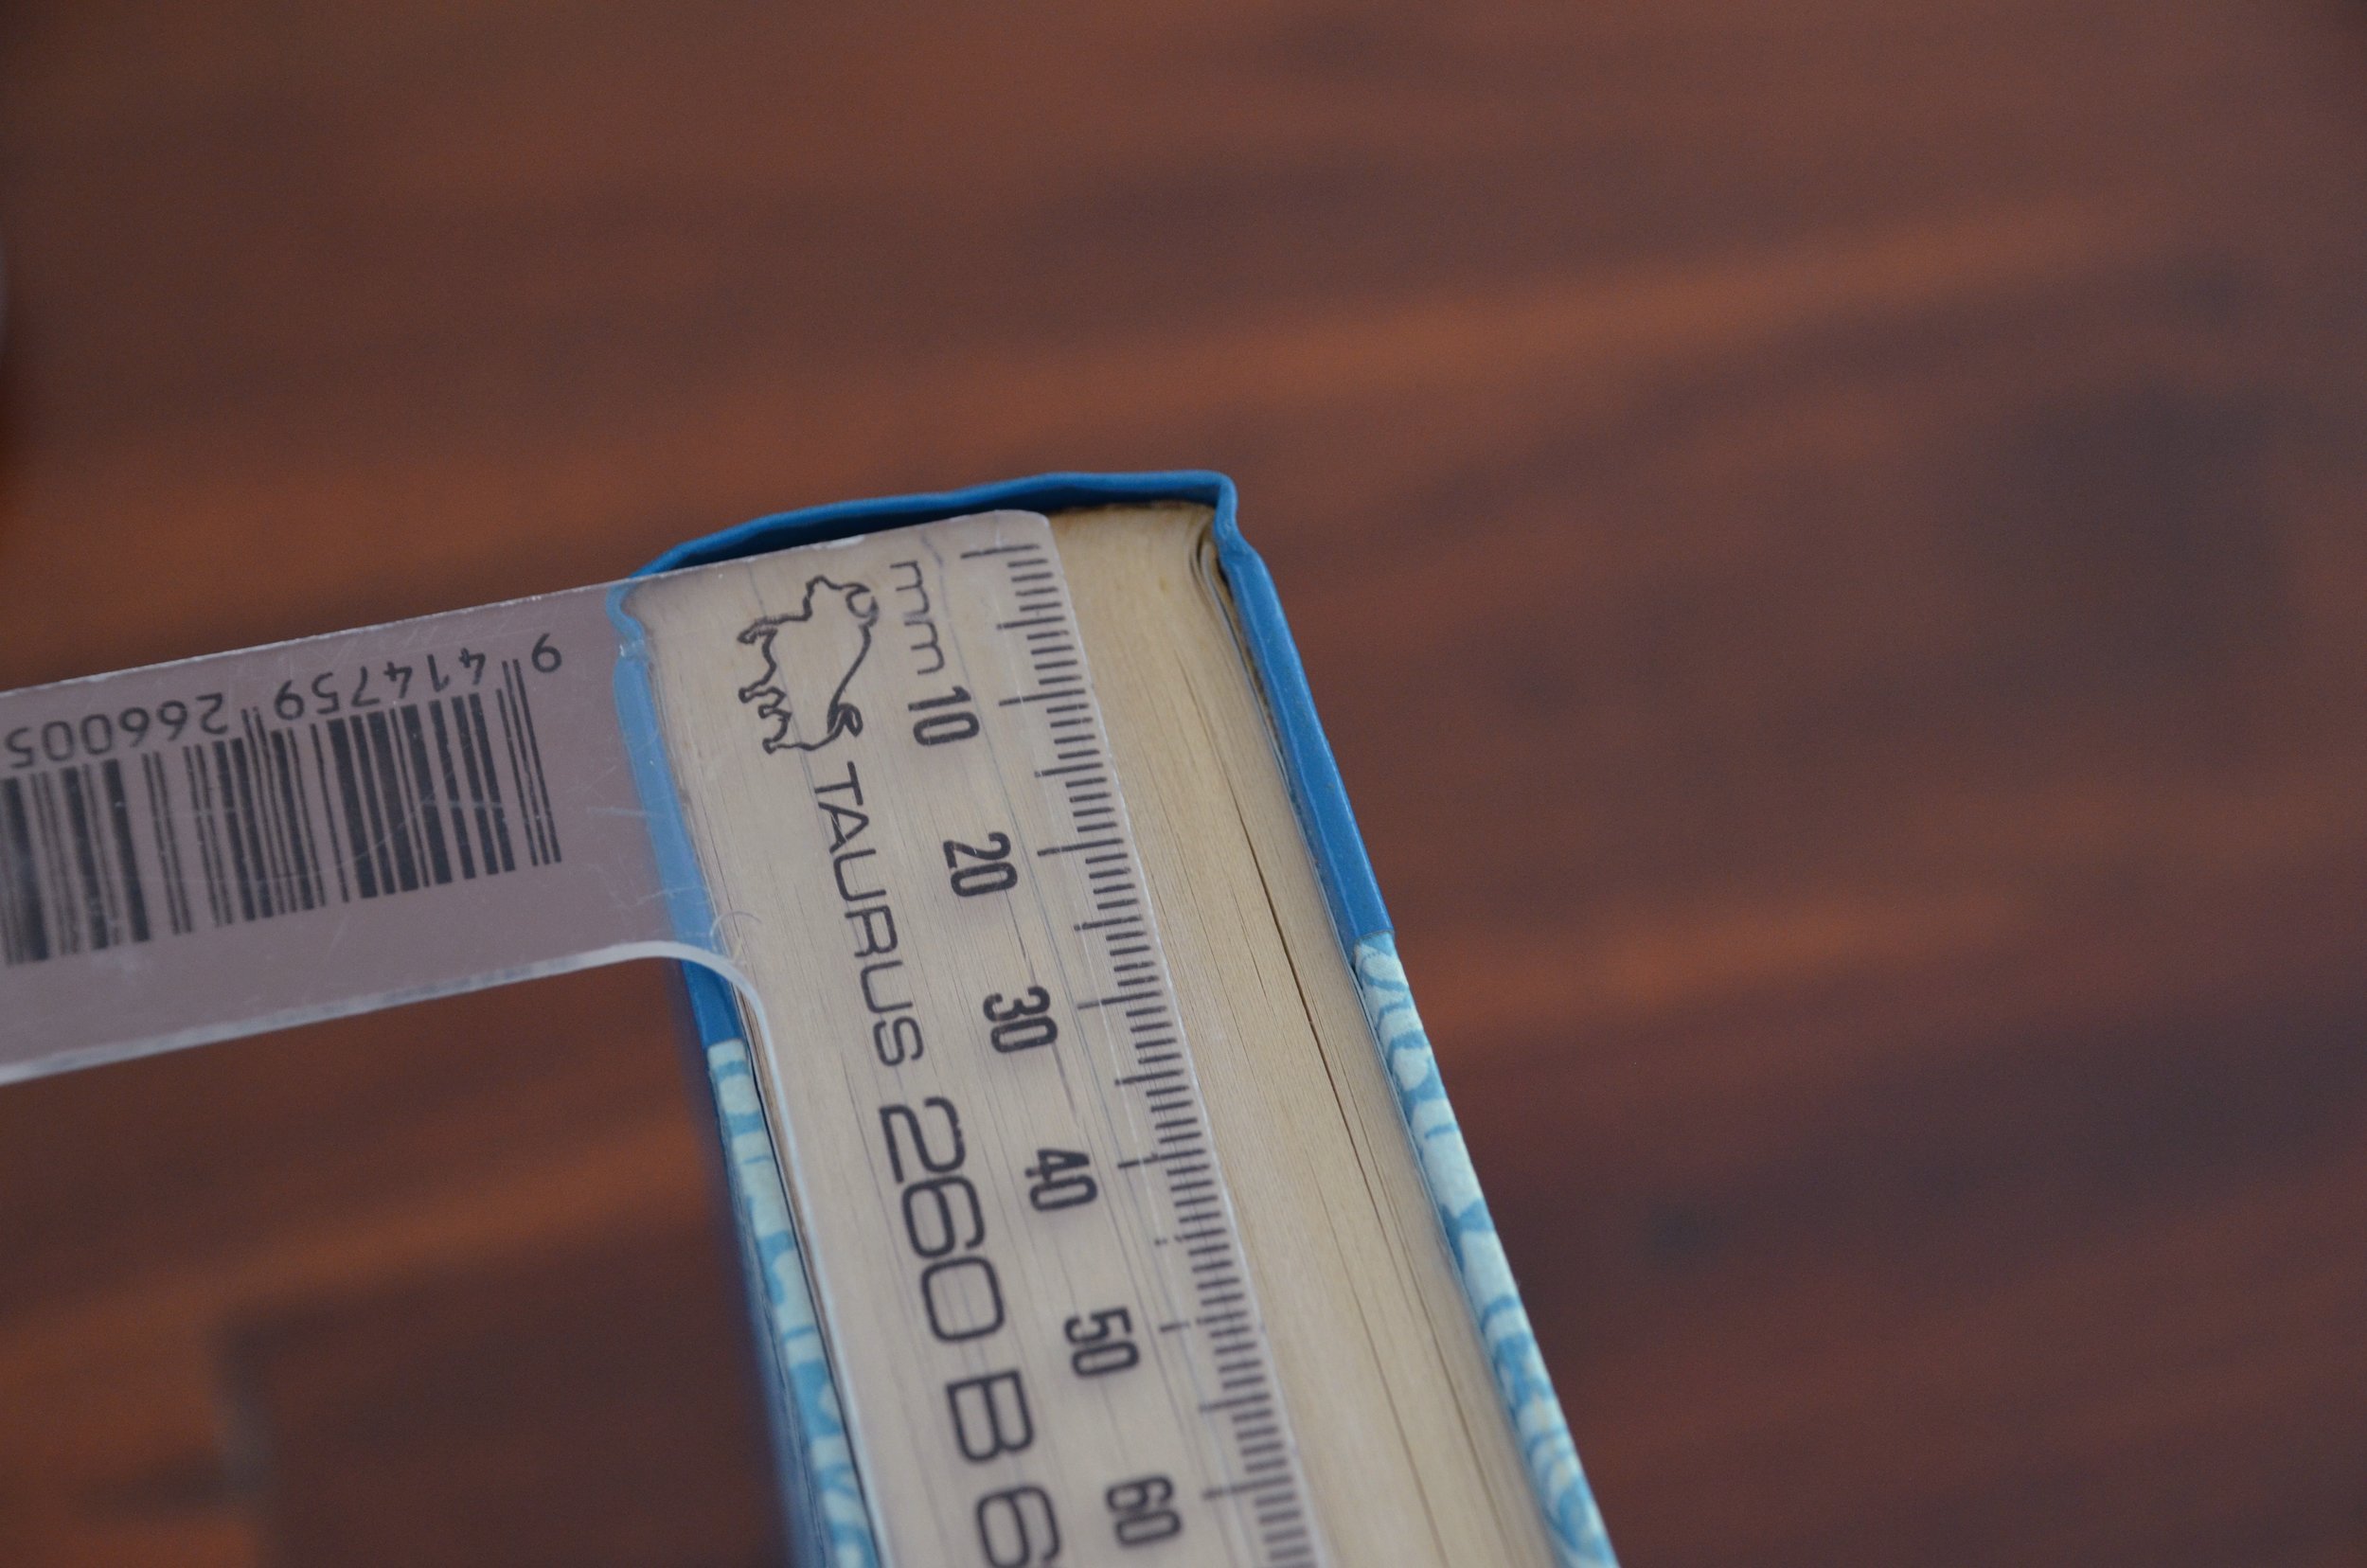

Next, along both these lines create a groove with the craft knife, creating a cut in all of the pages only a couple of mm deep.

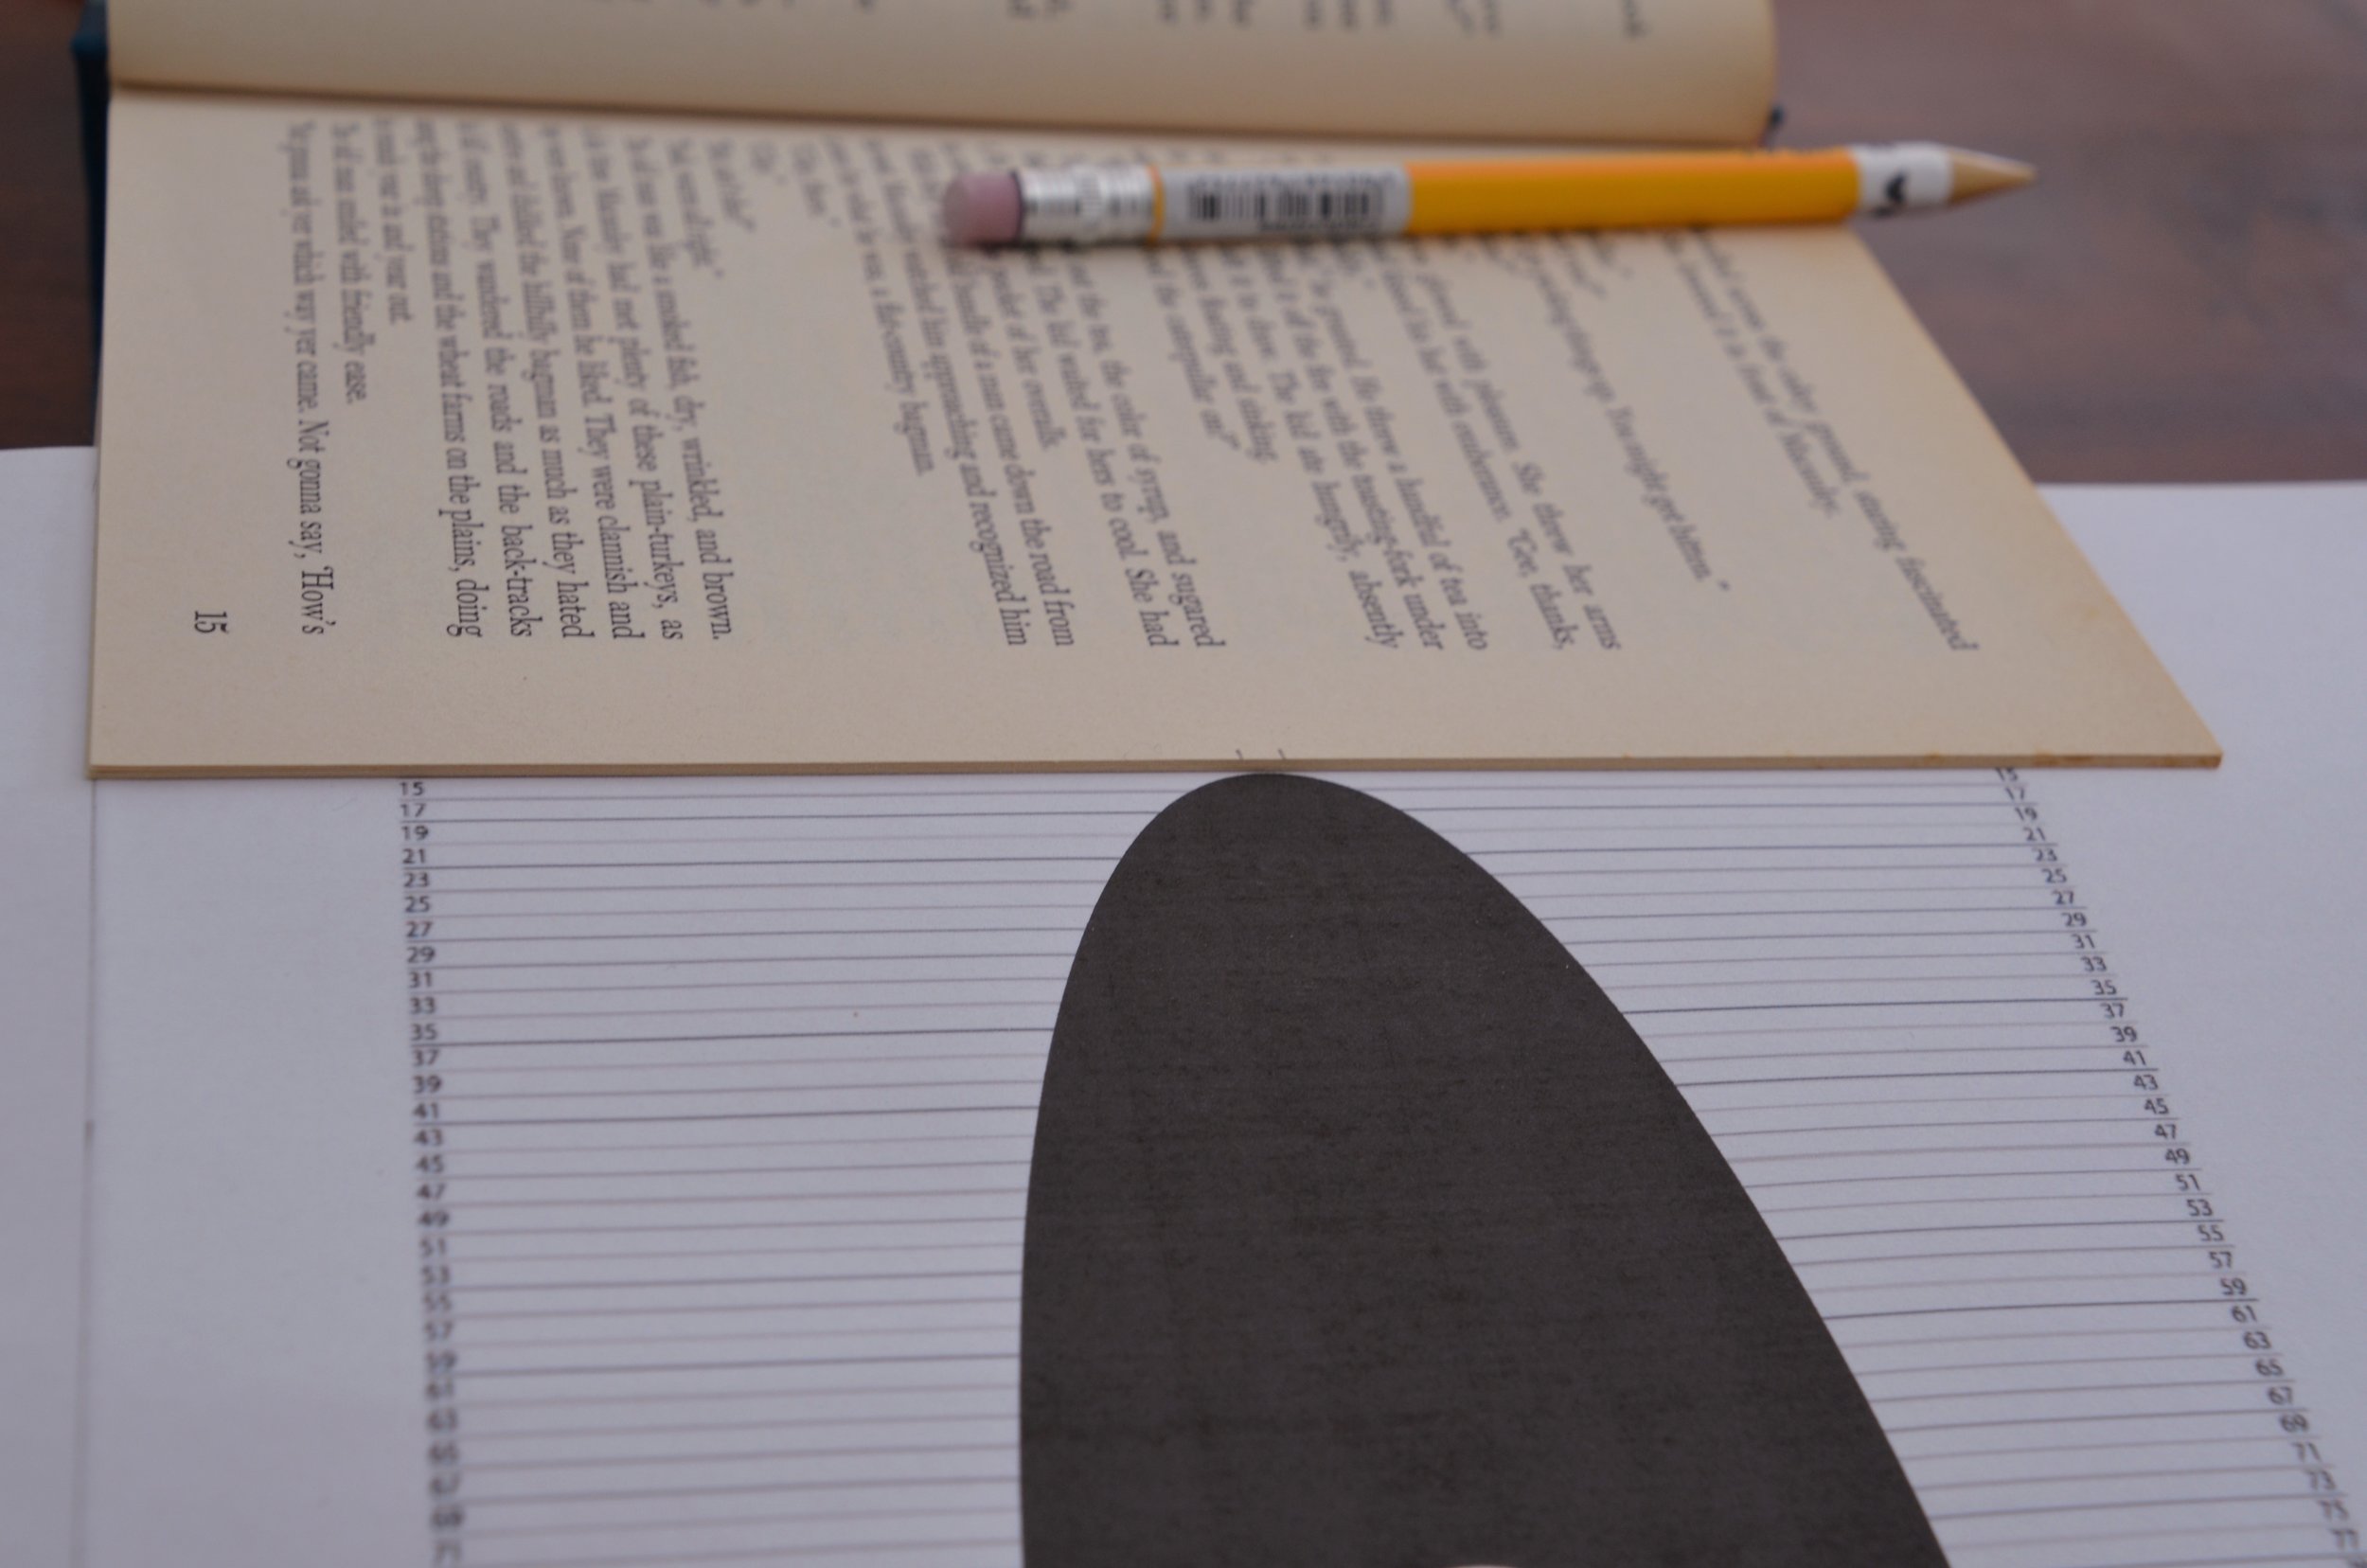
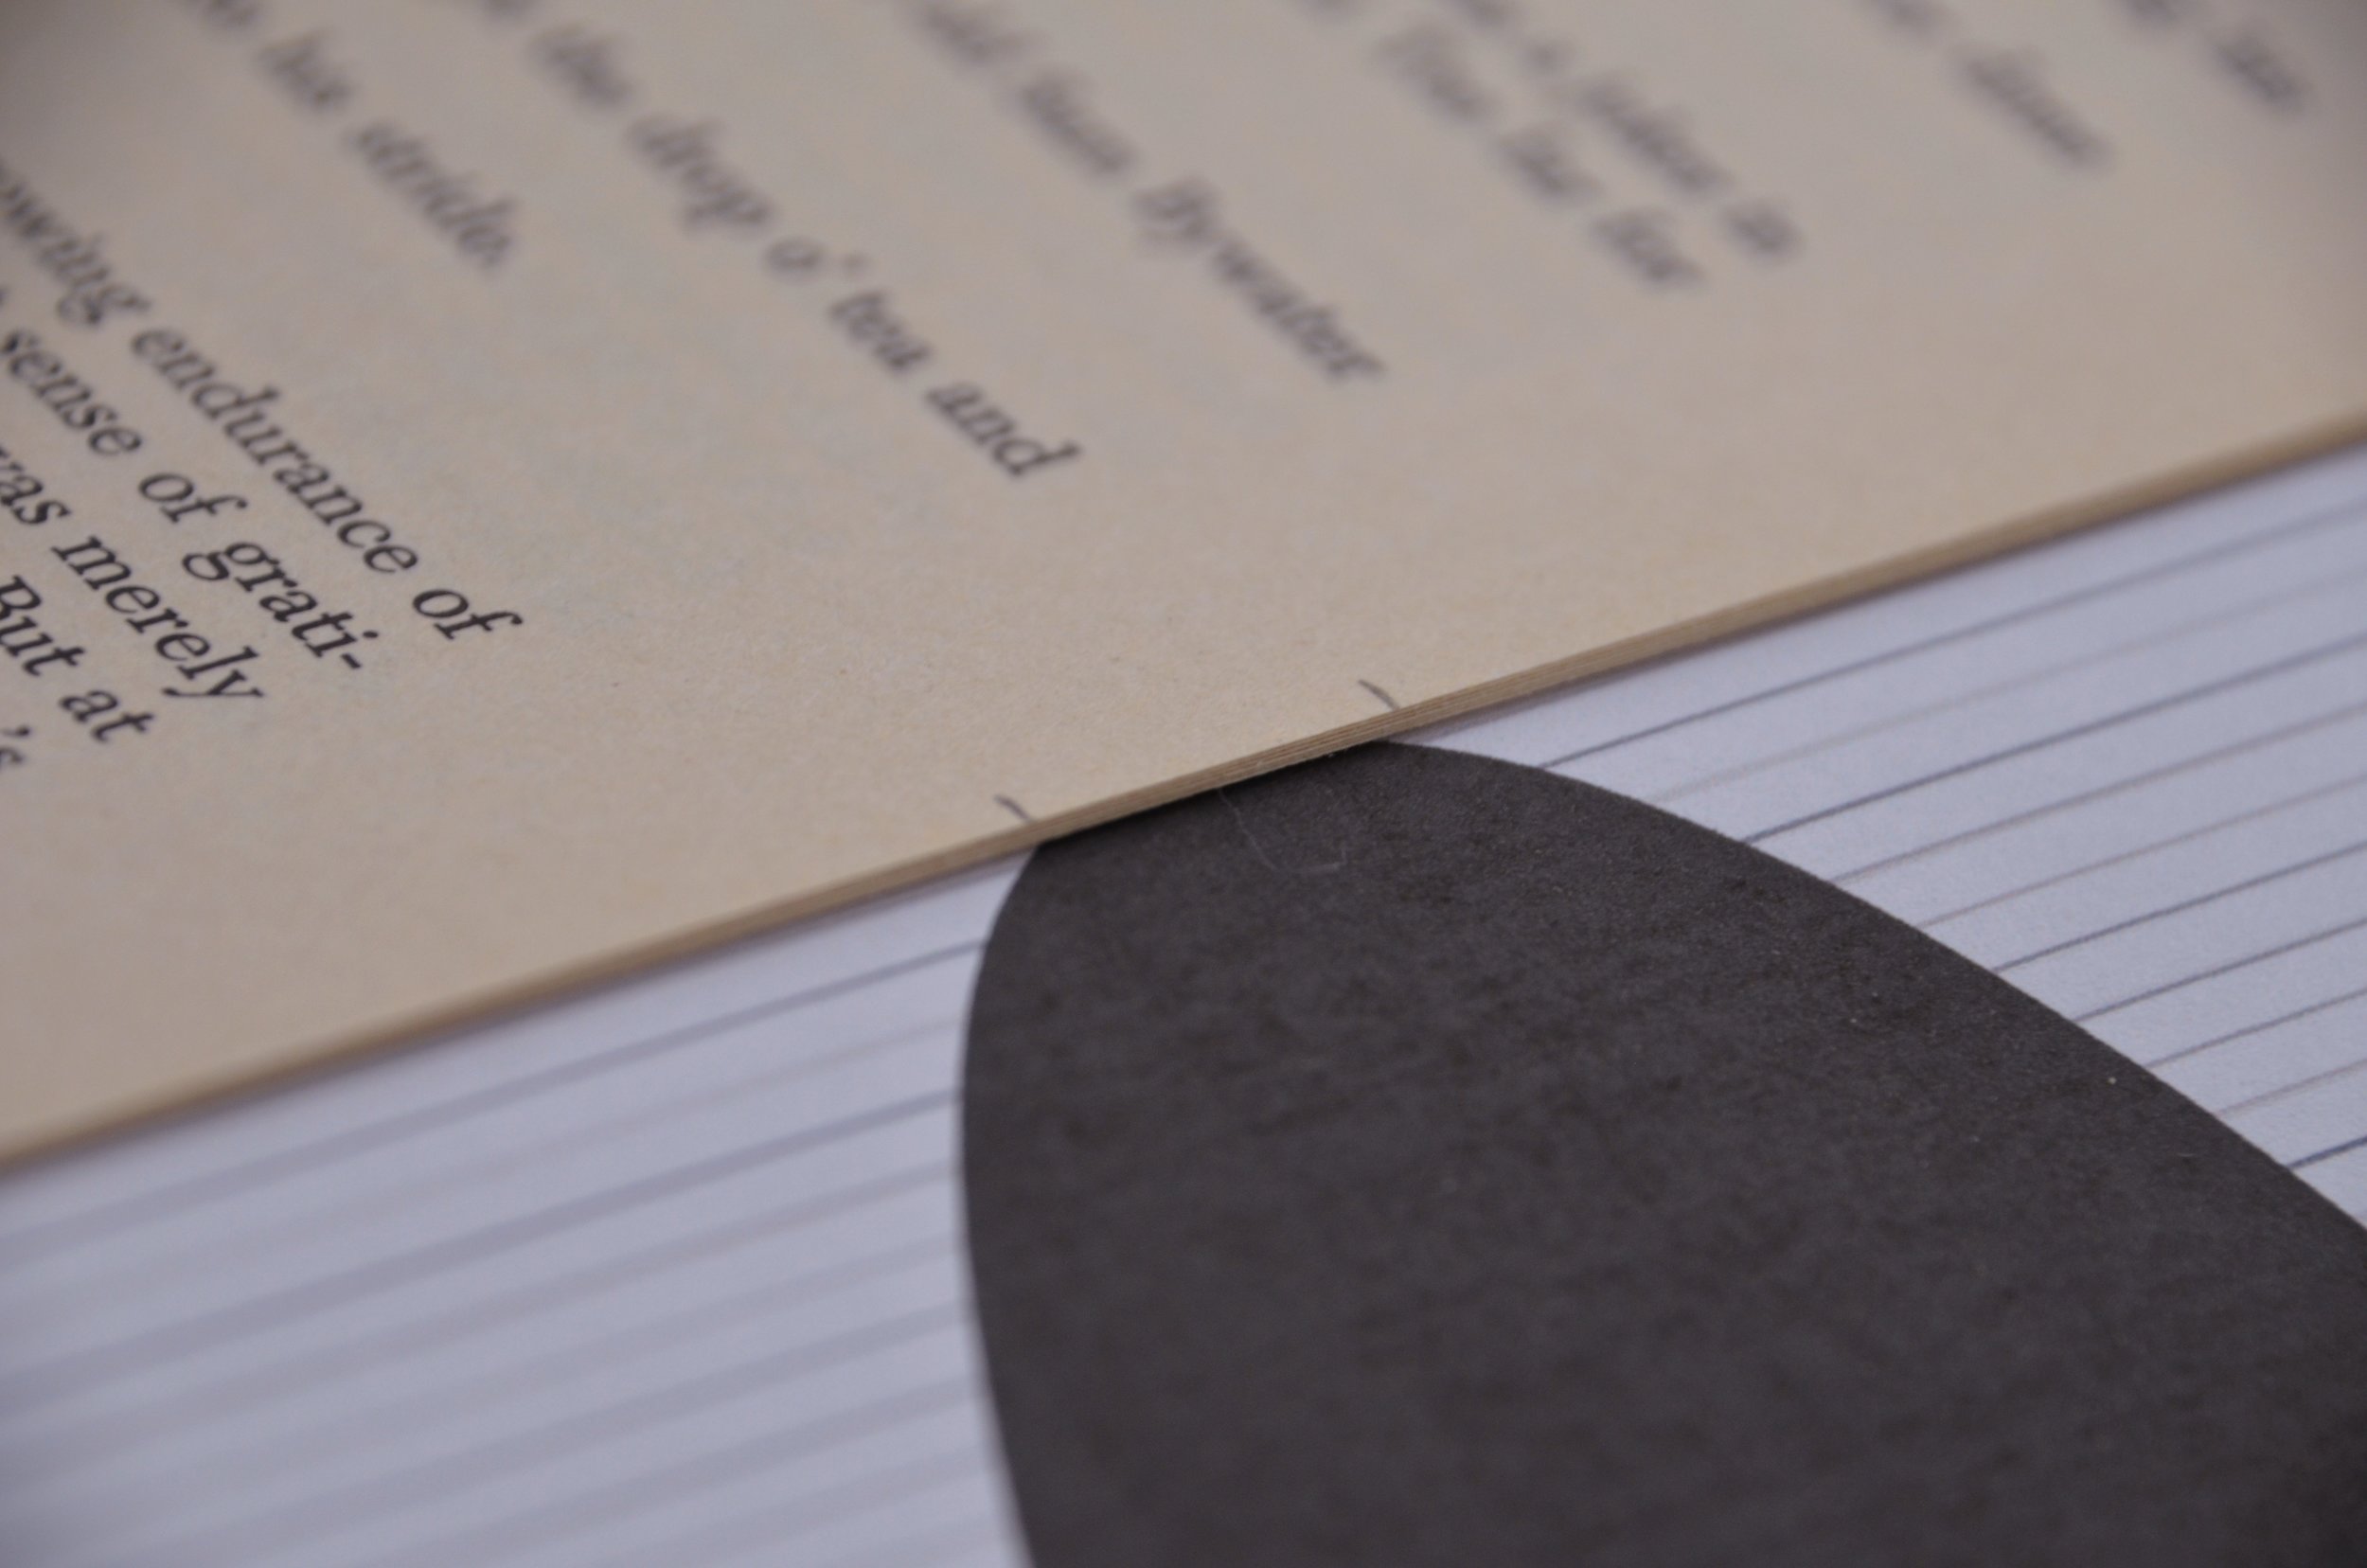
The next step is to mark the pages with the template, so we know where to fold. Line up the first page of your template with the book, making sure that the edge of the page is lined up with the corresponding number of the template. You should be able to see where the letter of the template falls in relation to the book.
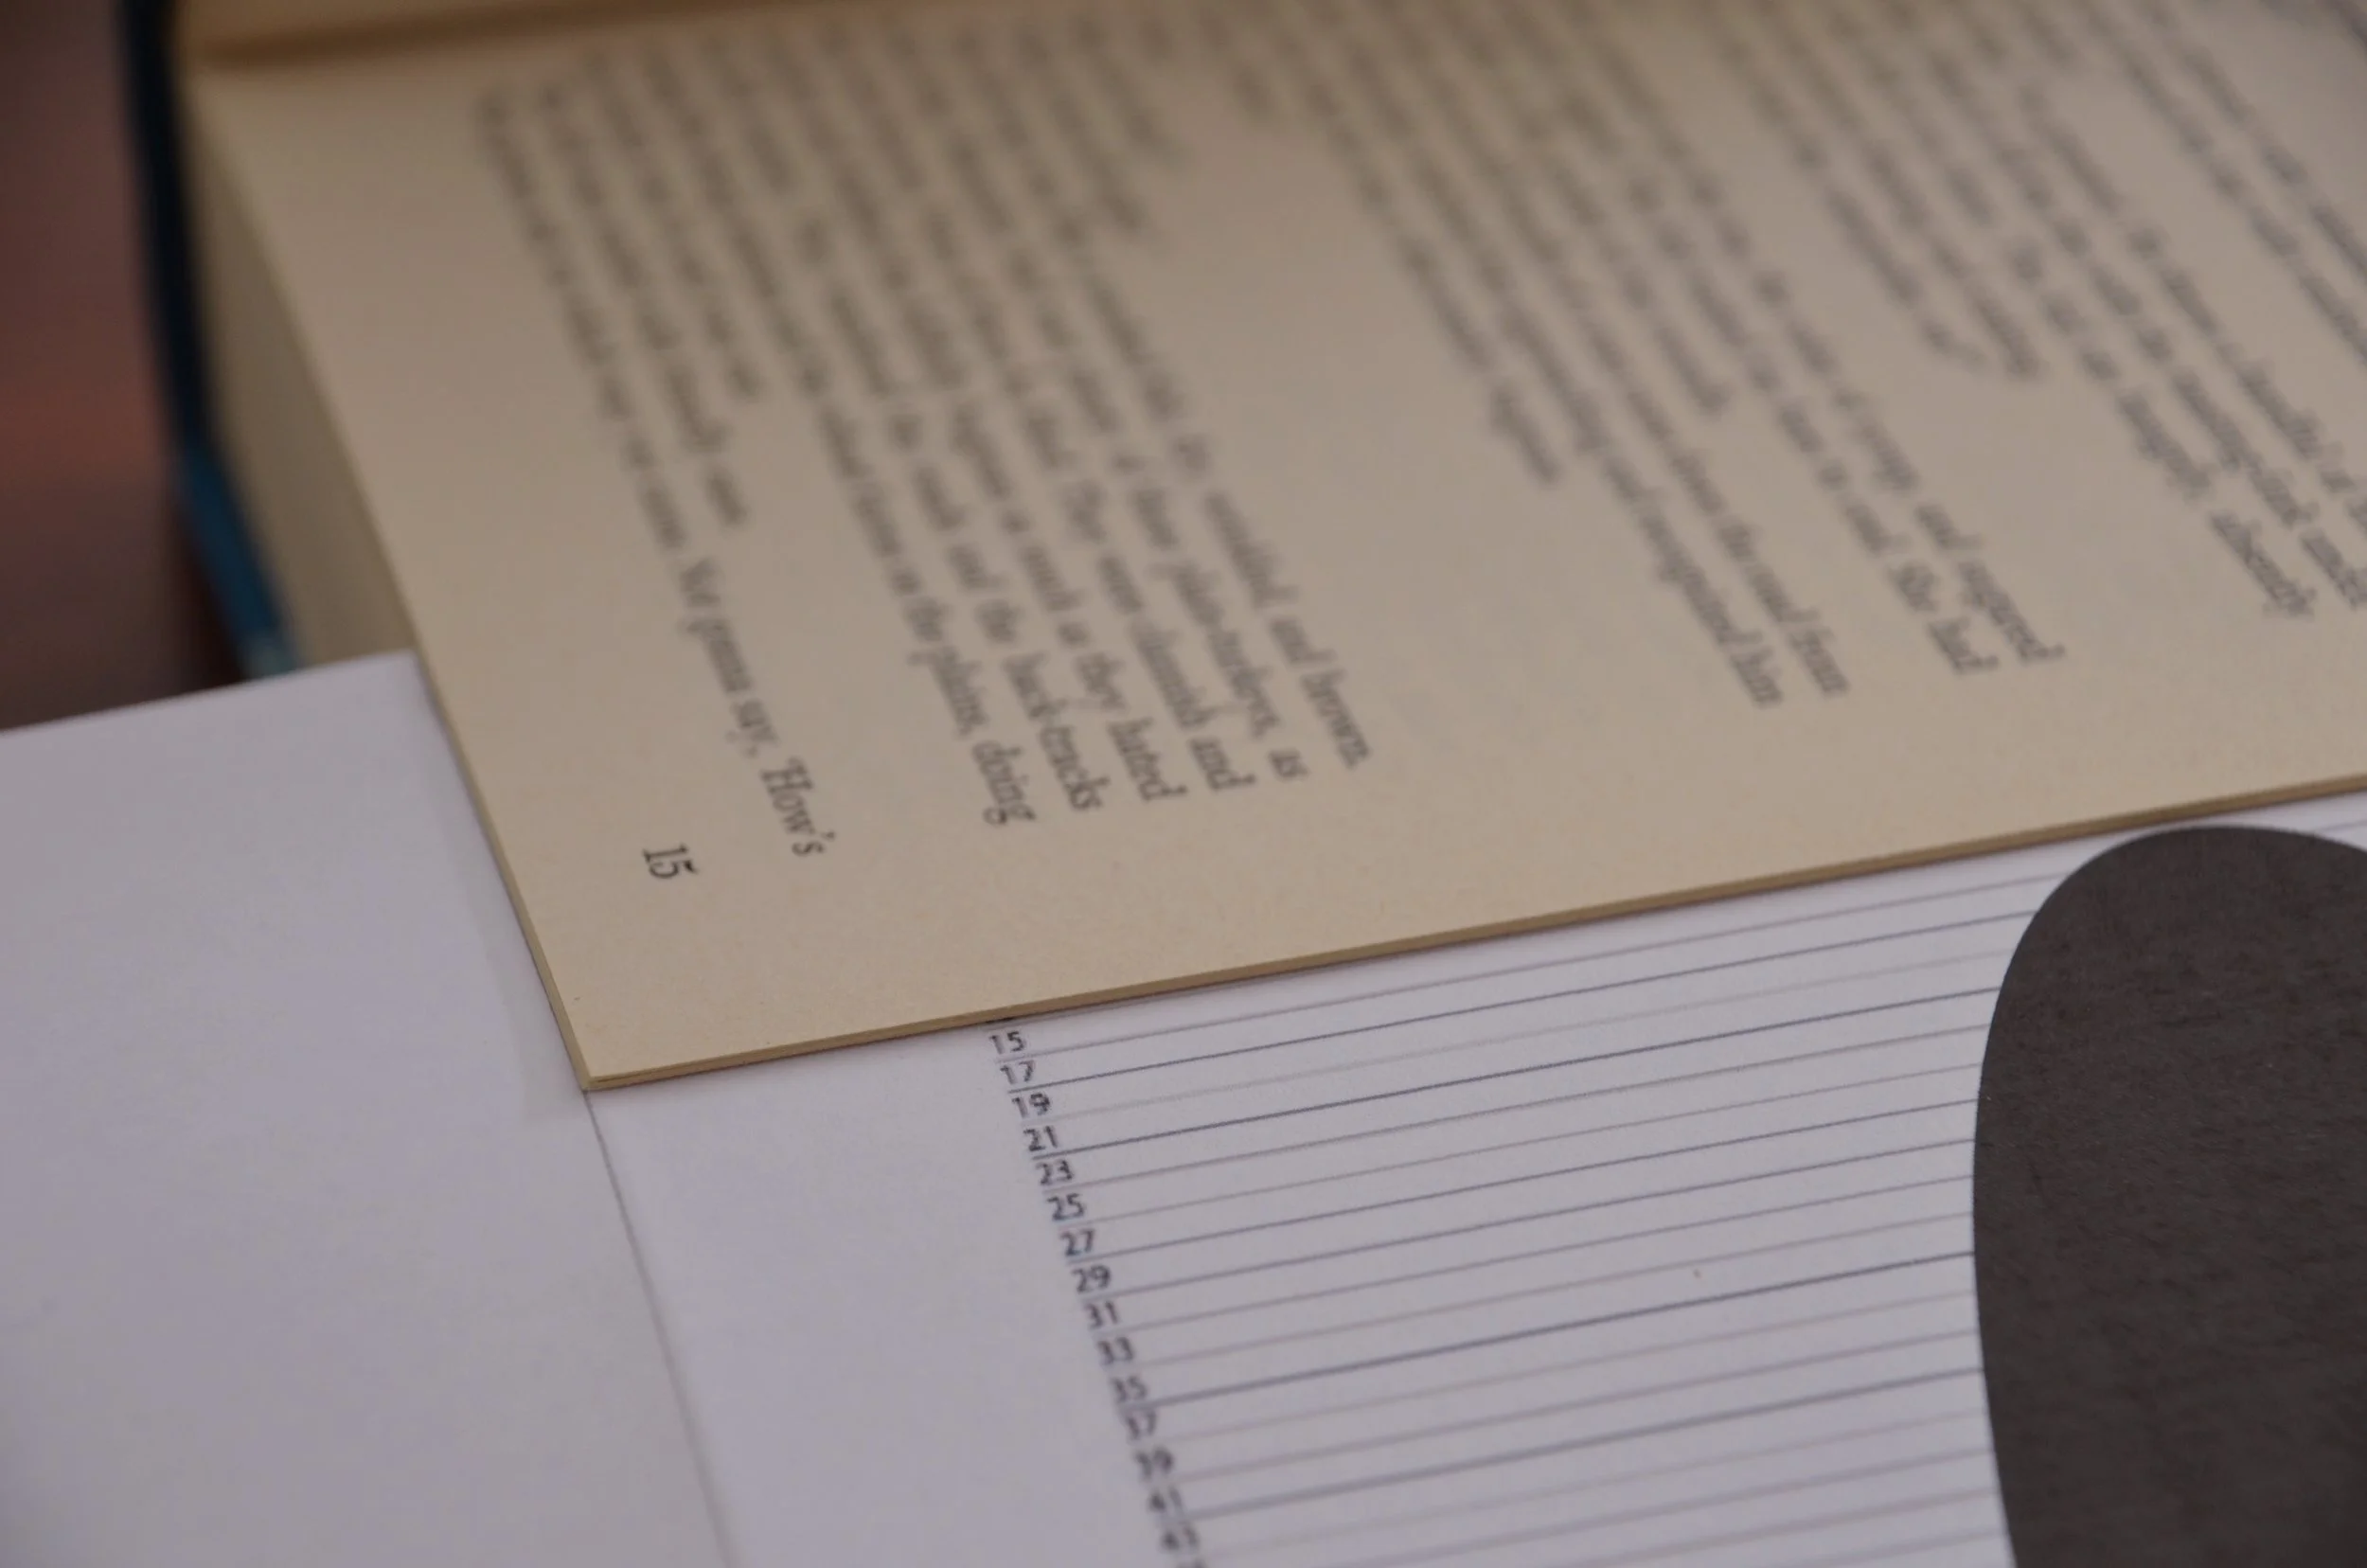
Mark on the page each edge of this word.
If you come to a part of the template where the word occurs in more than one place, you will just need to alternate which part of the word you are marking as you move through the pages.

If you come to a page where the word does NOT appear, tear this page out tidily.
Now the book is totally prepped, we're ready to fold! I find this part of the project very therapeutic – once you get into the groove of folding it doesn't require too much attention.
You'll need to fold a straight line between the each mark you've made, and the closest notch made by the craft knife in the book.

Eventually you'll get into a rhythm of folding and before you know if, you'll be a pro!


Don't be disheartened if you mess up – the first few I did there were a few wonky letters and a number of torn pages, but even with this the finished product is so eye-catching!
Additionally, I've found that keeping the book stored for a couple of days with something heavy weighing on it compresses the pages together a bit and makes the word much more clear, and the book able to stand without fanning out too much.
Hopefully this tutorial is useful! Here are a few more folded books that I have made:


Emily Made That!
Update: I’ve created a Youtube Video for this how-to, check it out!