Macramé Knots for Beginners
Before I started working on my first macramé project, I spent some time learning the different knots that I would need. If you're thinking about trying your hand at some macramé, take a look at these different knots and hopefully the steps that I've documented will be of some help! To see the final product, scroll to the bottom.
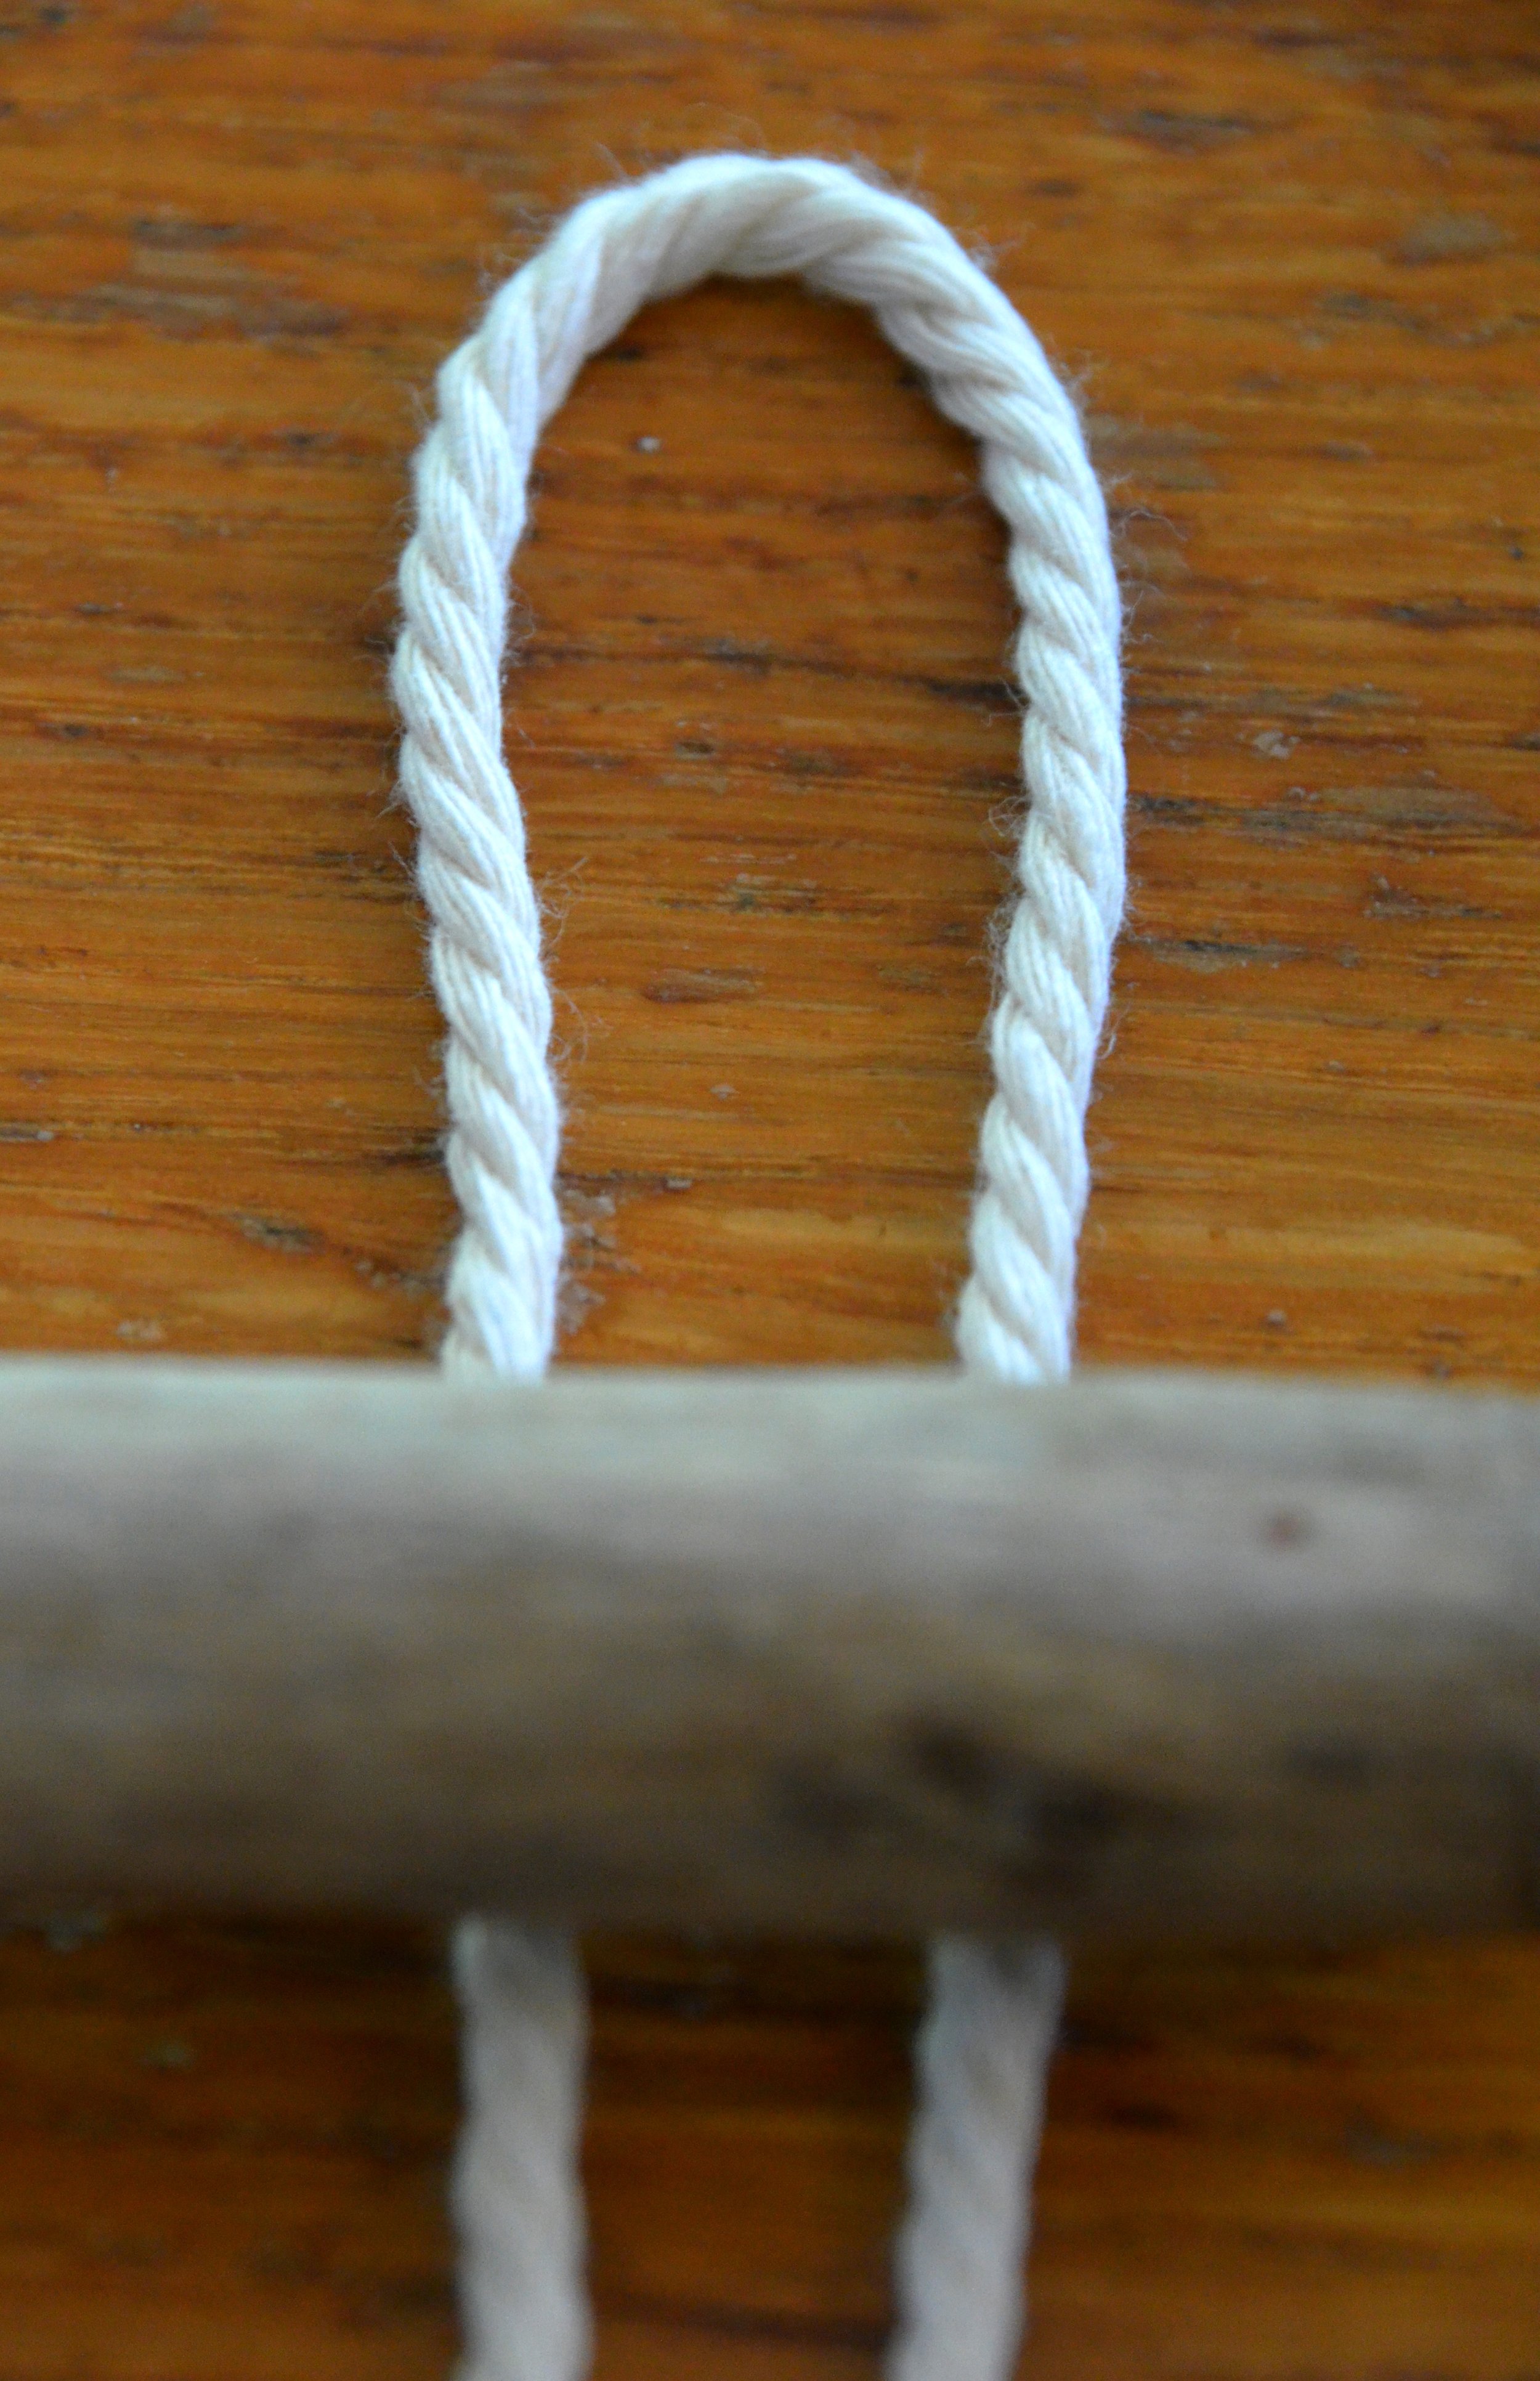
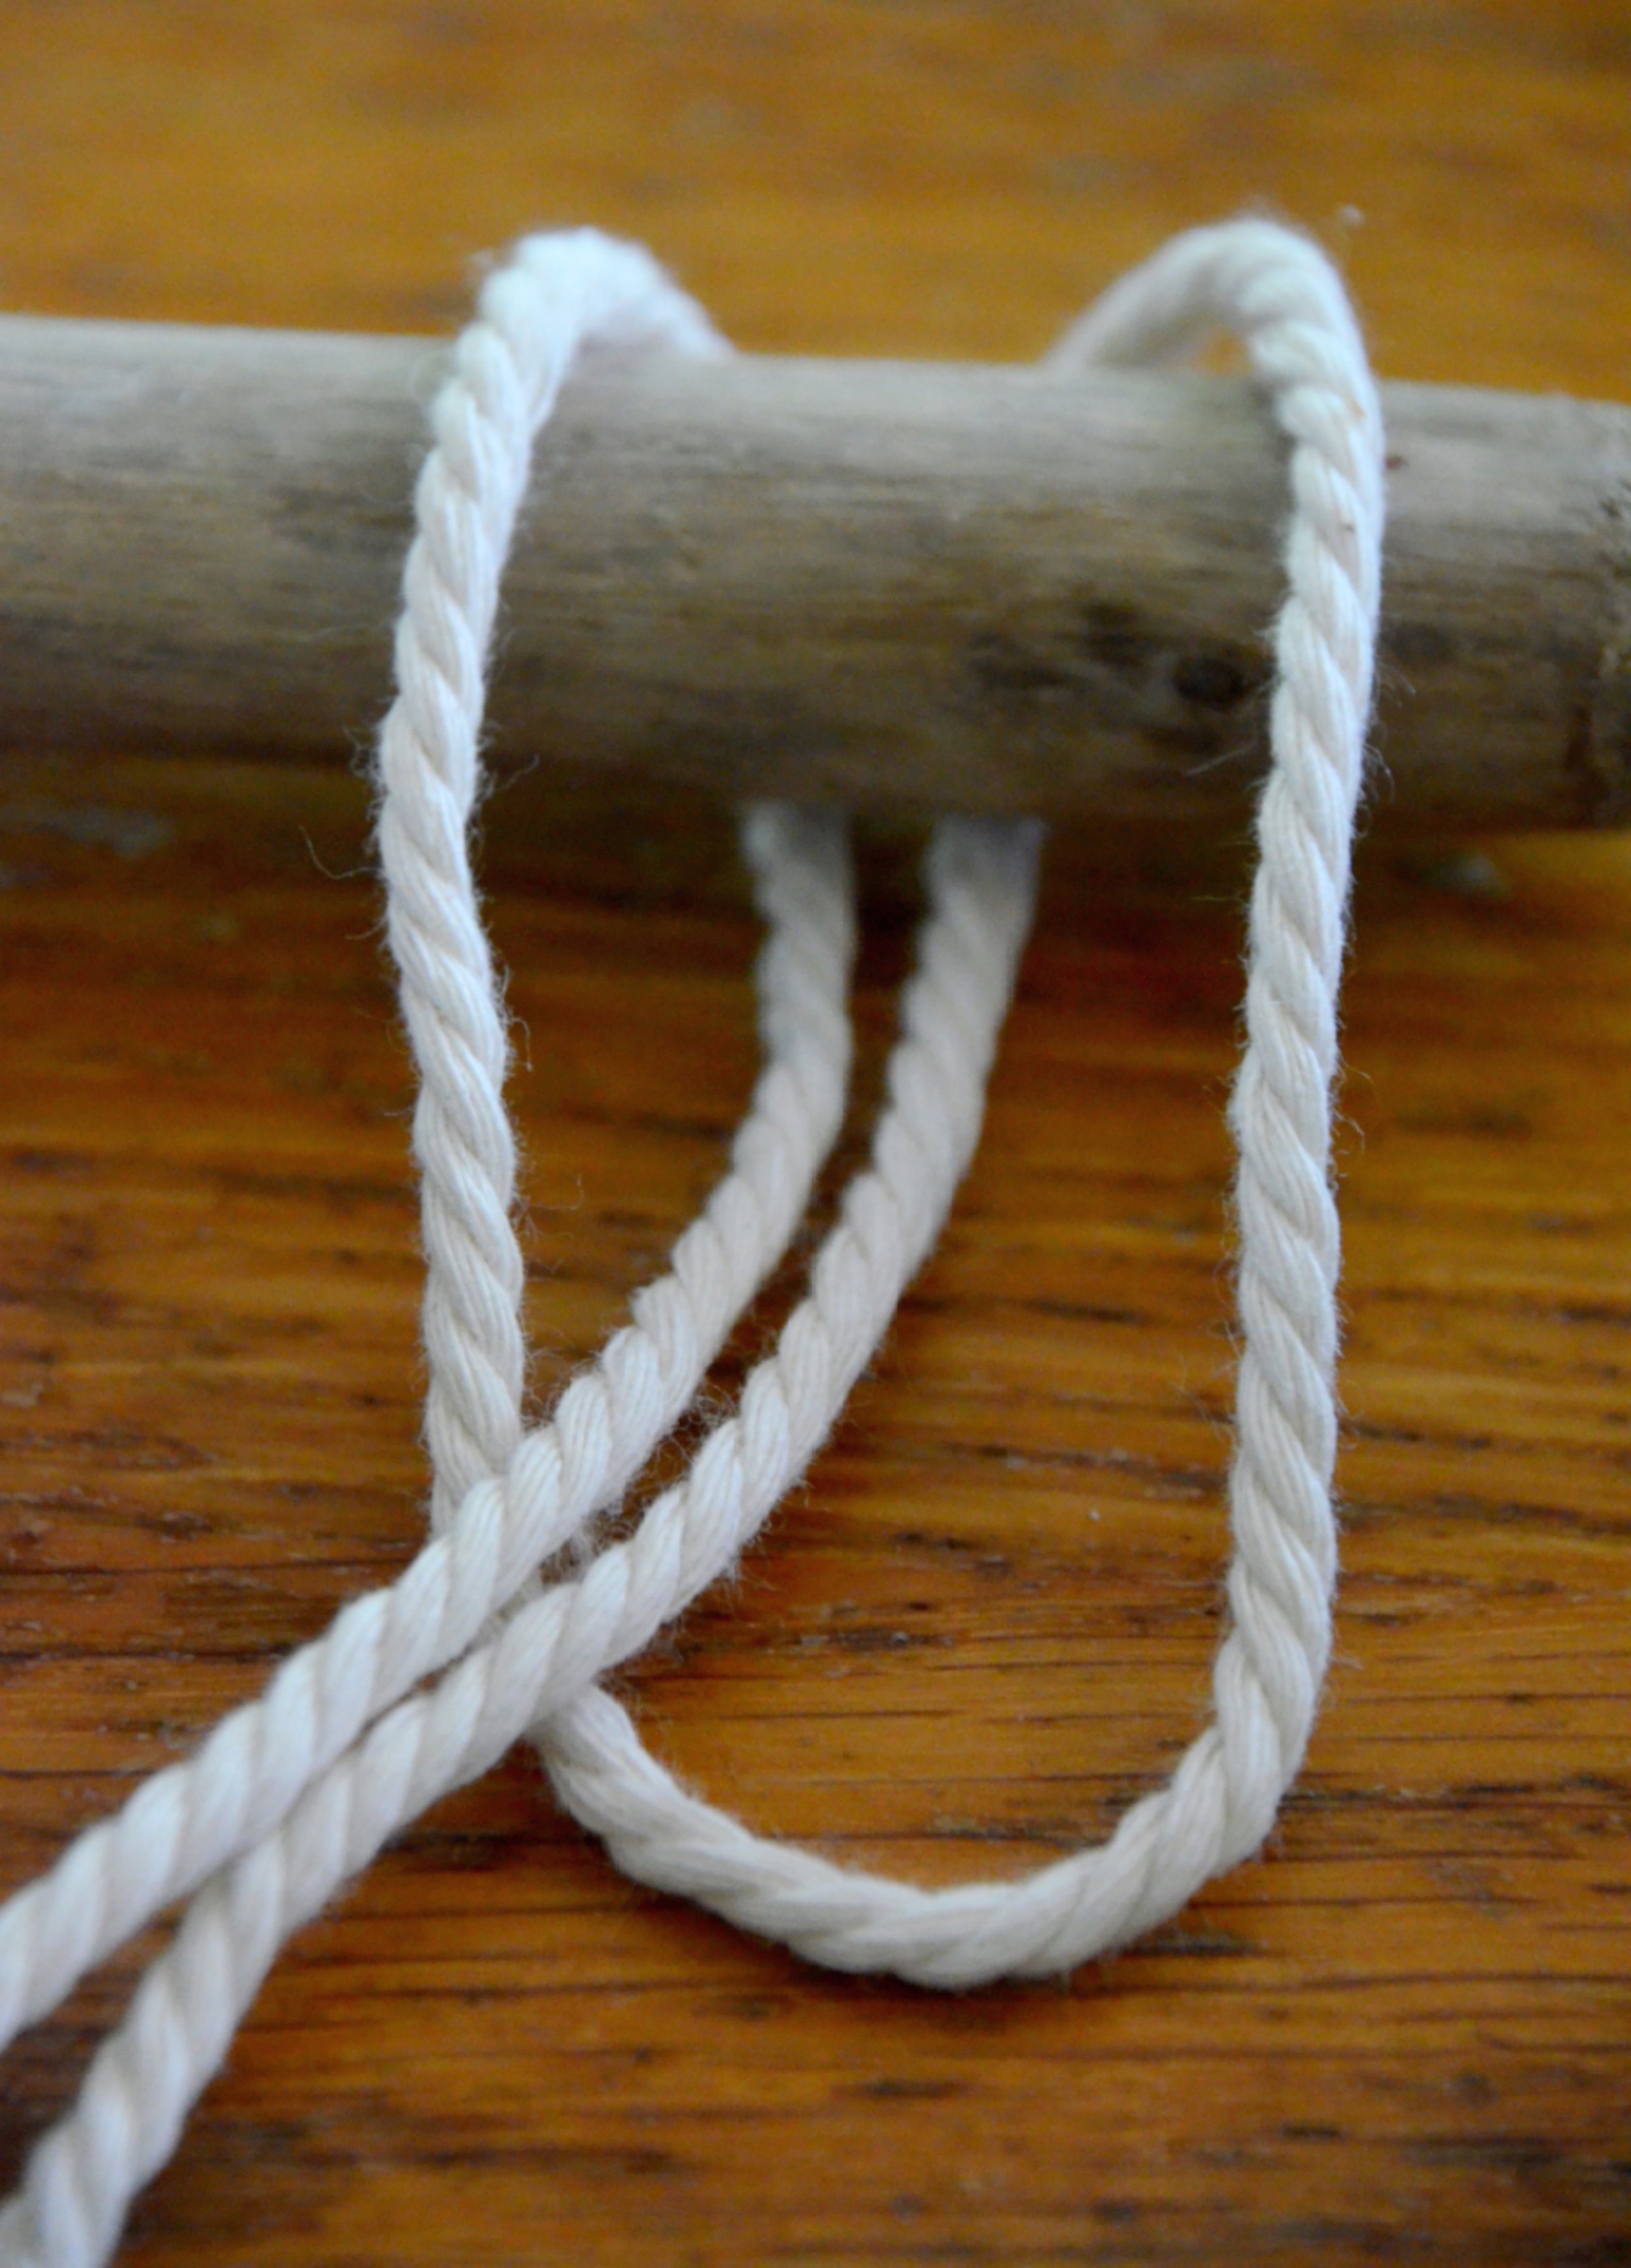
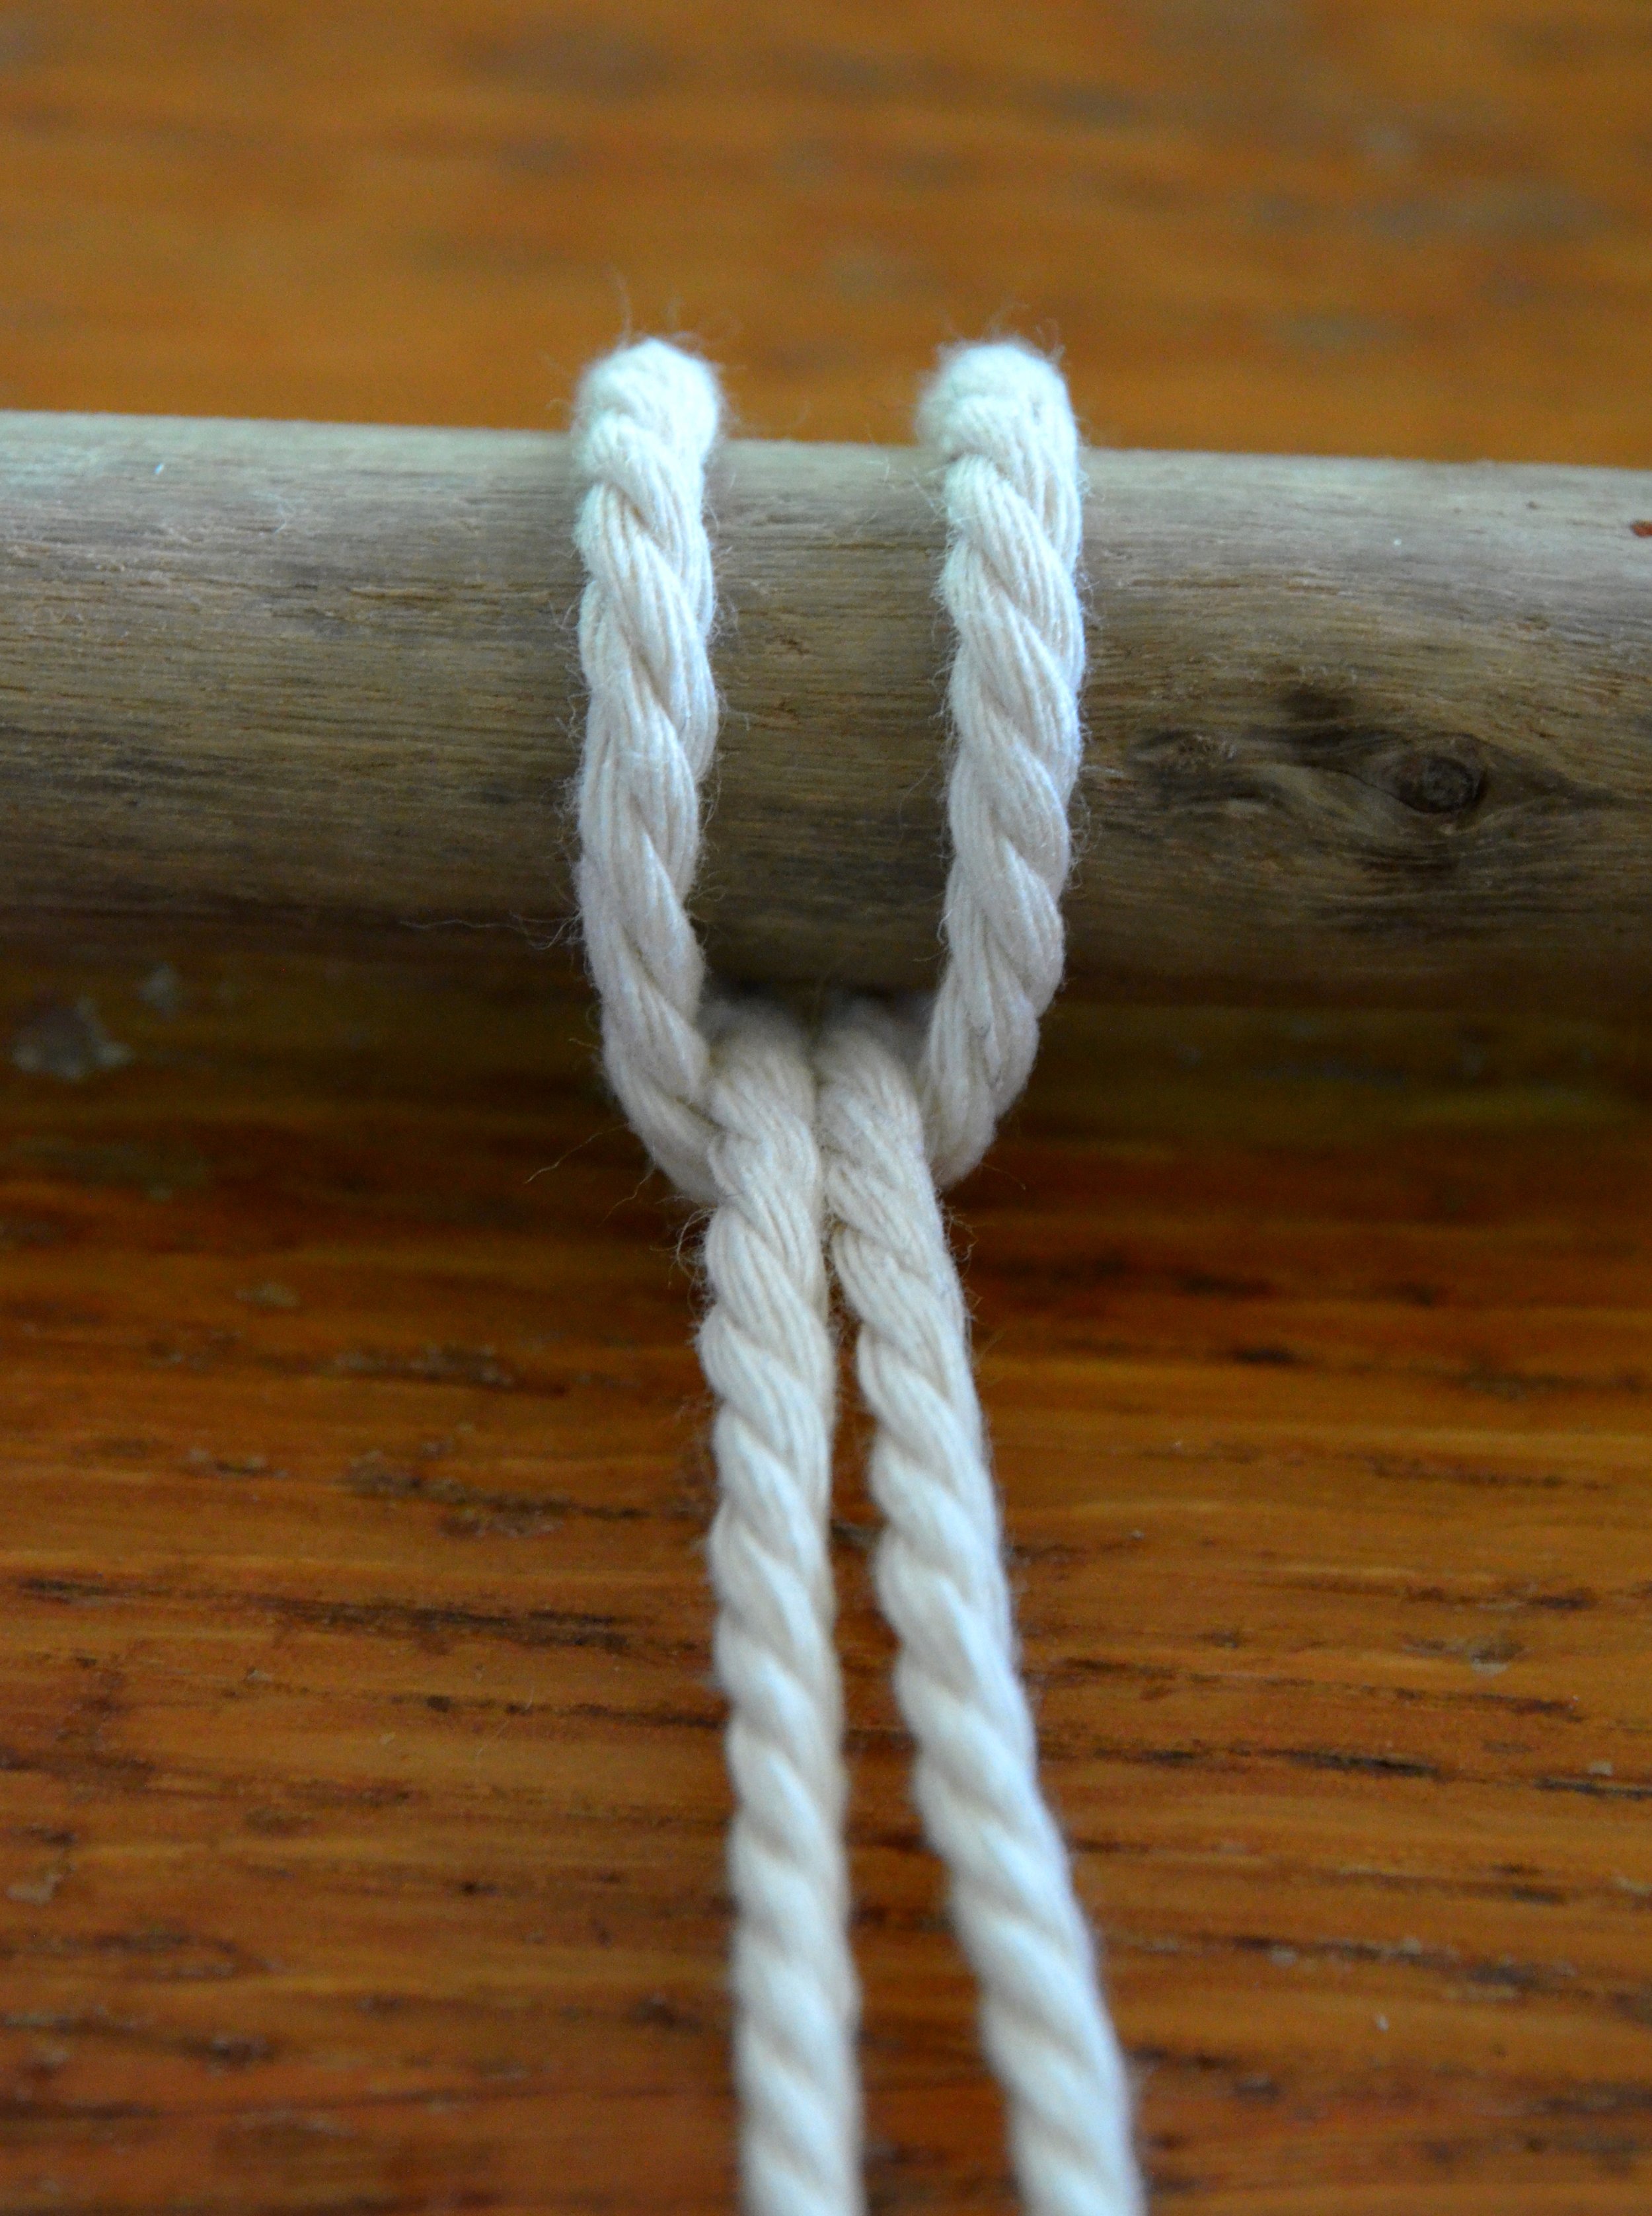
The Lark's Head
If you're making a wall hanging piece, like I did, this would typically be the type of knot that you would use to attach your cord onto the rod that you are using. Take your length of cord and fold it in half. Place the cord under your rod and knot as shown.
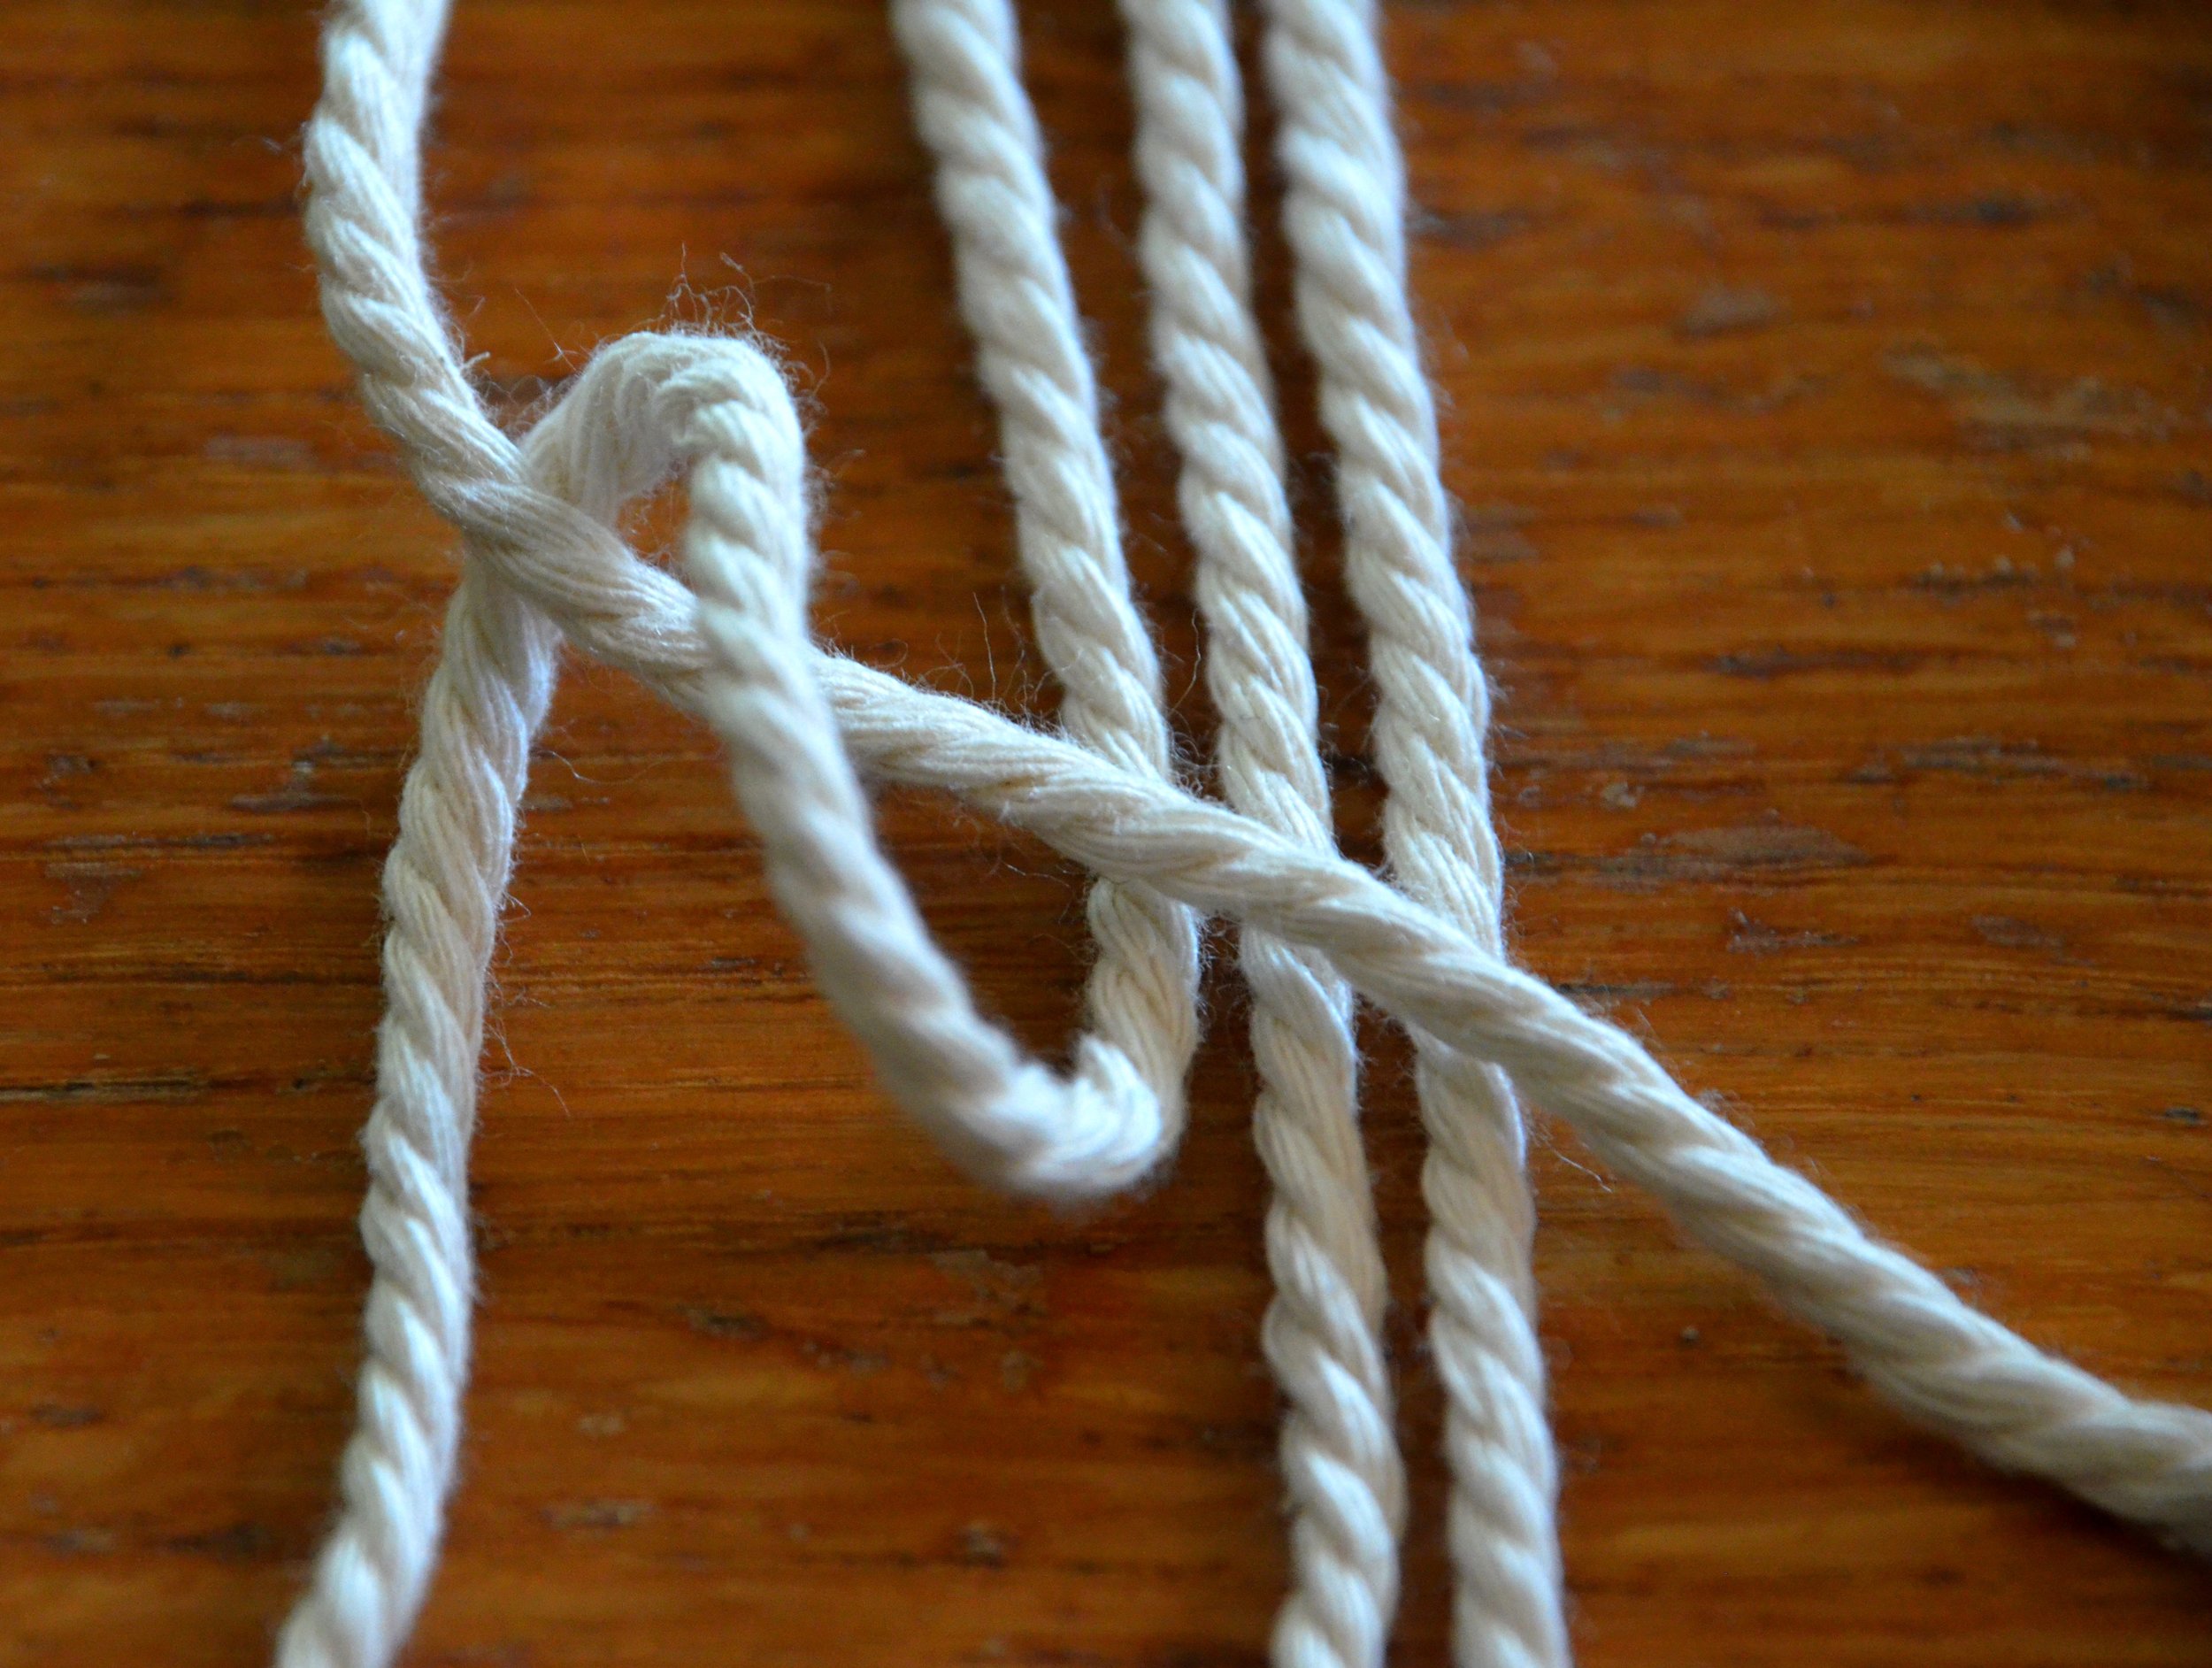
The Double Half Hitch
I used this series of knotting to create the diagonal petal shapes in my piece. The pictures show how to create a 'right' diagonal hitch, in order to create the 'left' diagonal hitch go through the mirror-image of the same steps.
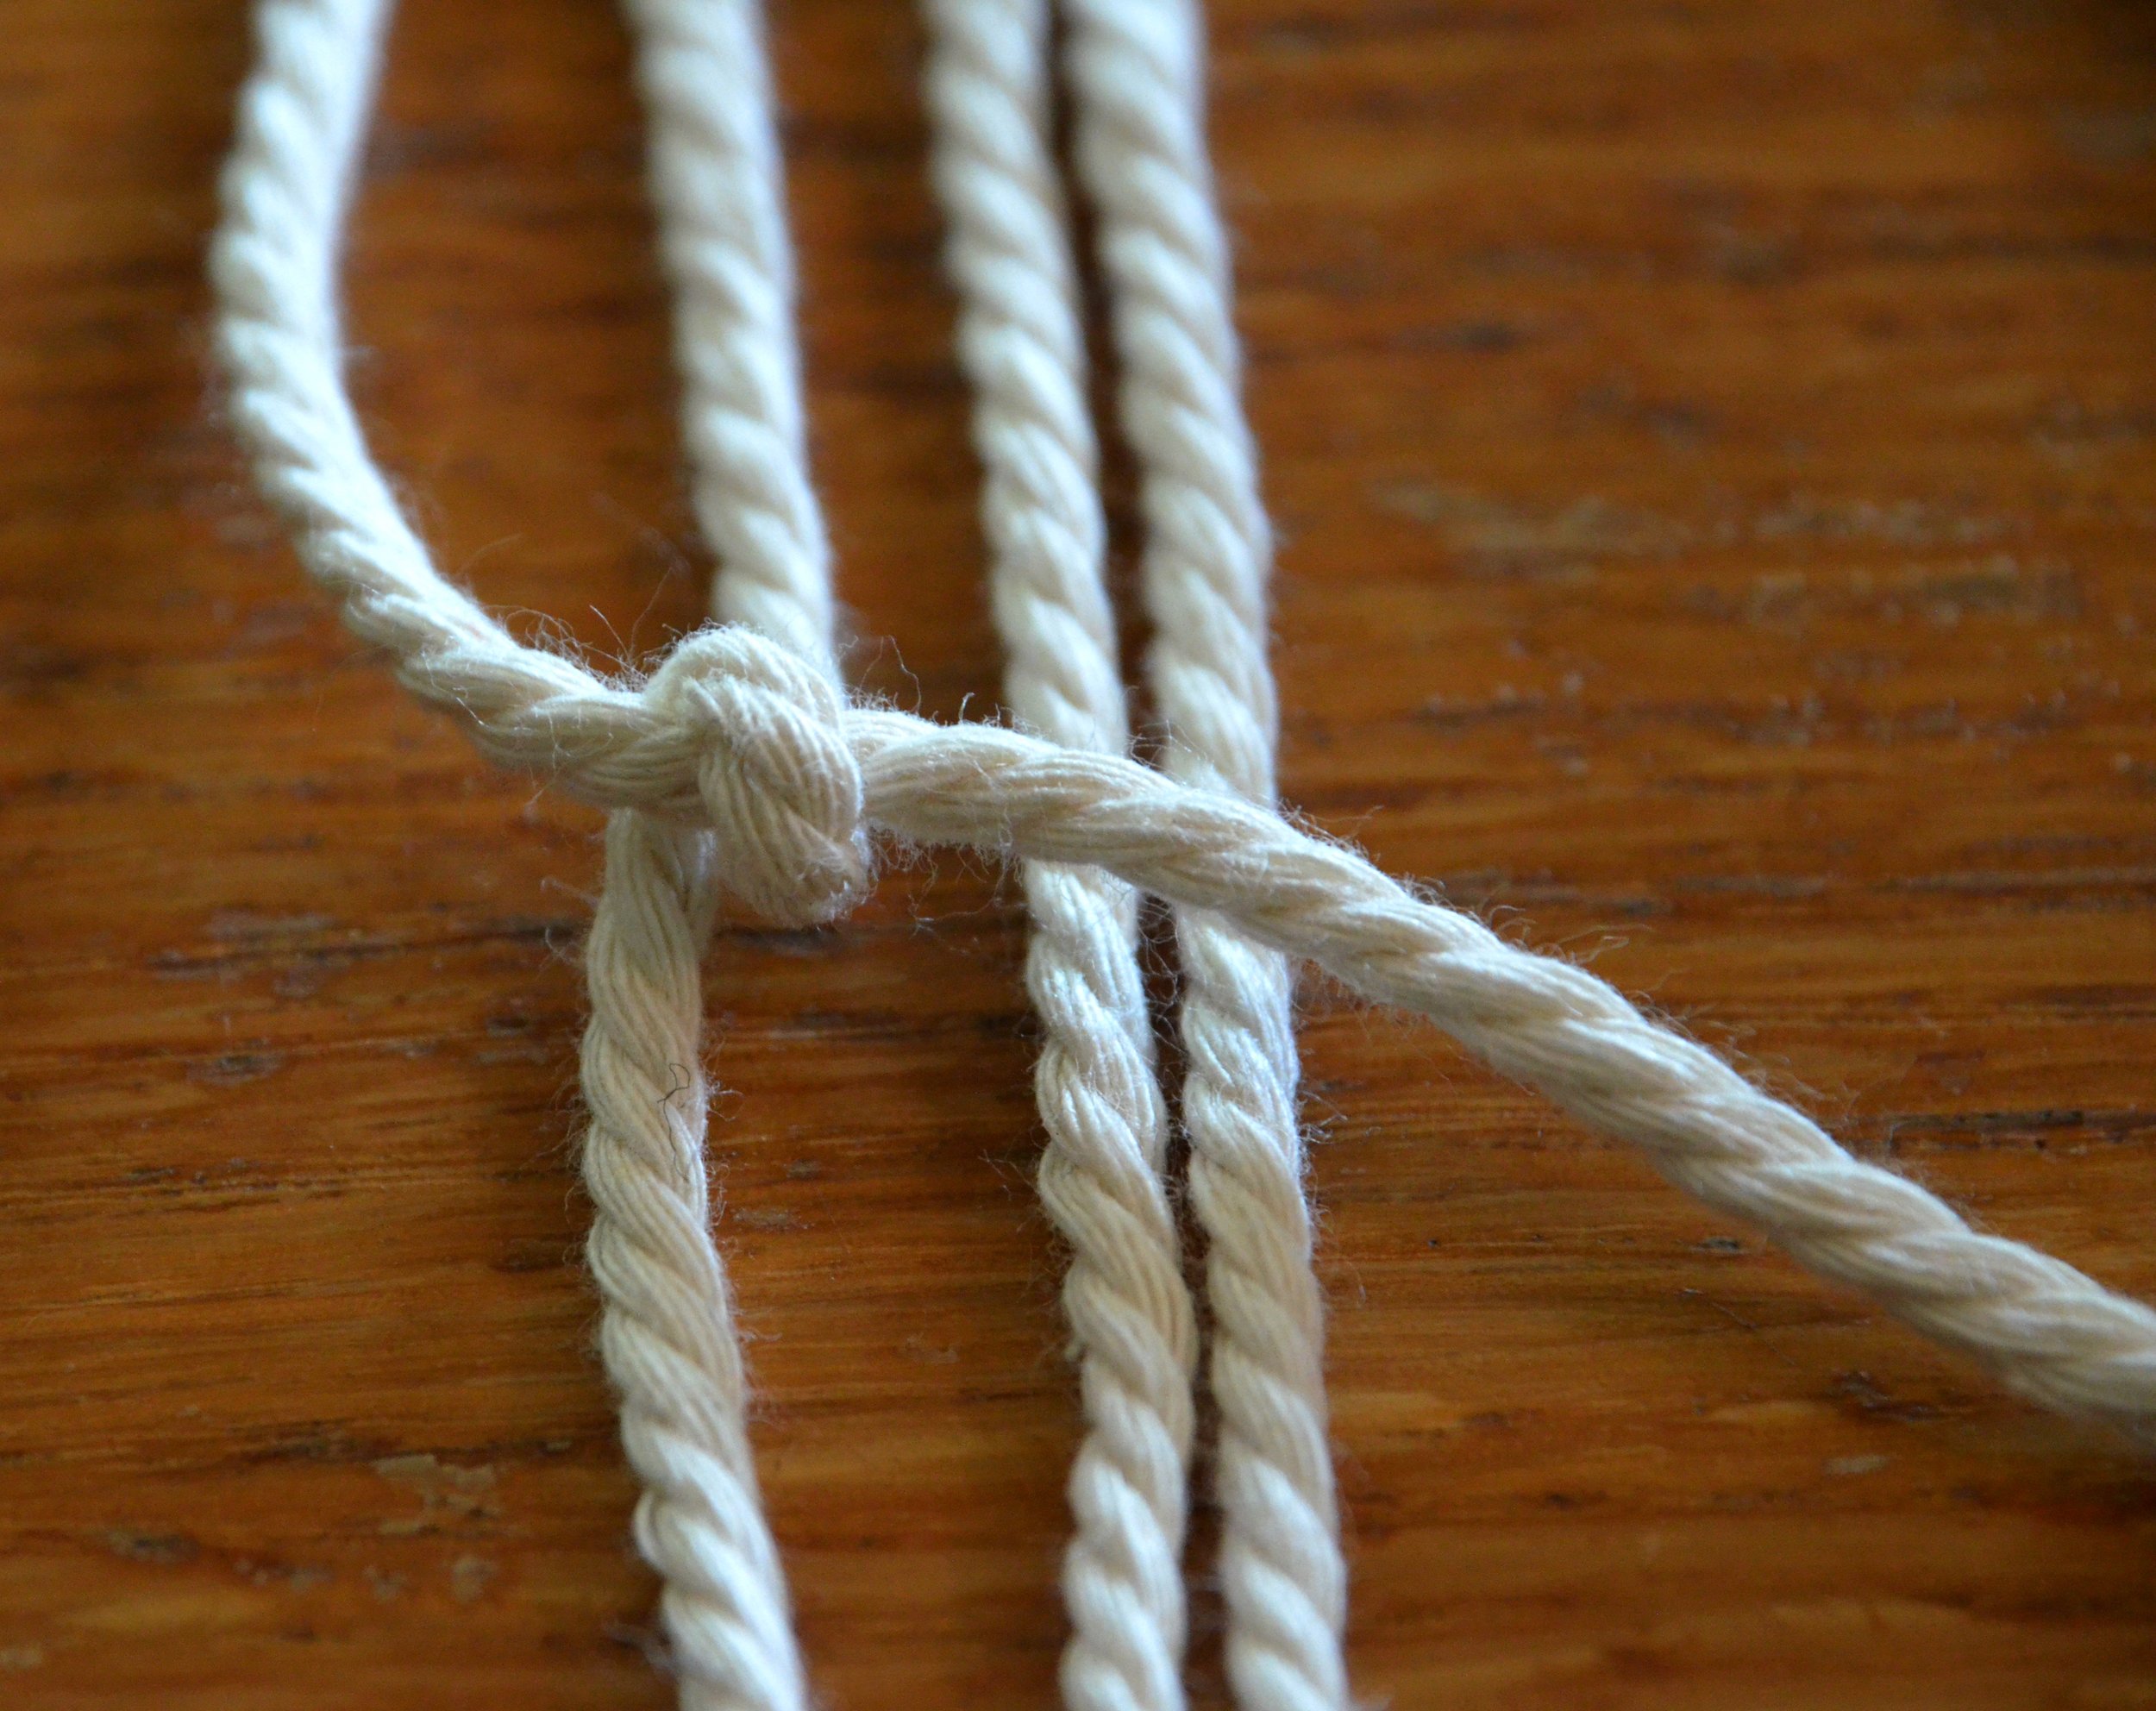
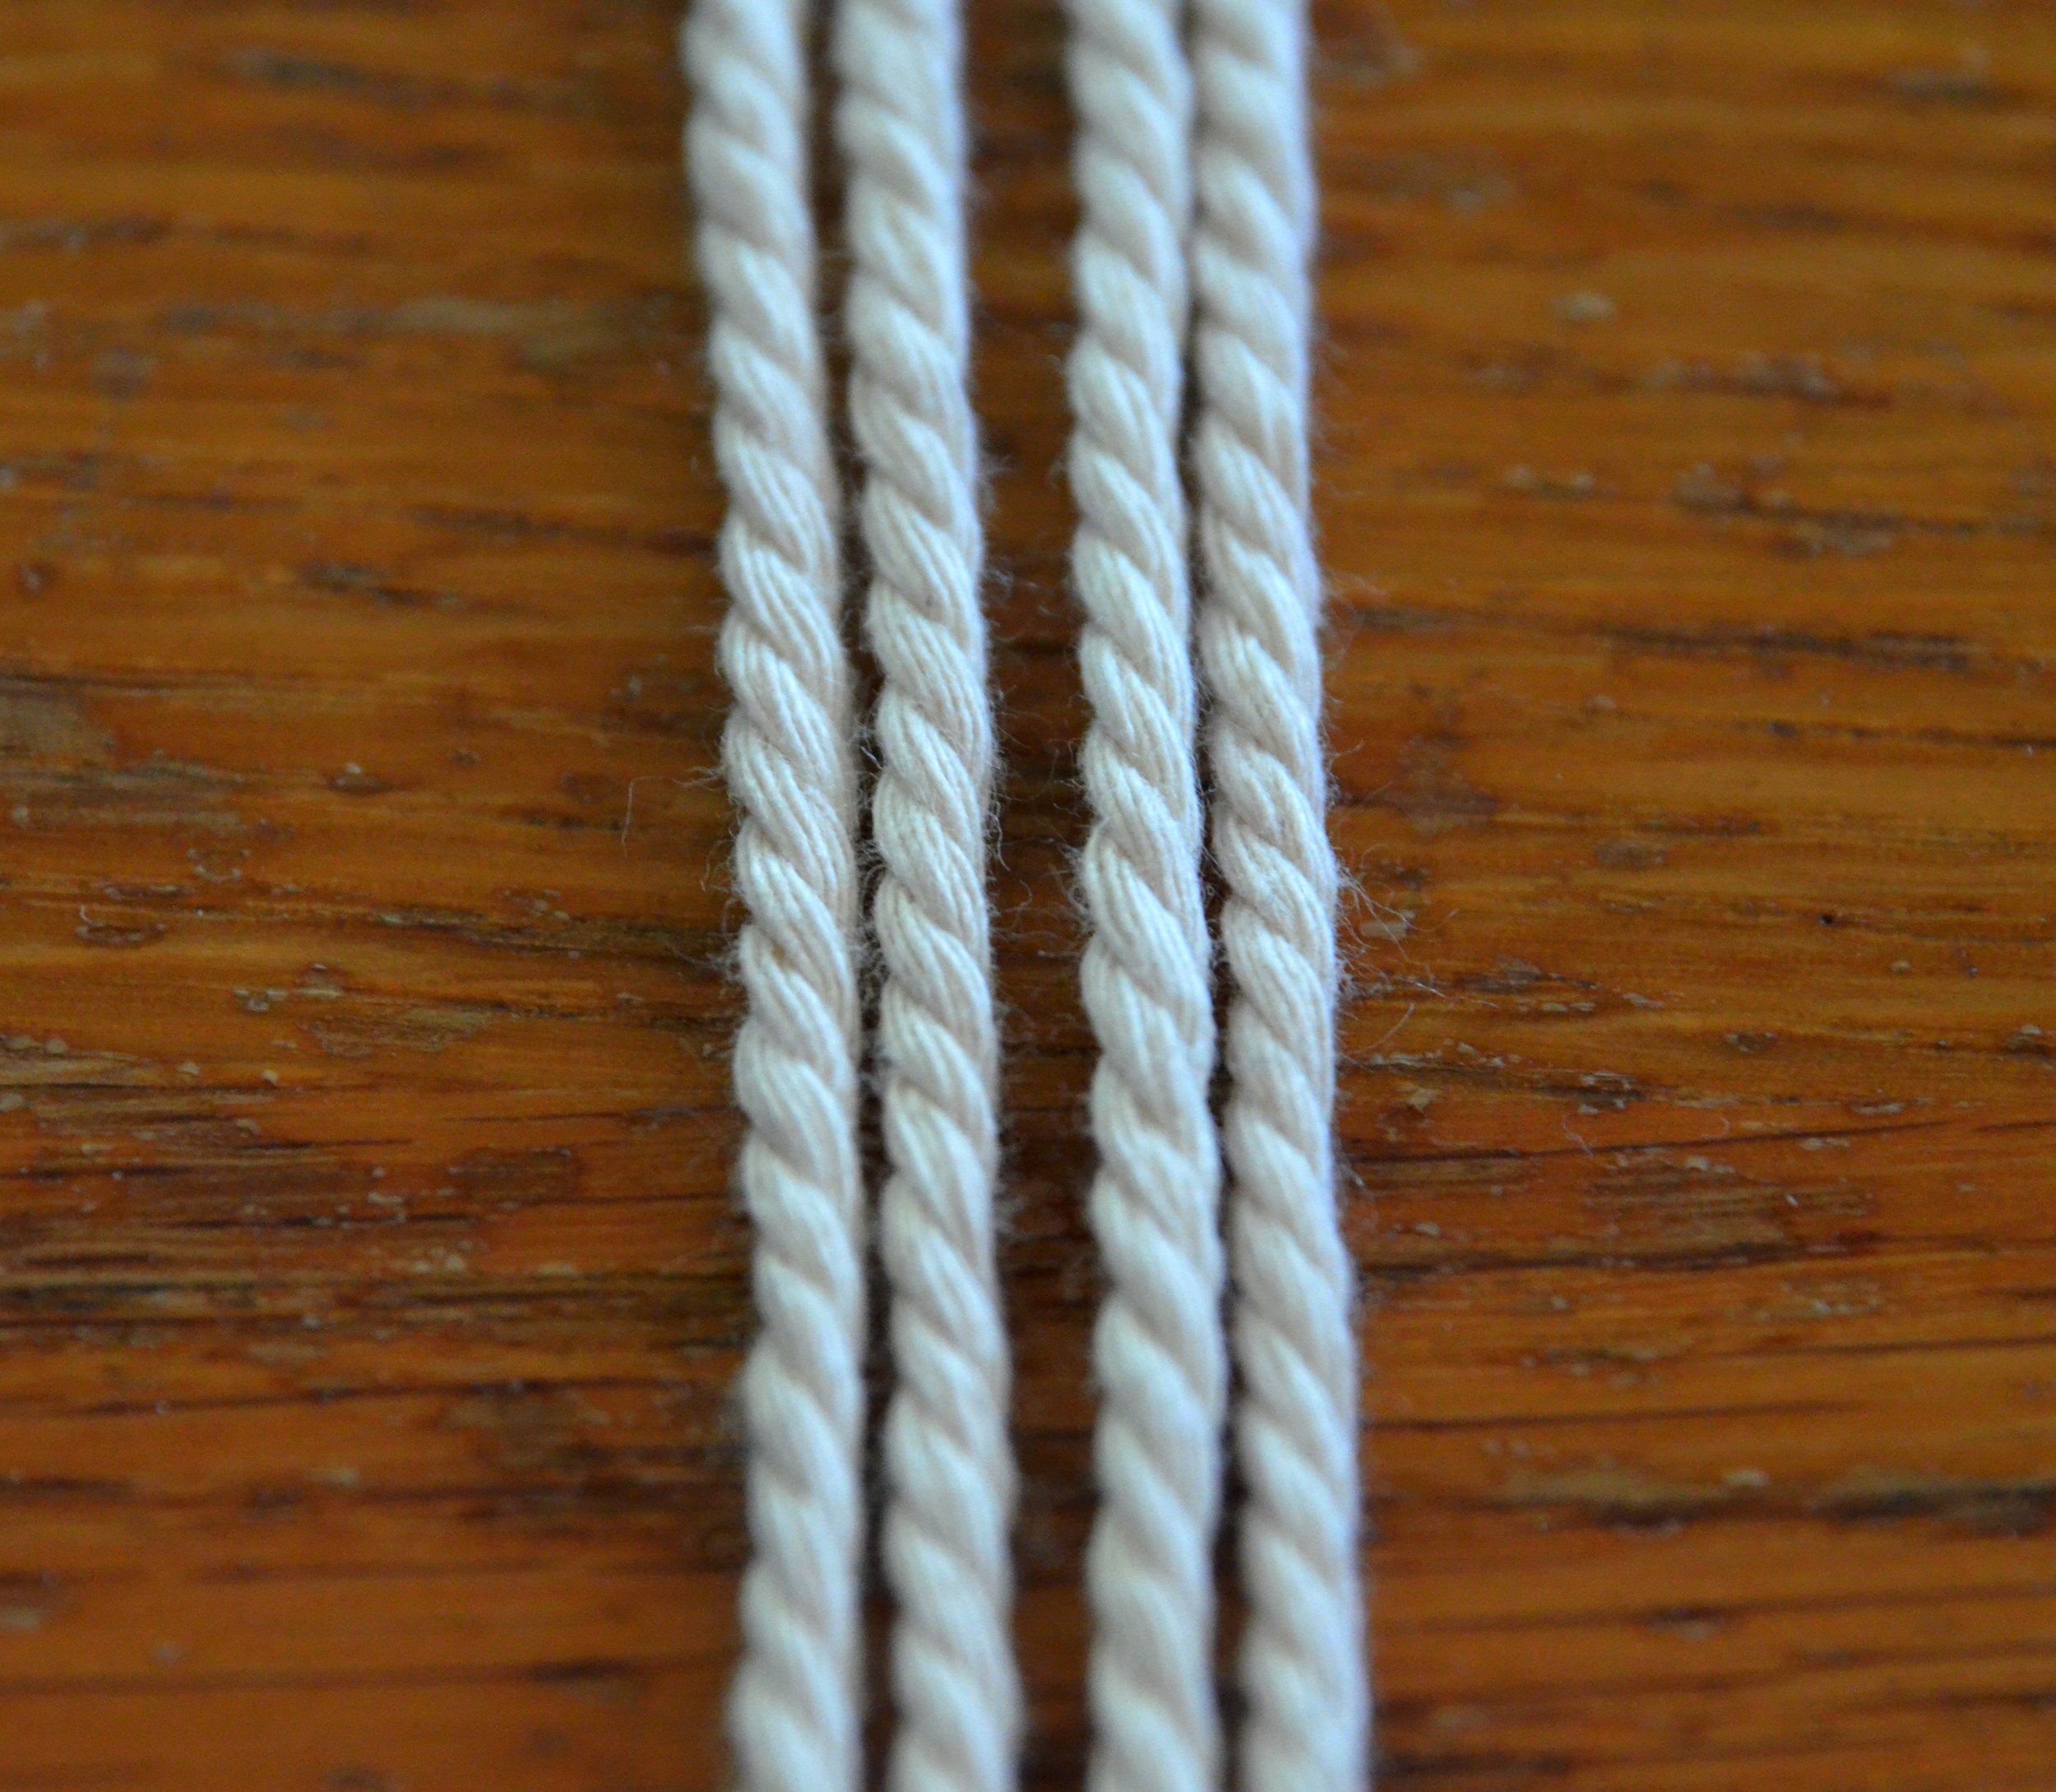
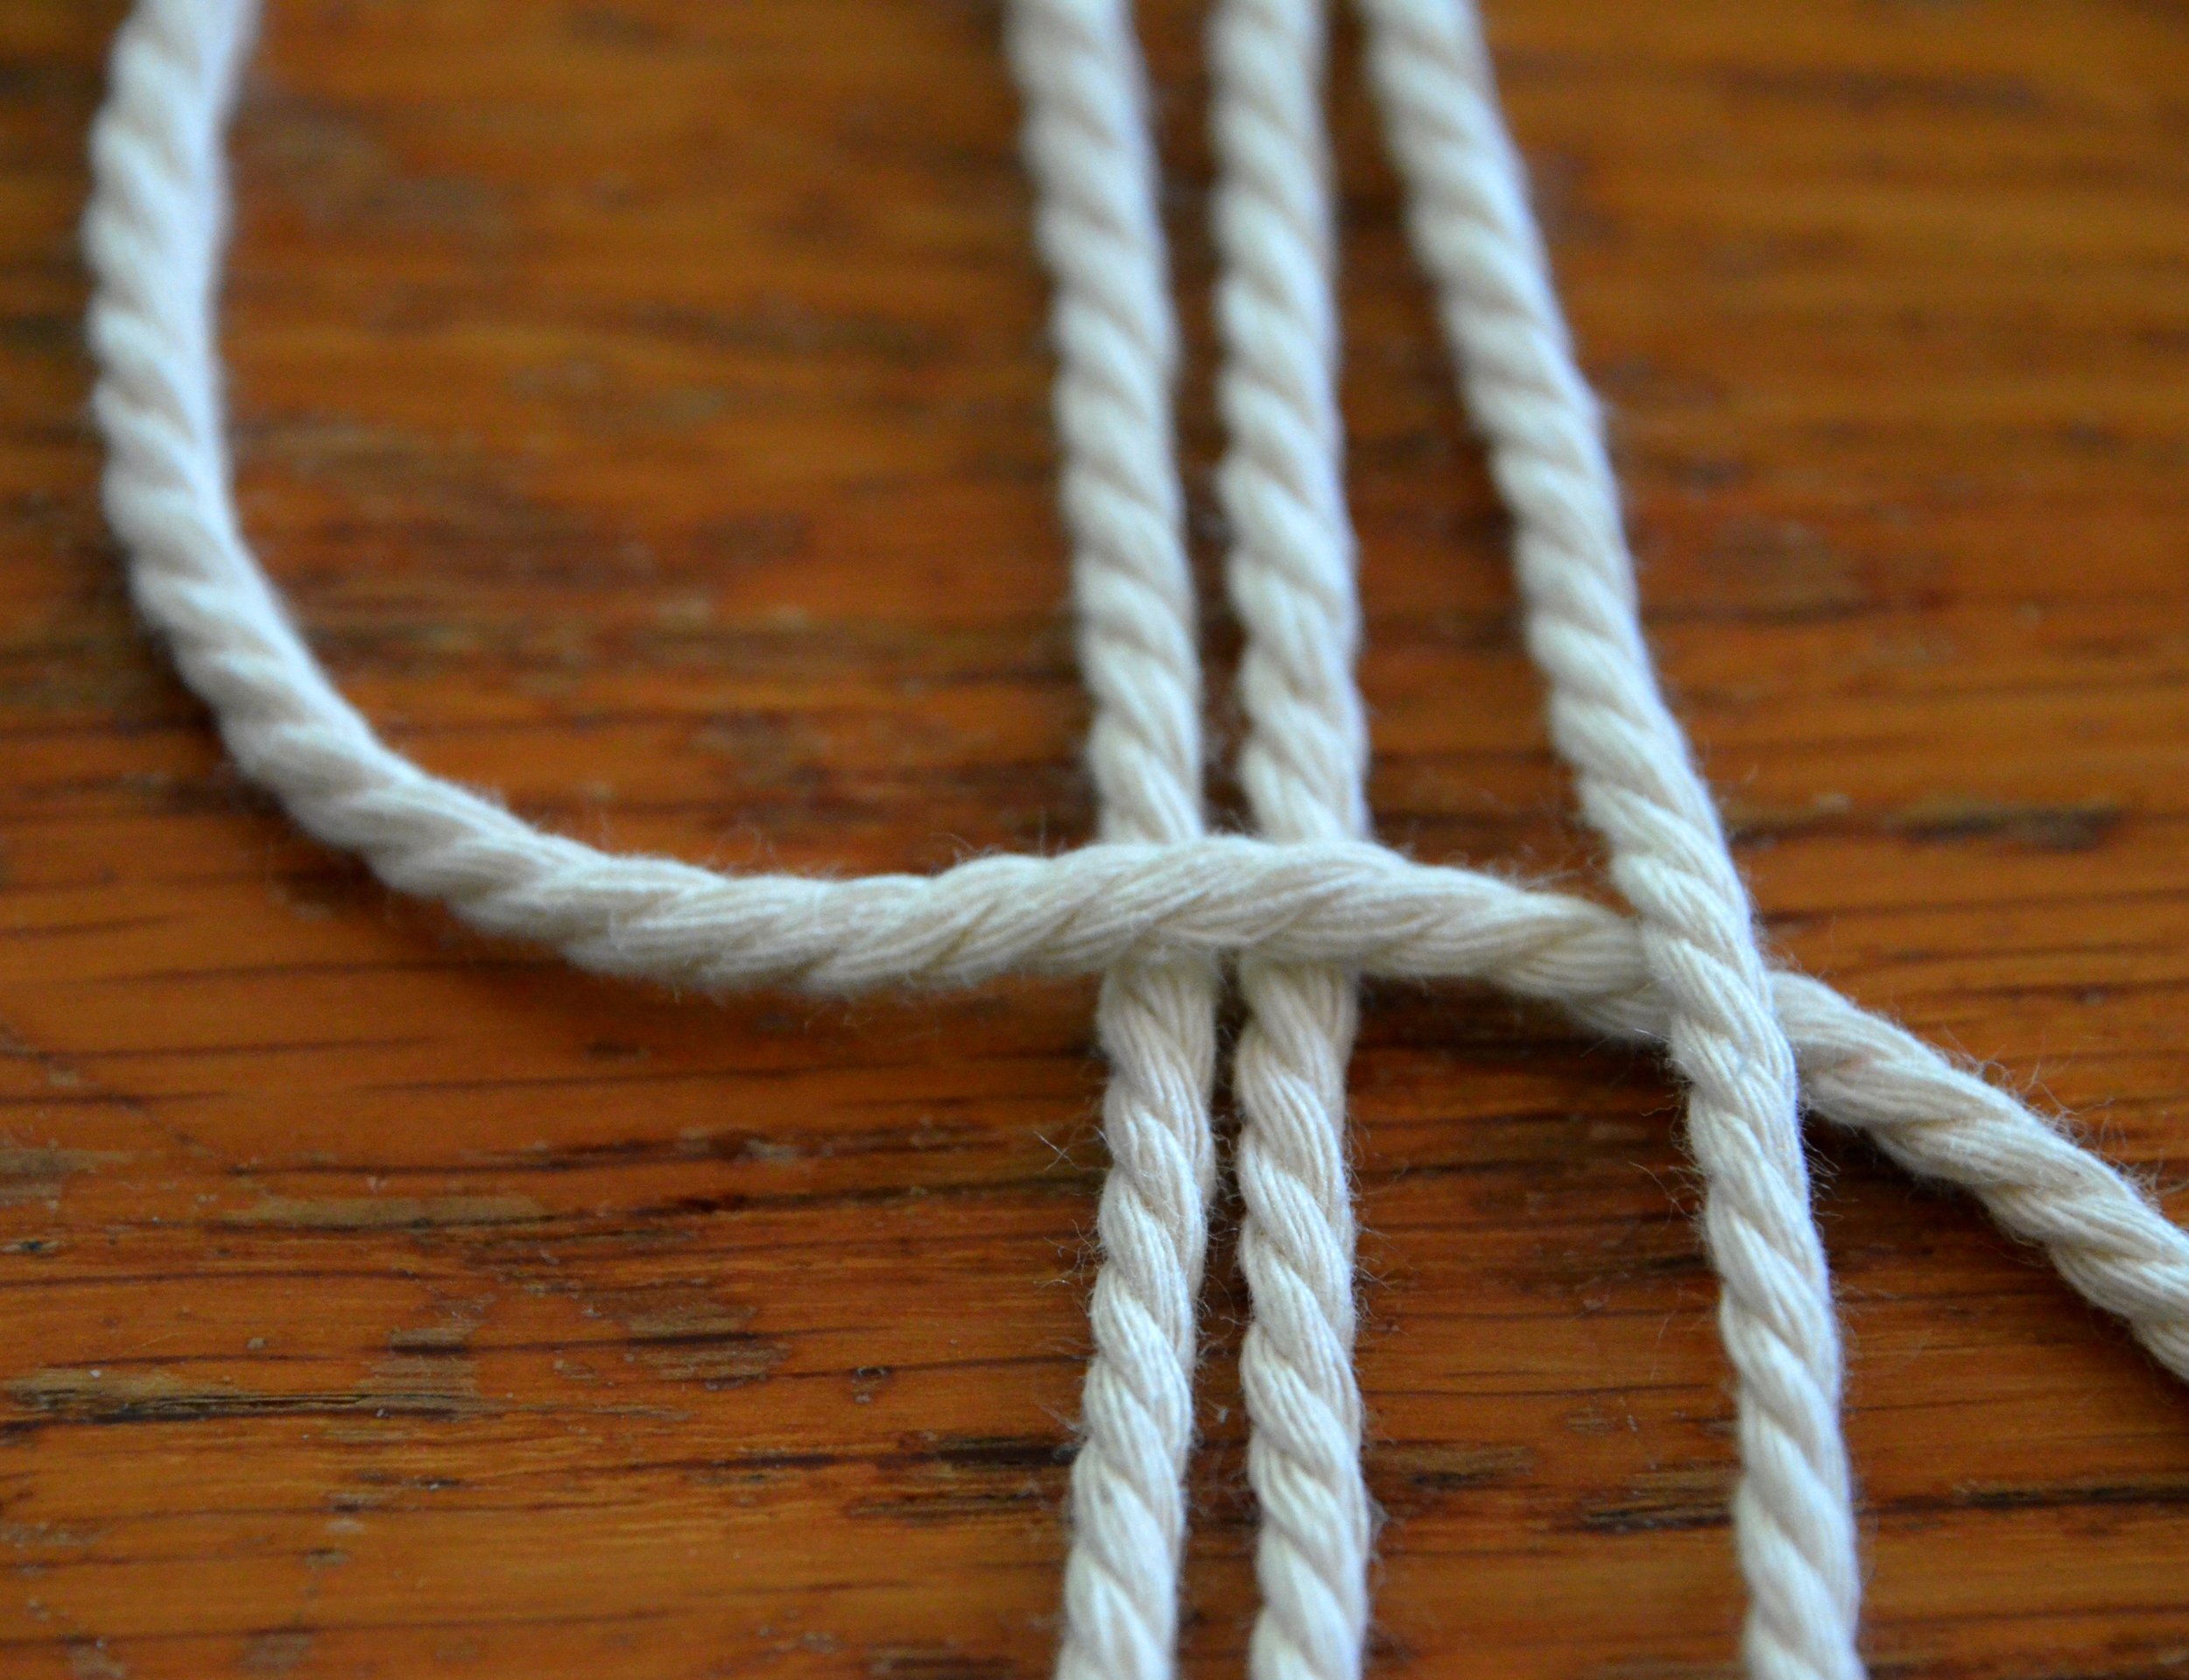
Start with your lengths of cord lined up, and pull the left-most strand to lay diagonally across the rest as shown.

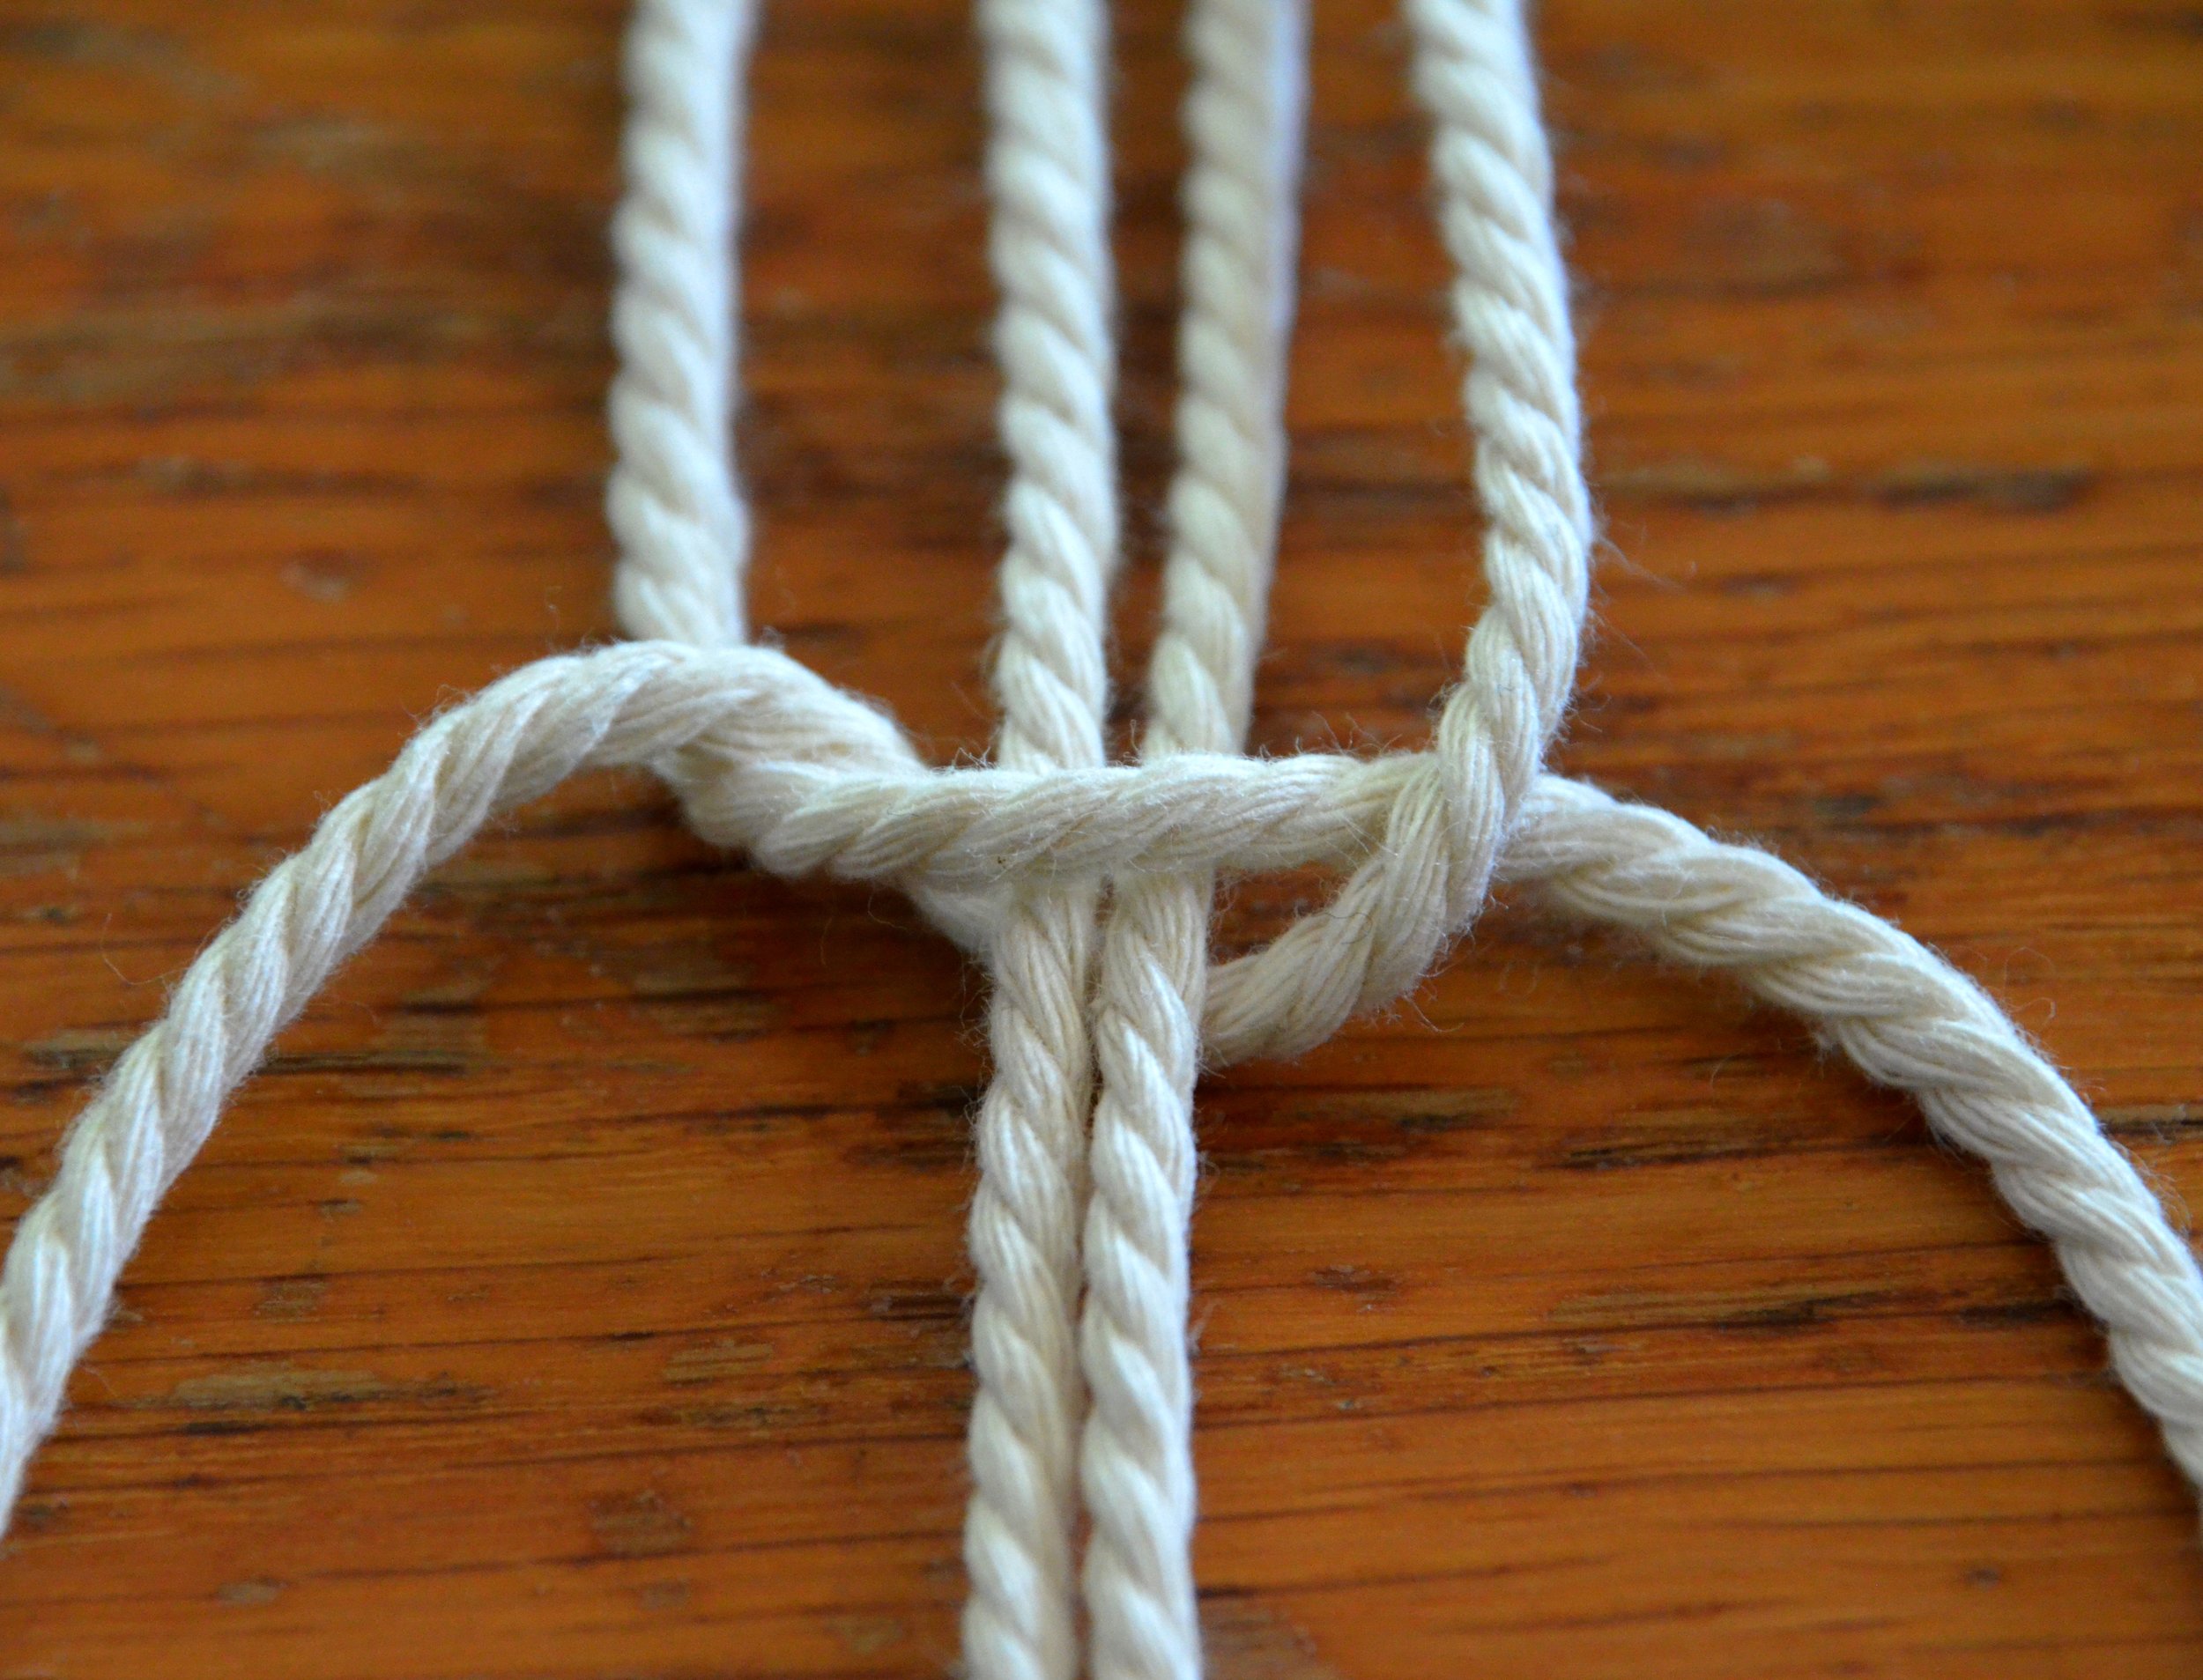
Using the pictures below as reference, pull the next strand up, over and under the diagonal strand, pulling it downward to tighten.
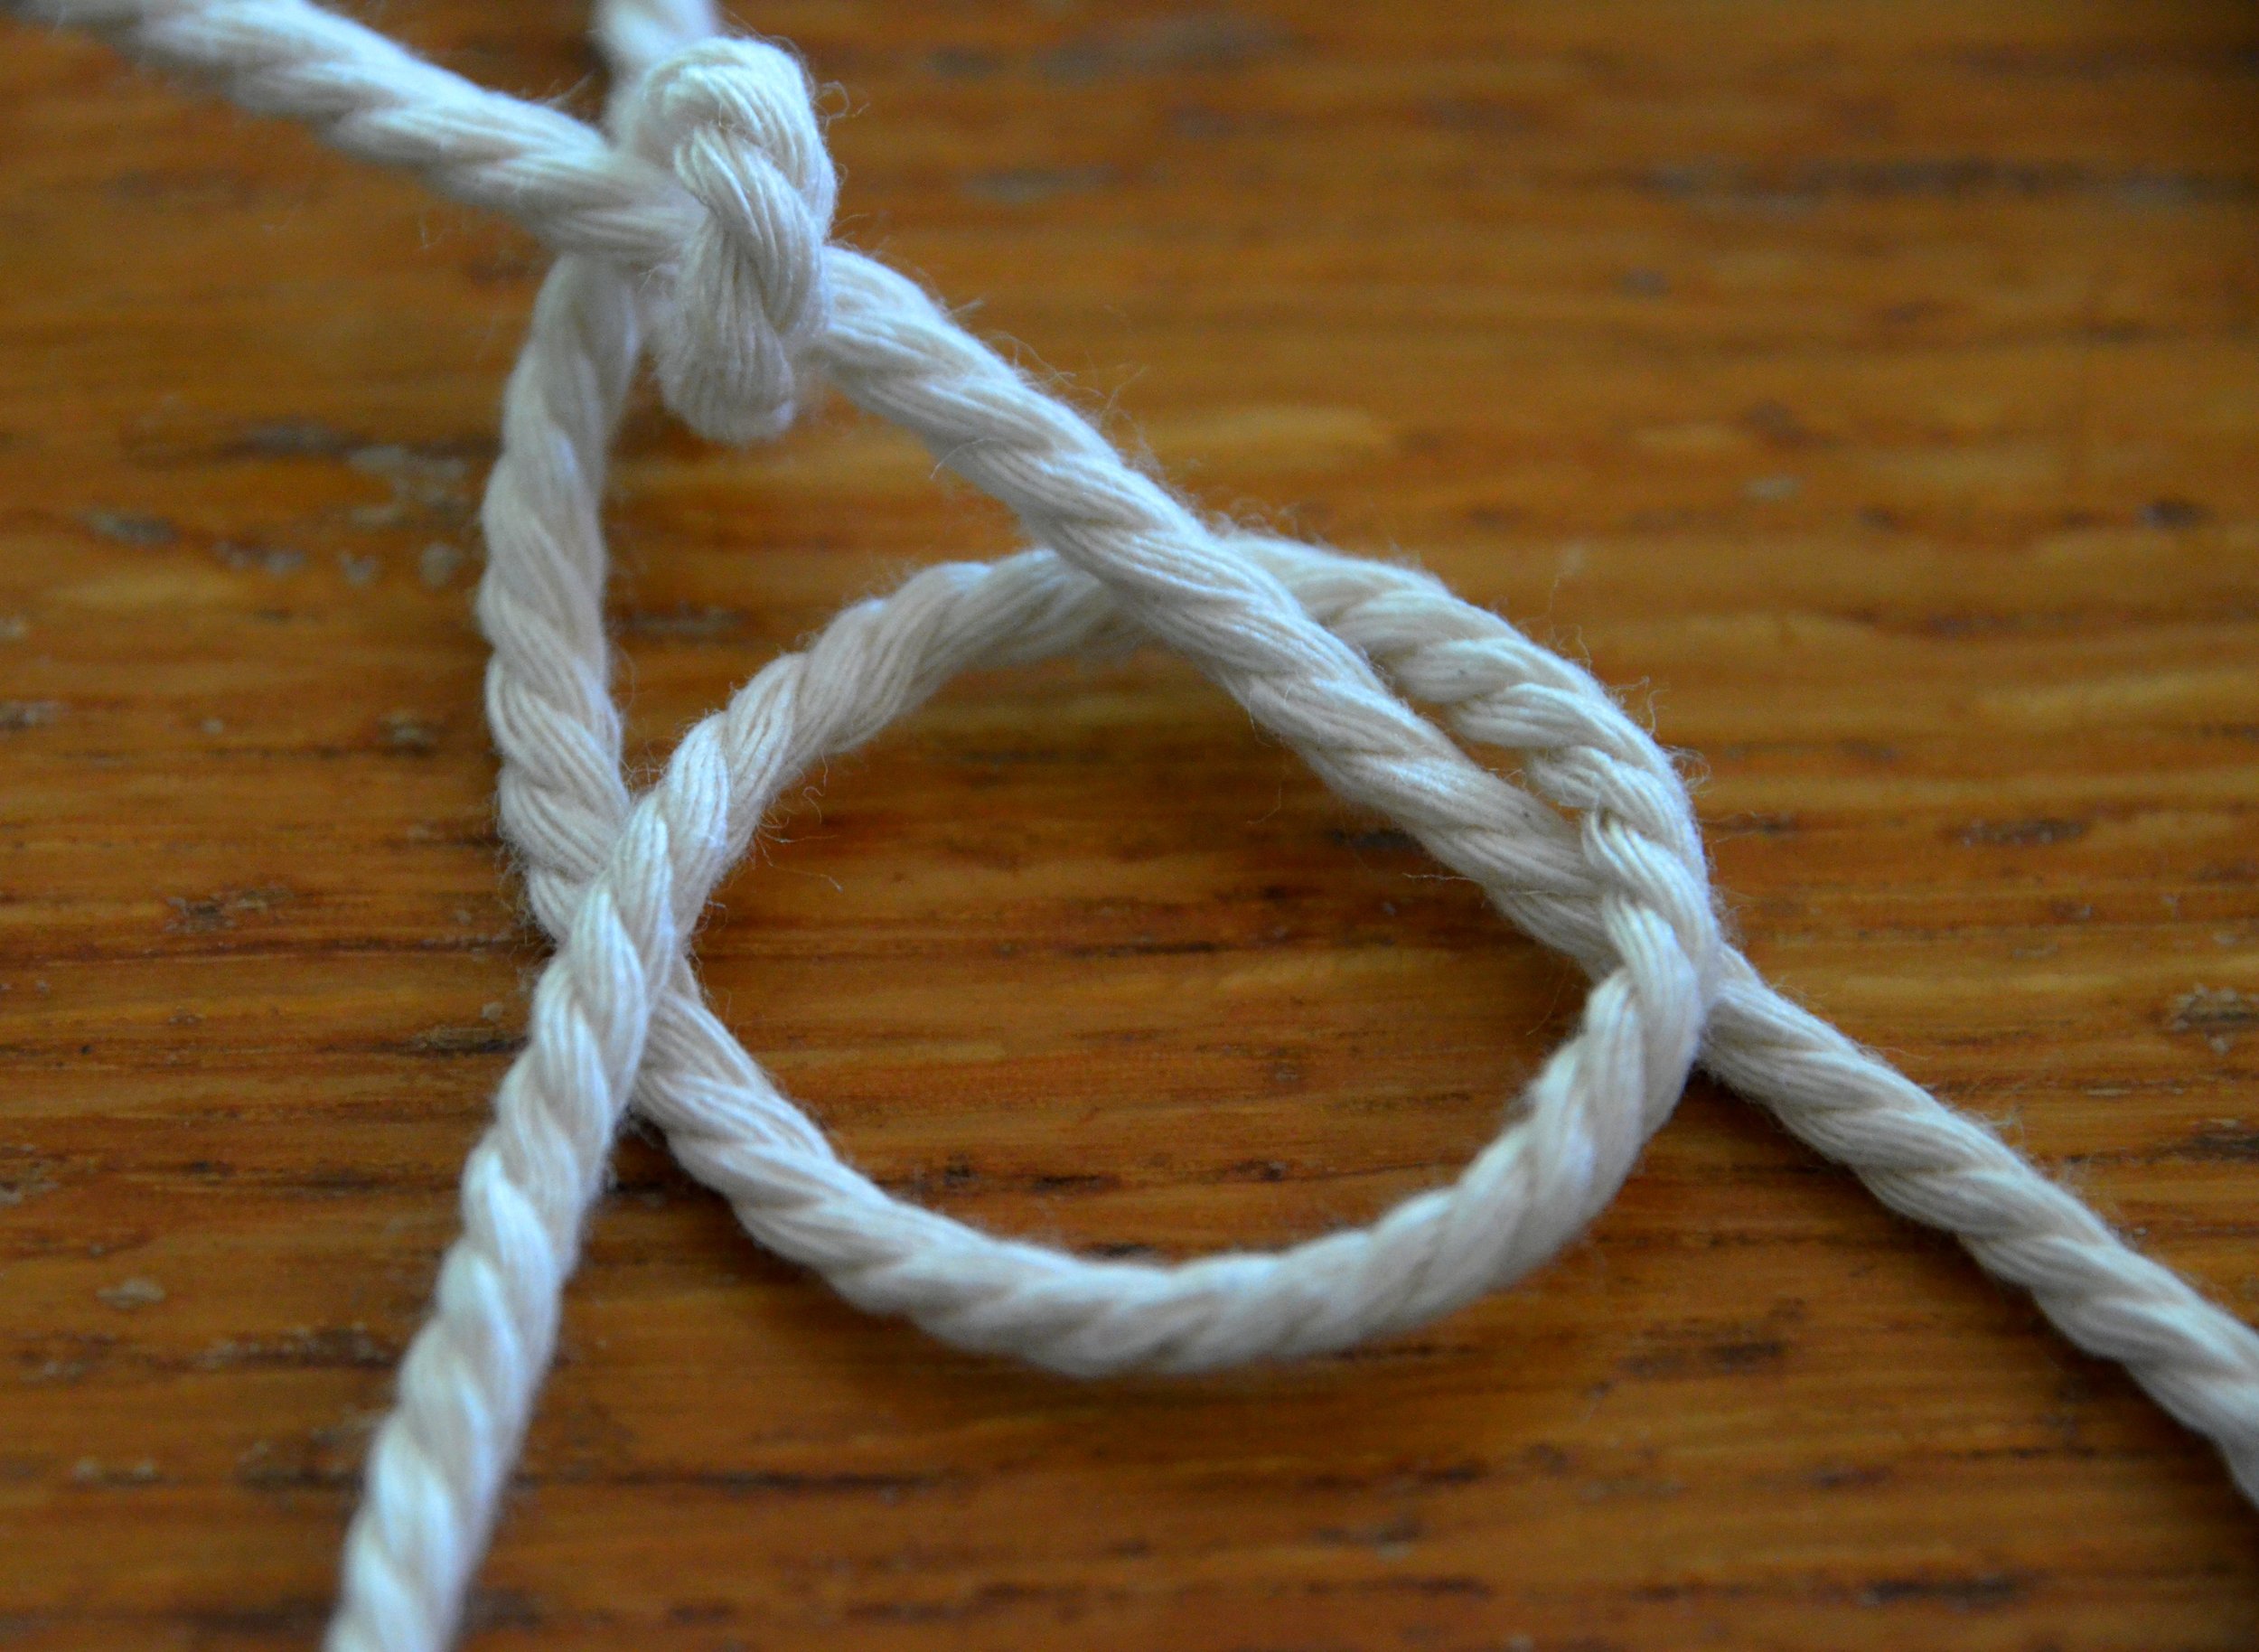
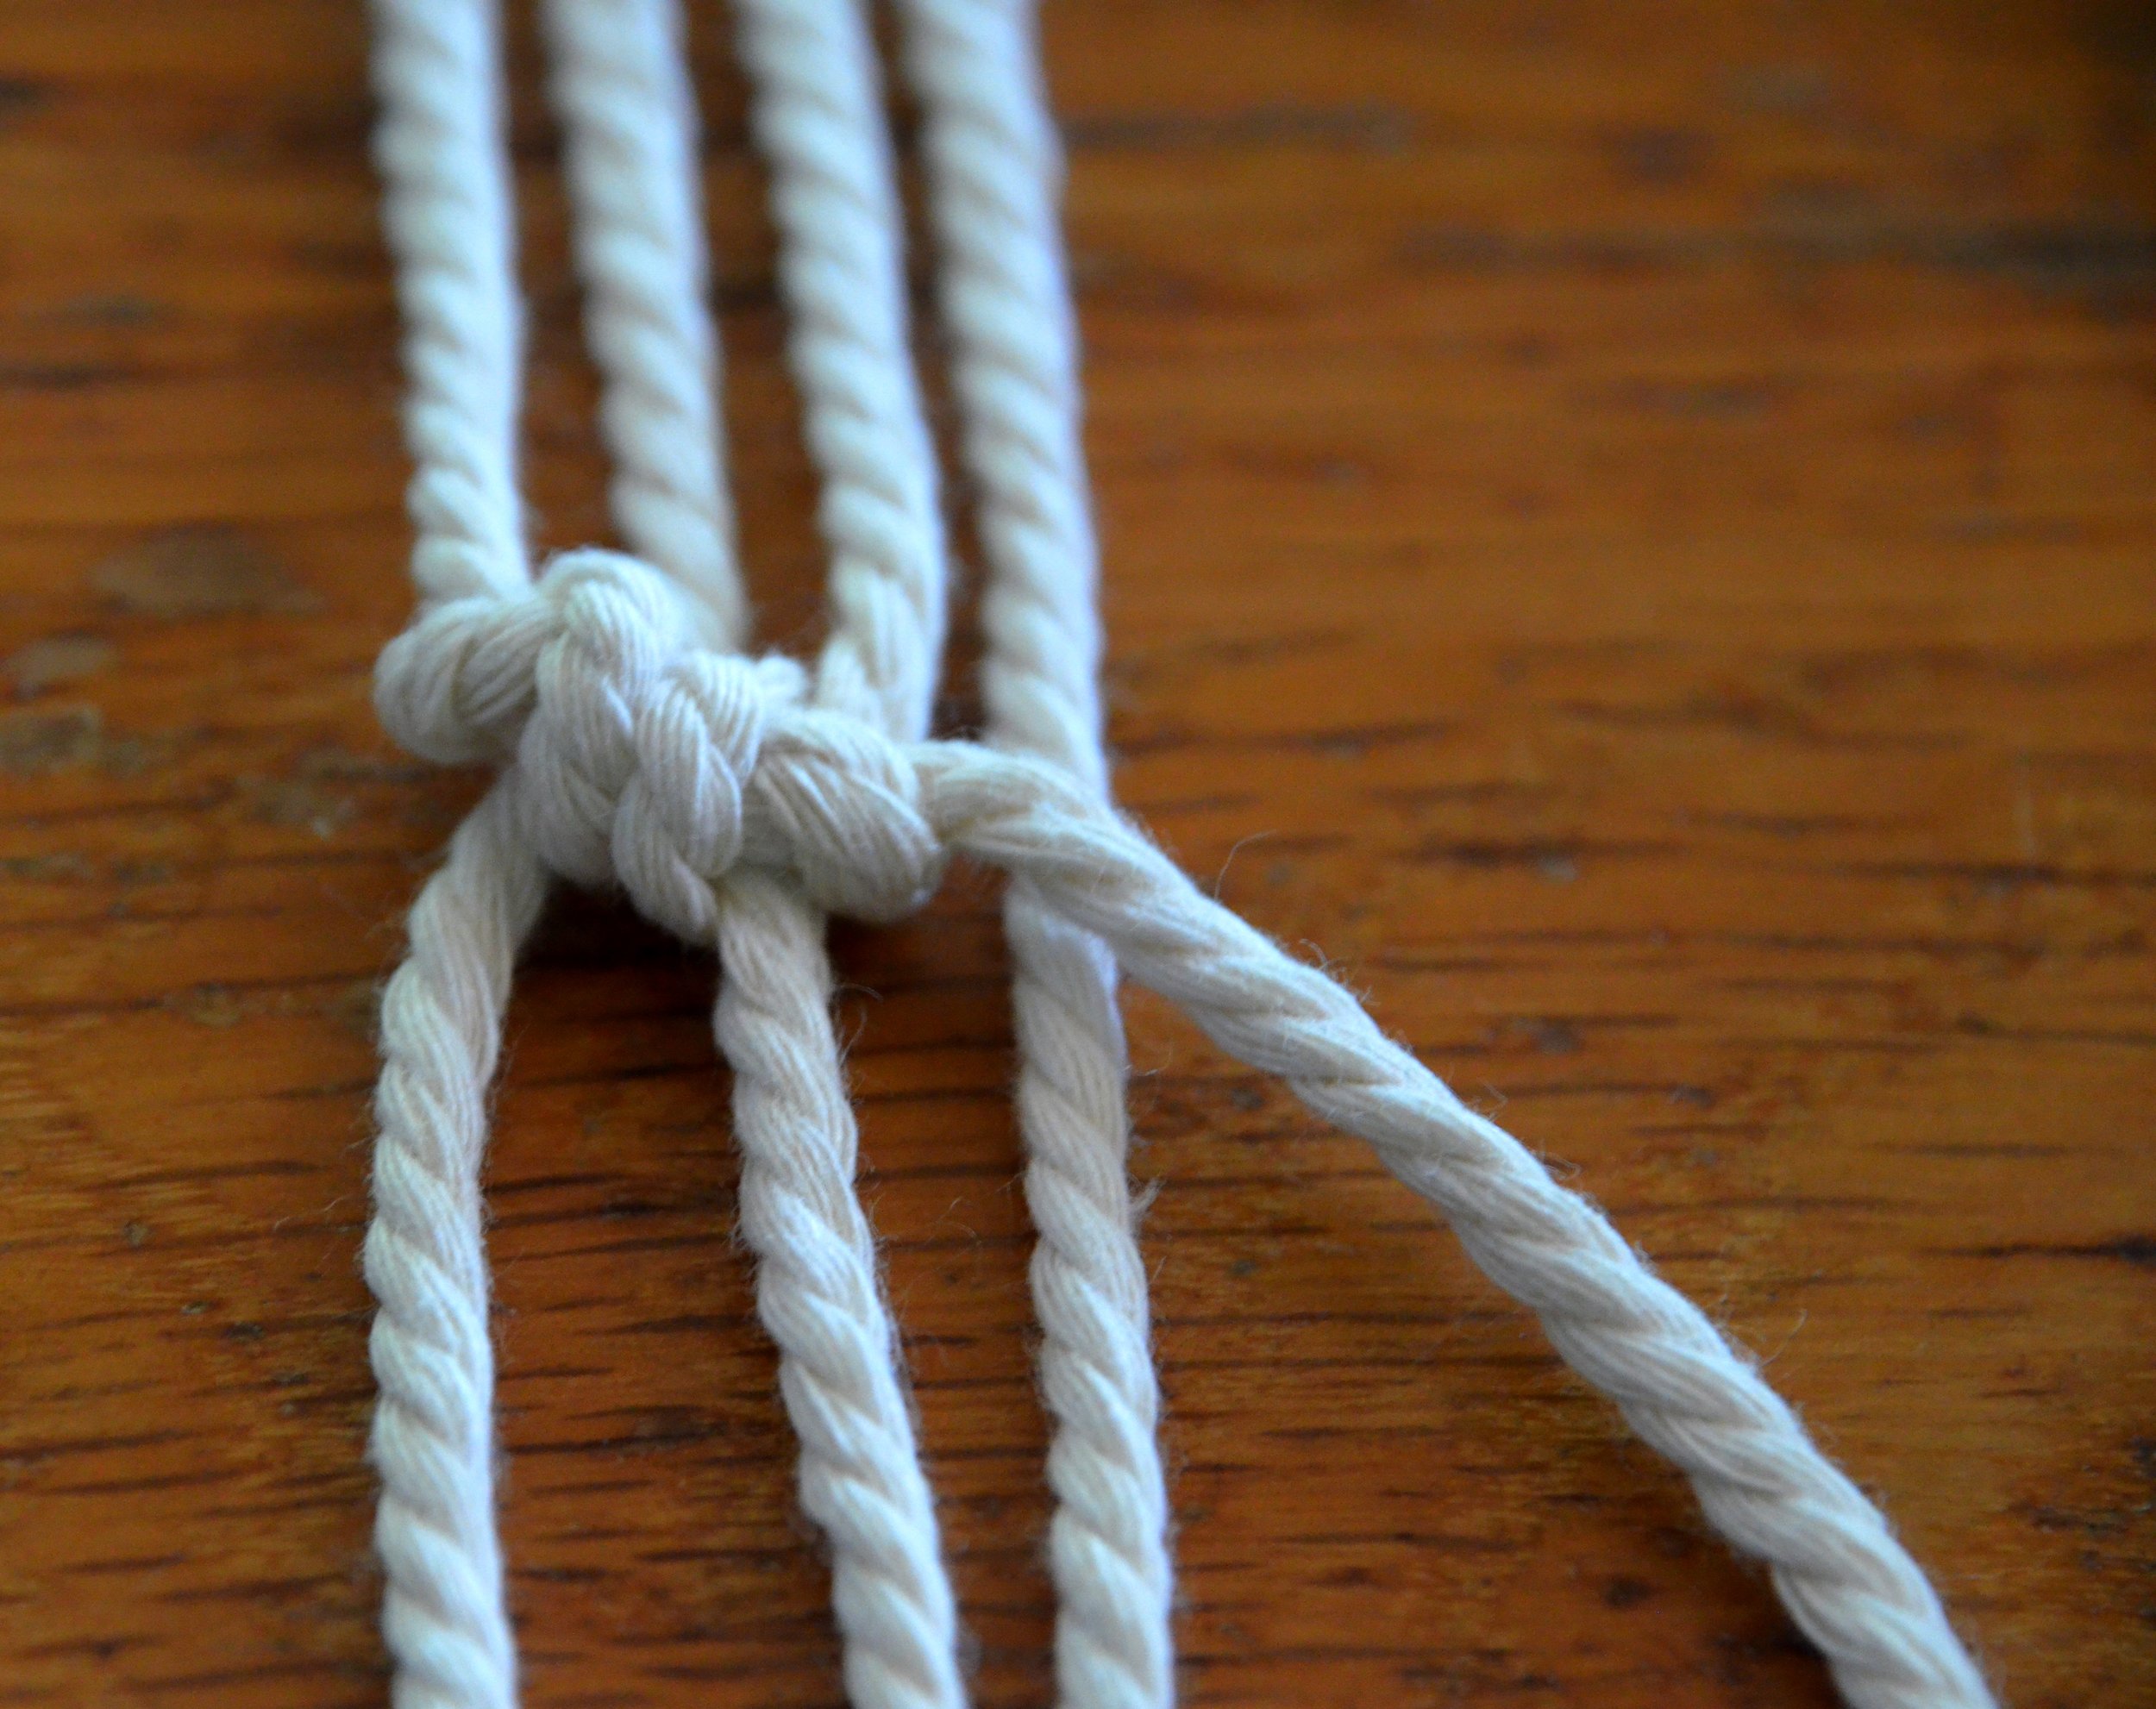
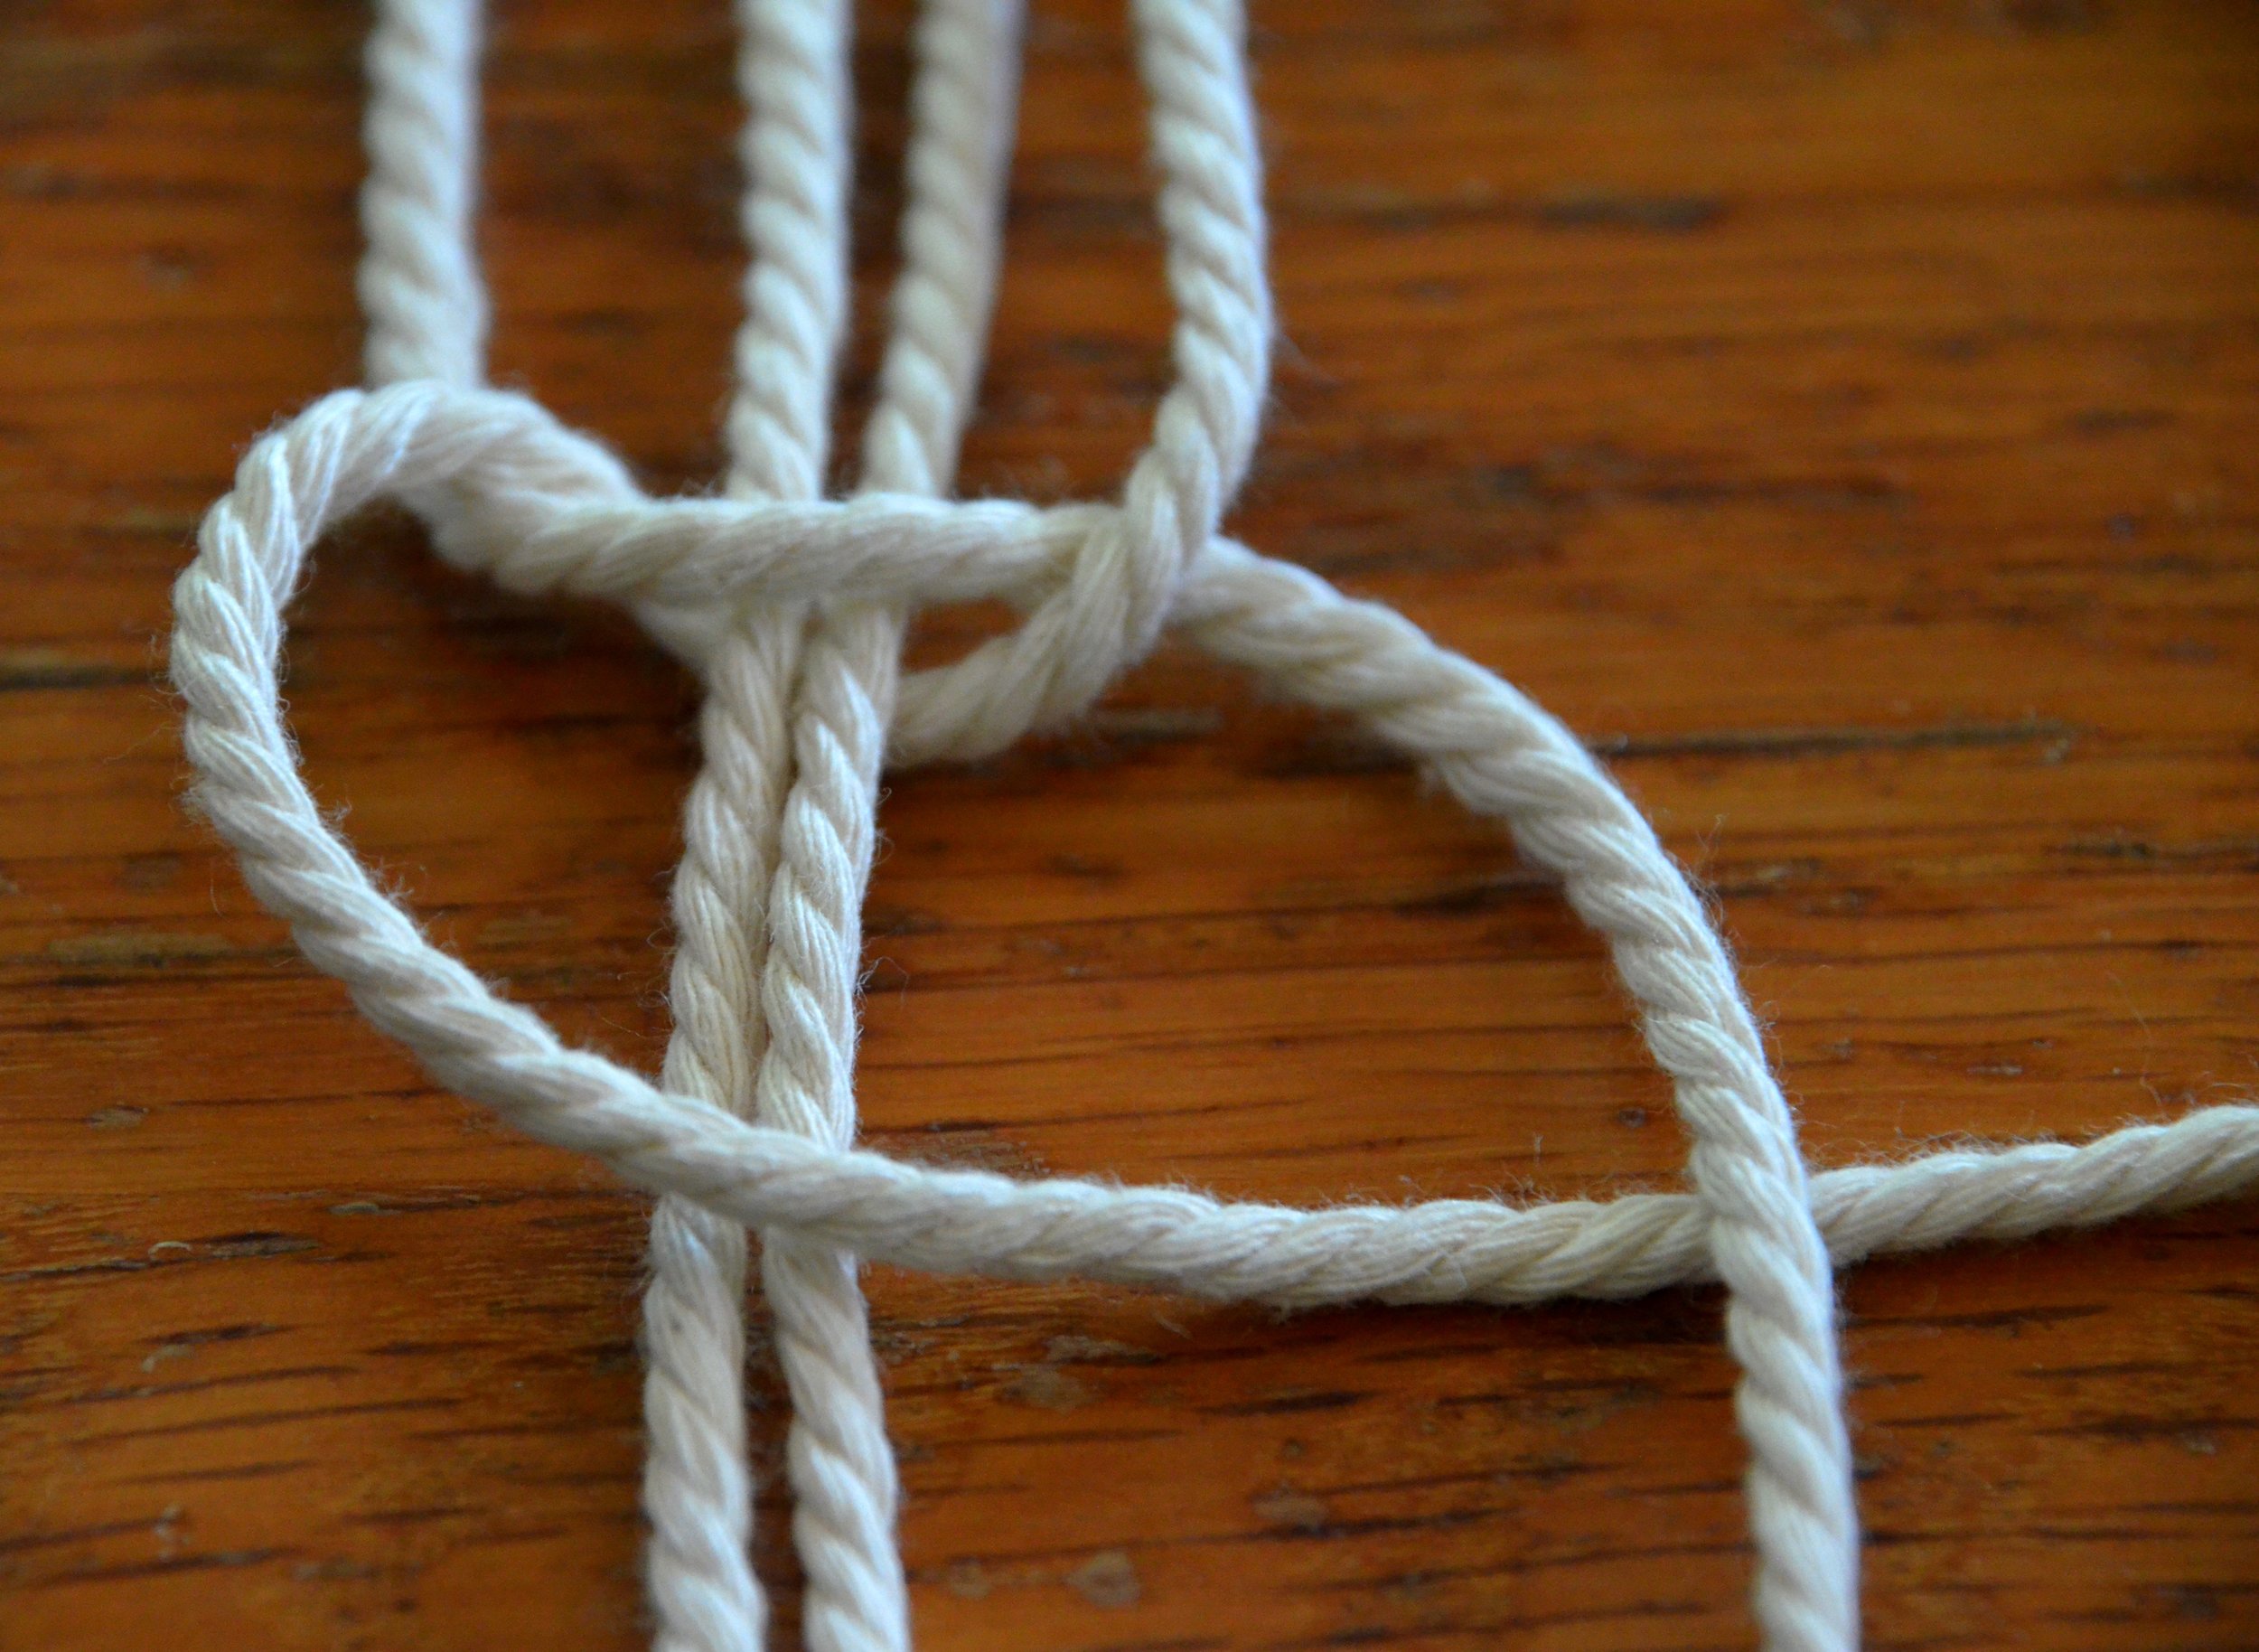
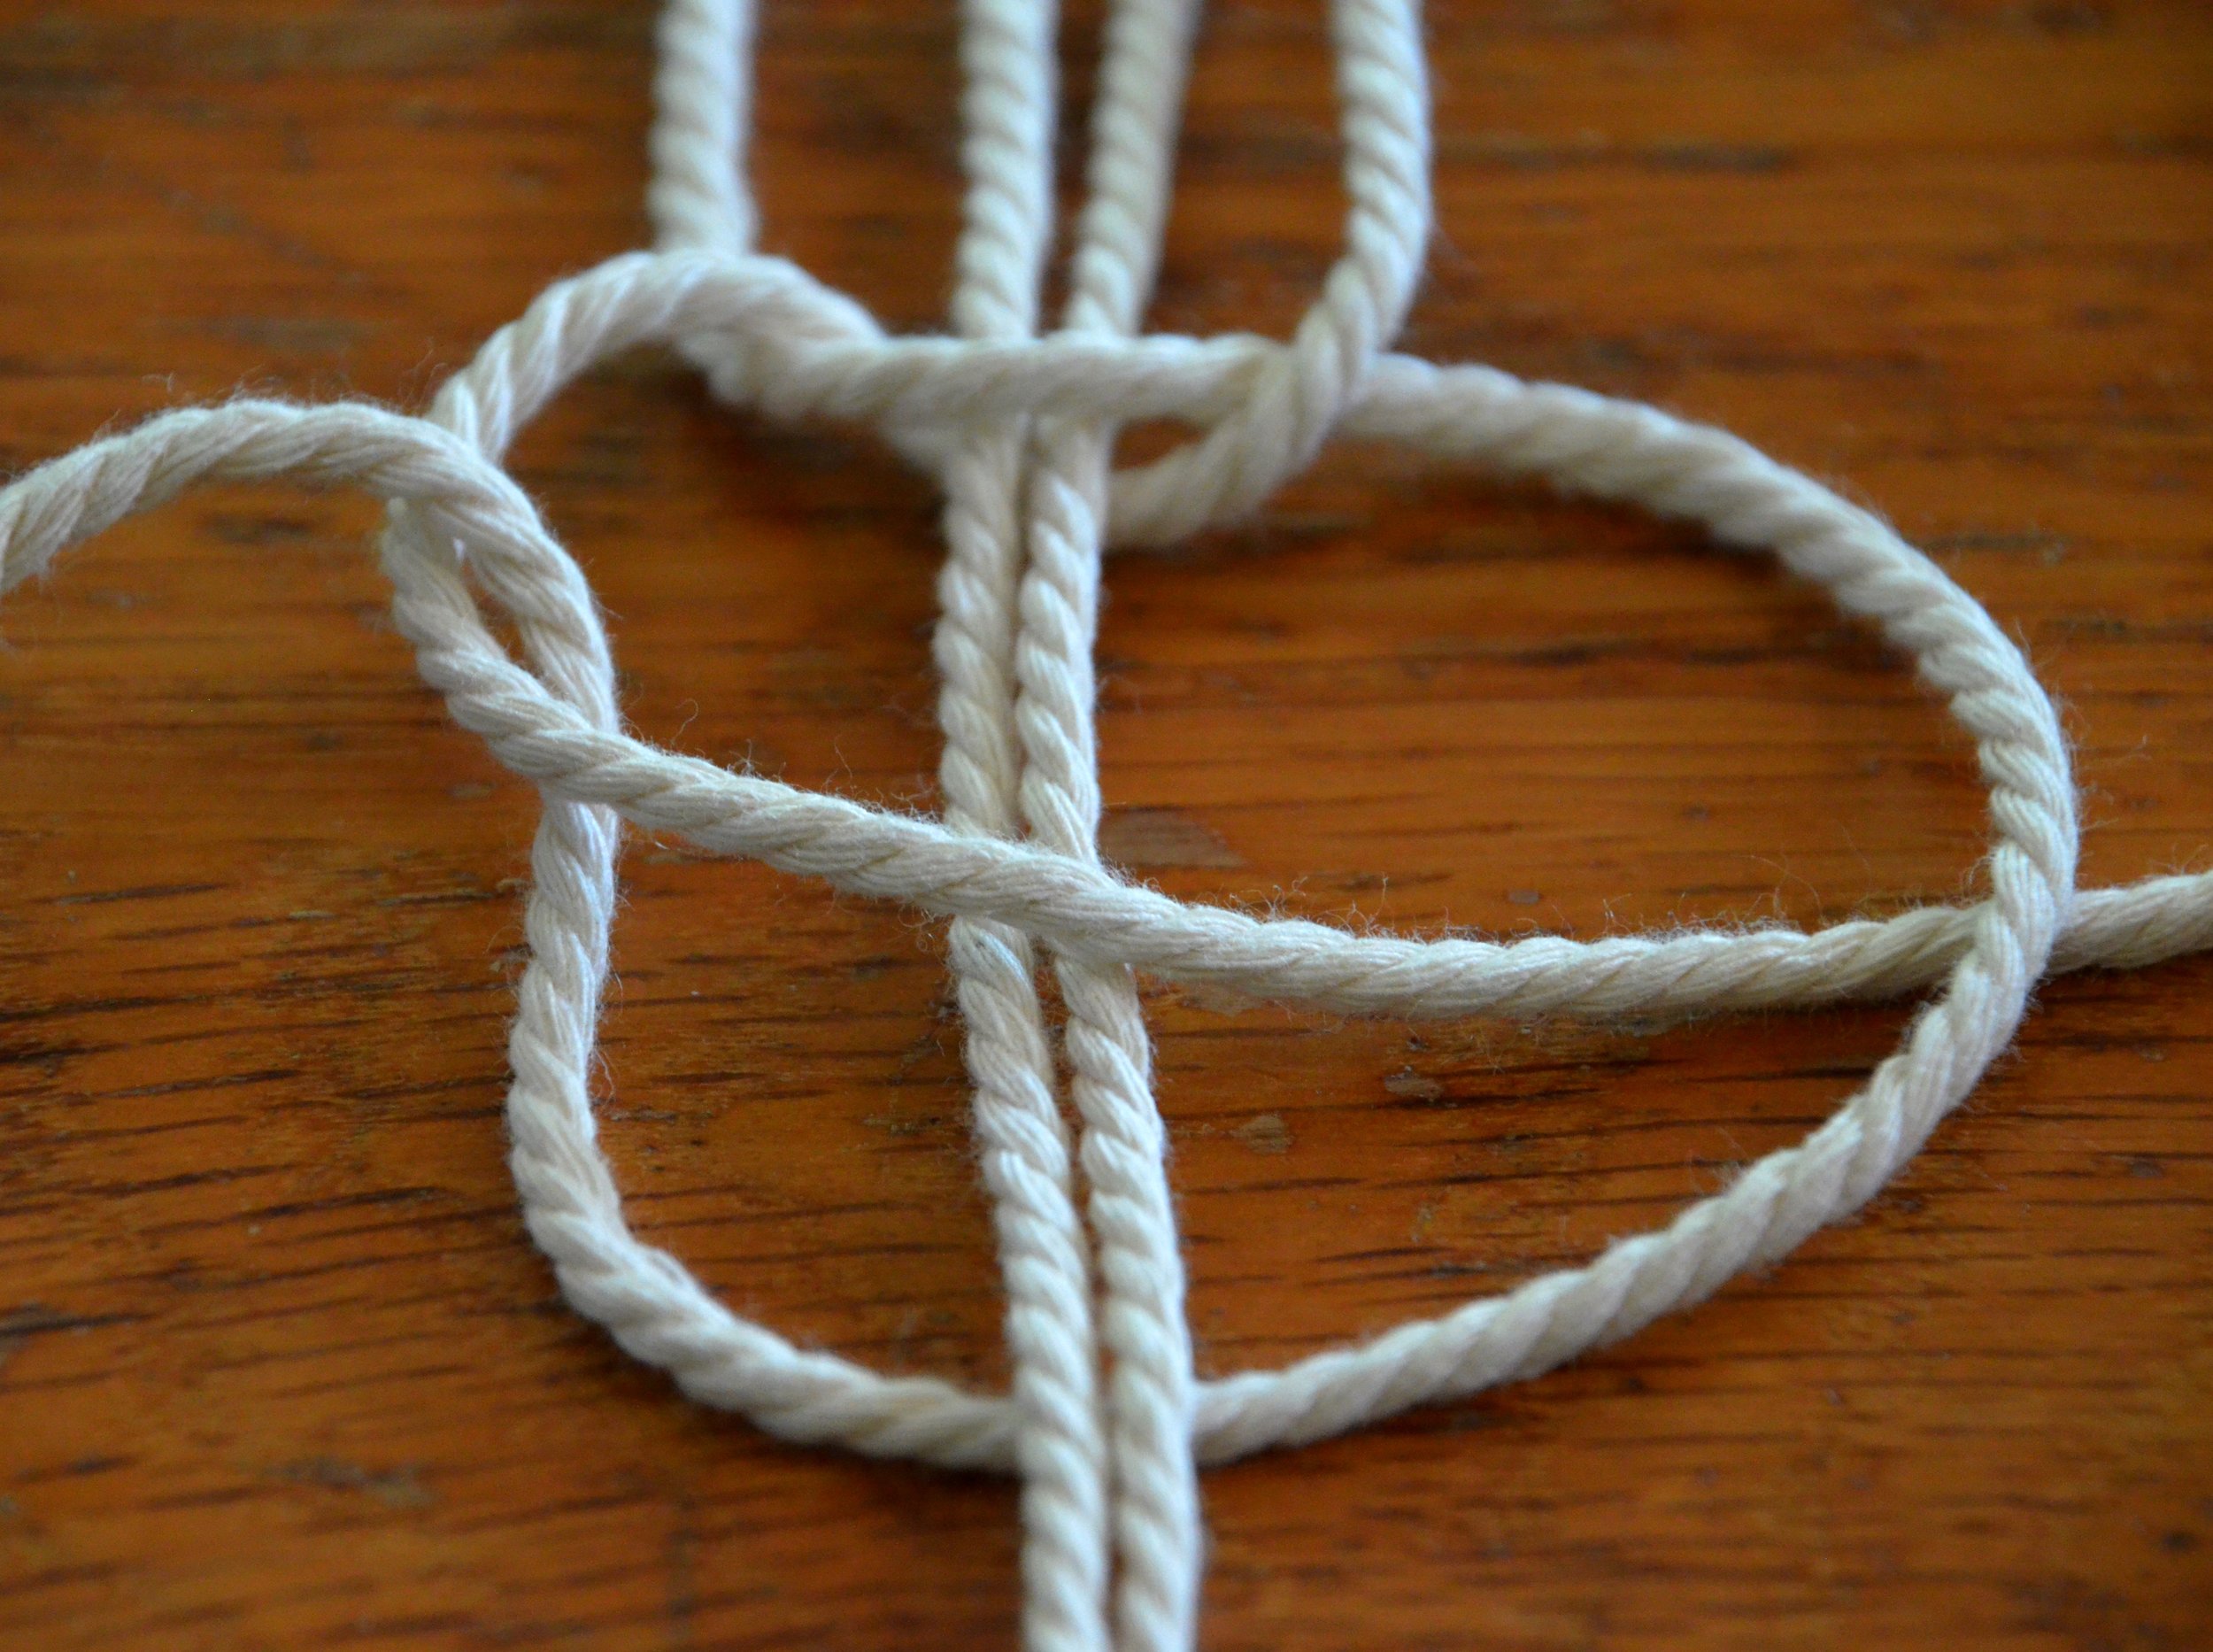
Next, loop this strand again up, over and under the diagonal strand, this time looping it through itself and tightening to create a knot. Once you have repeated this with a number of strands you will start to see a knotted diagonal line forming, as seen below.
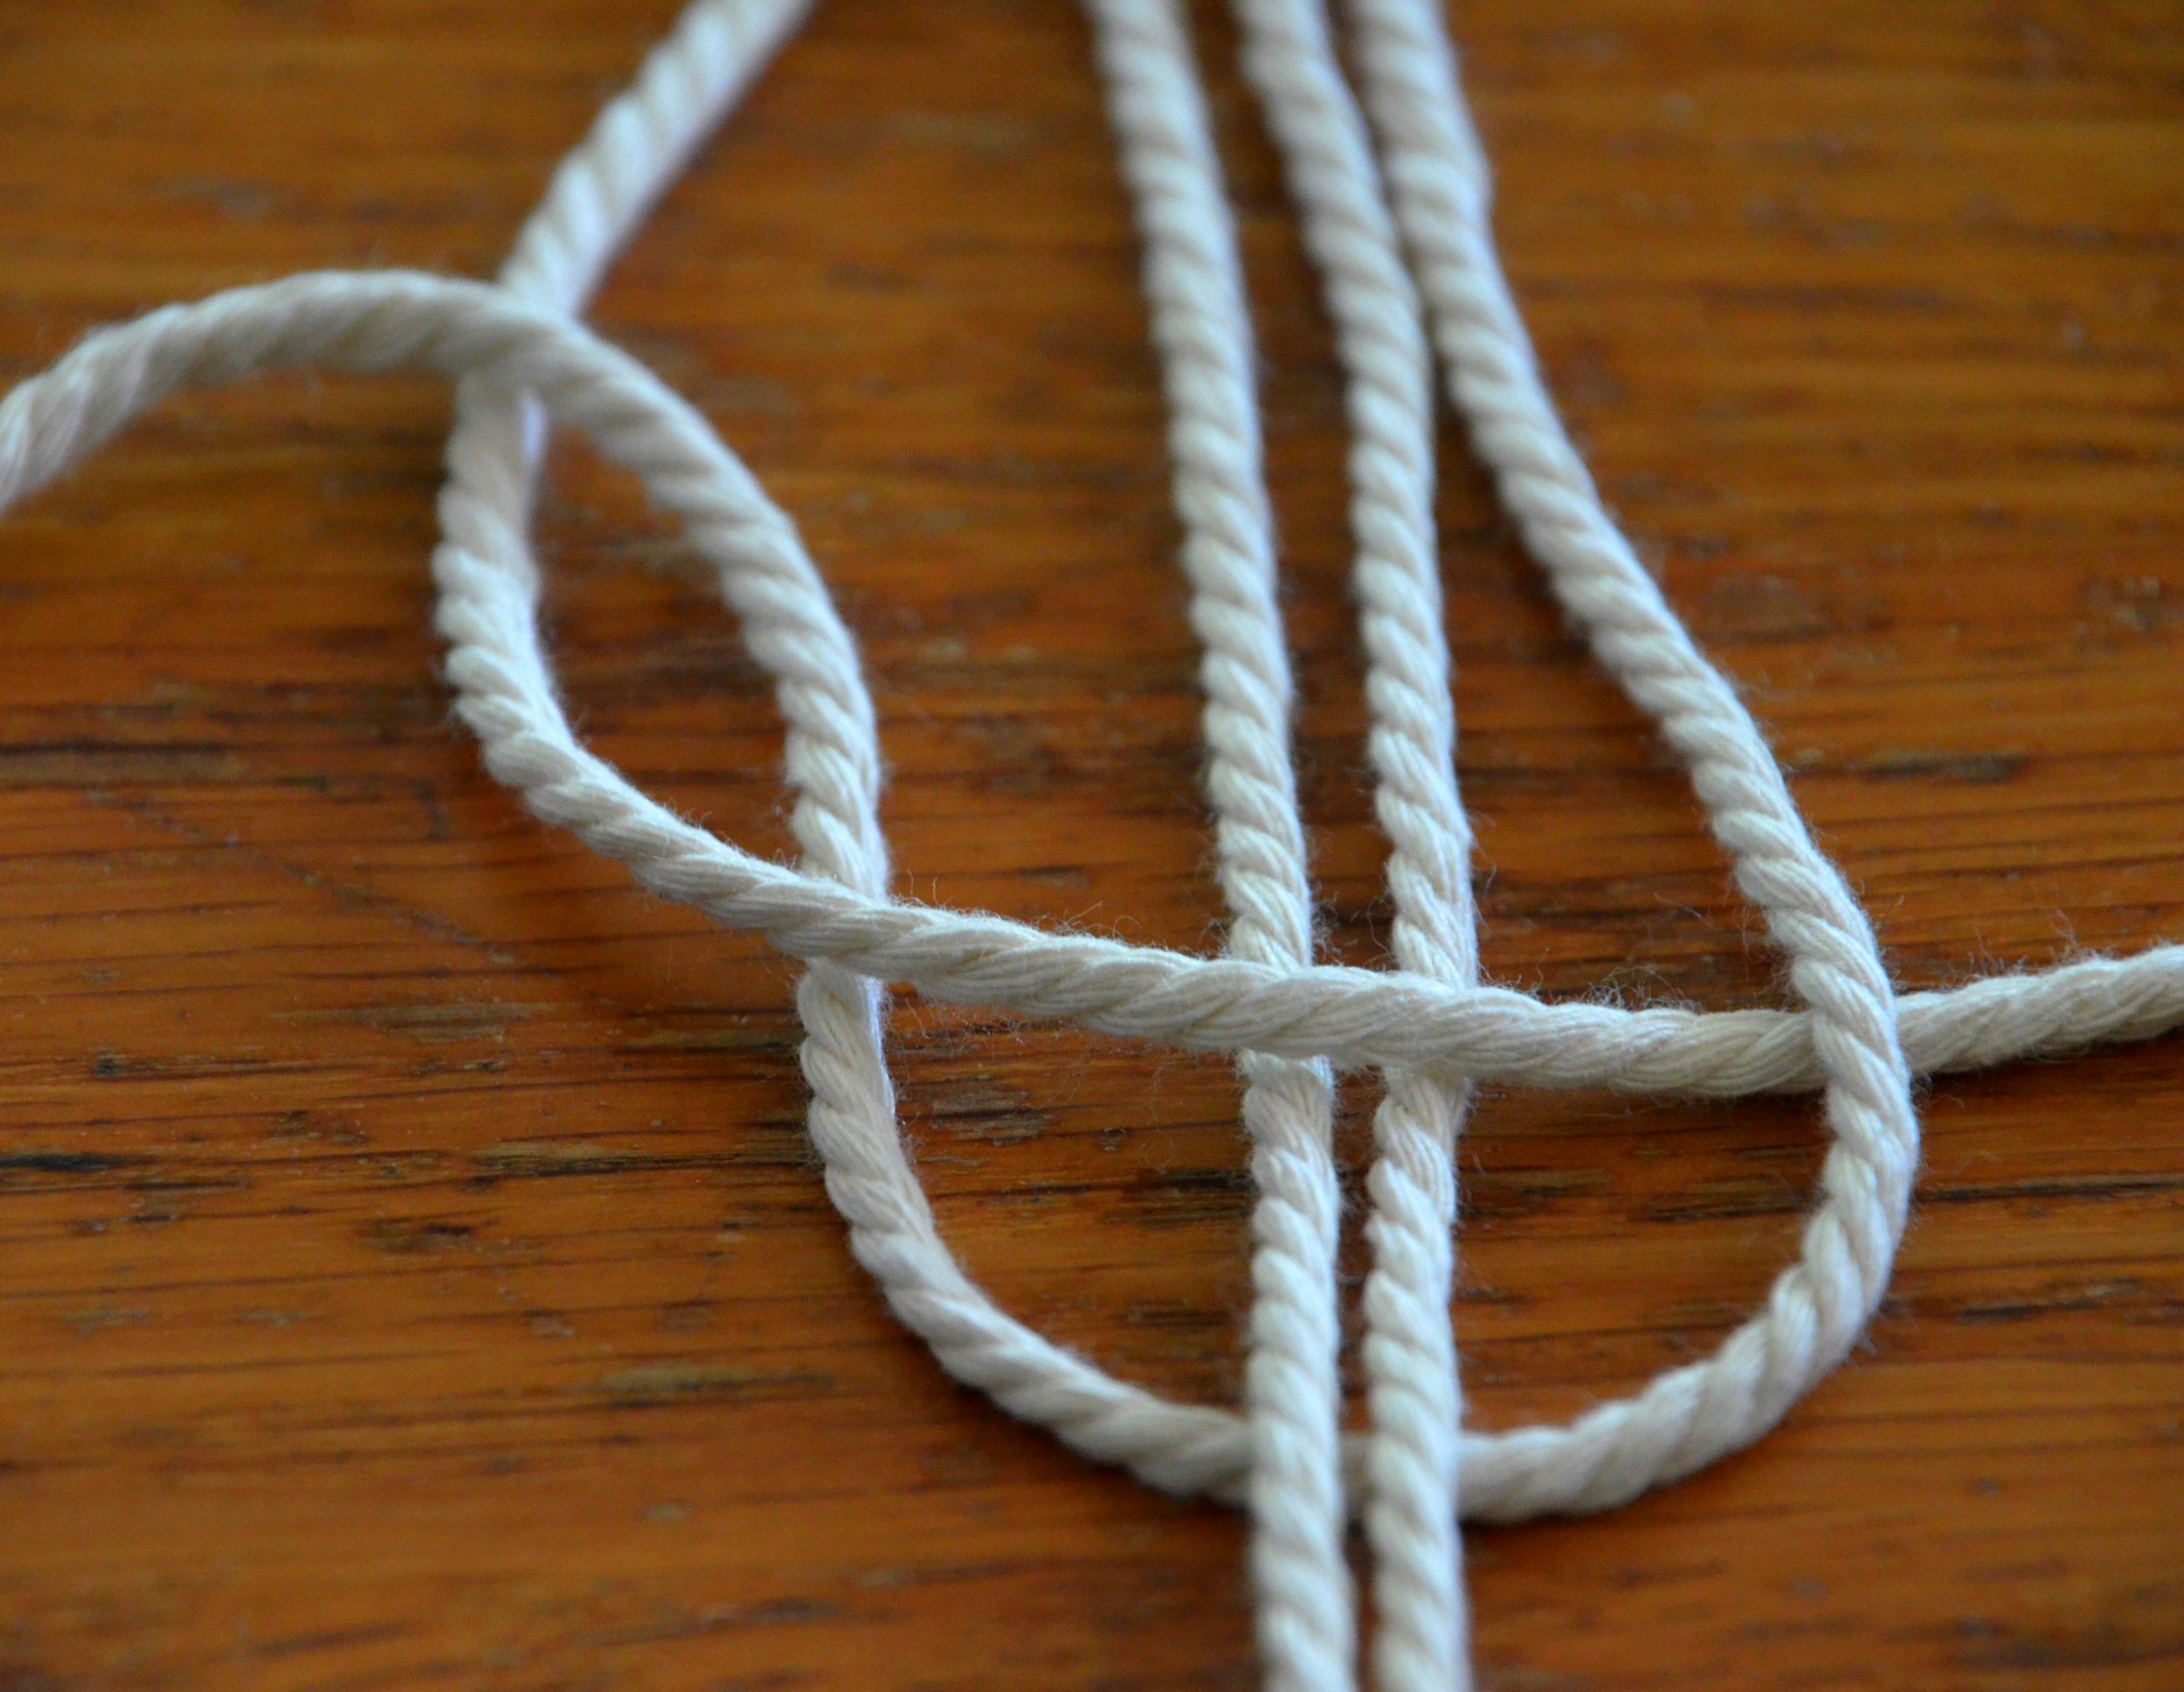
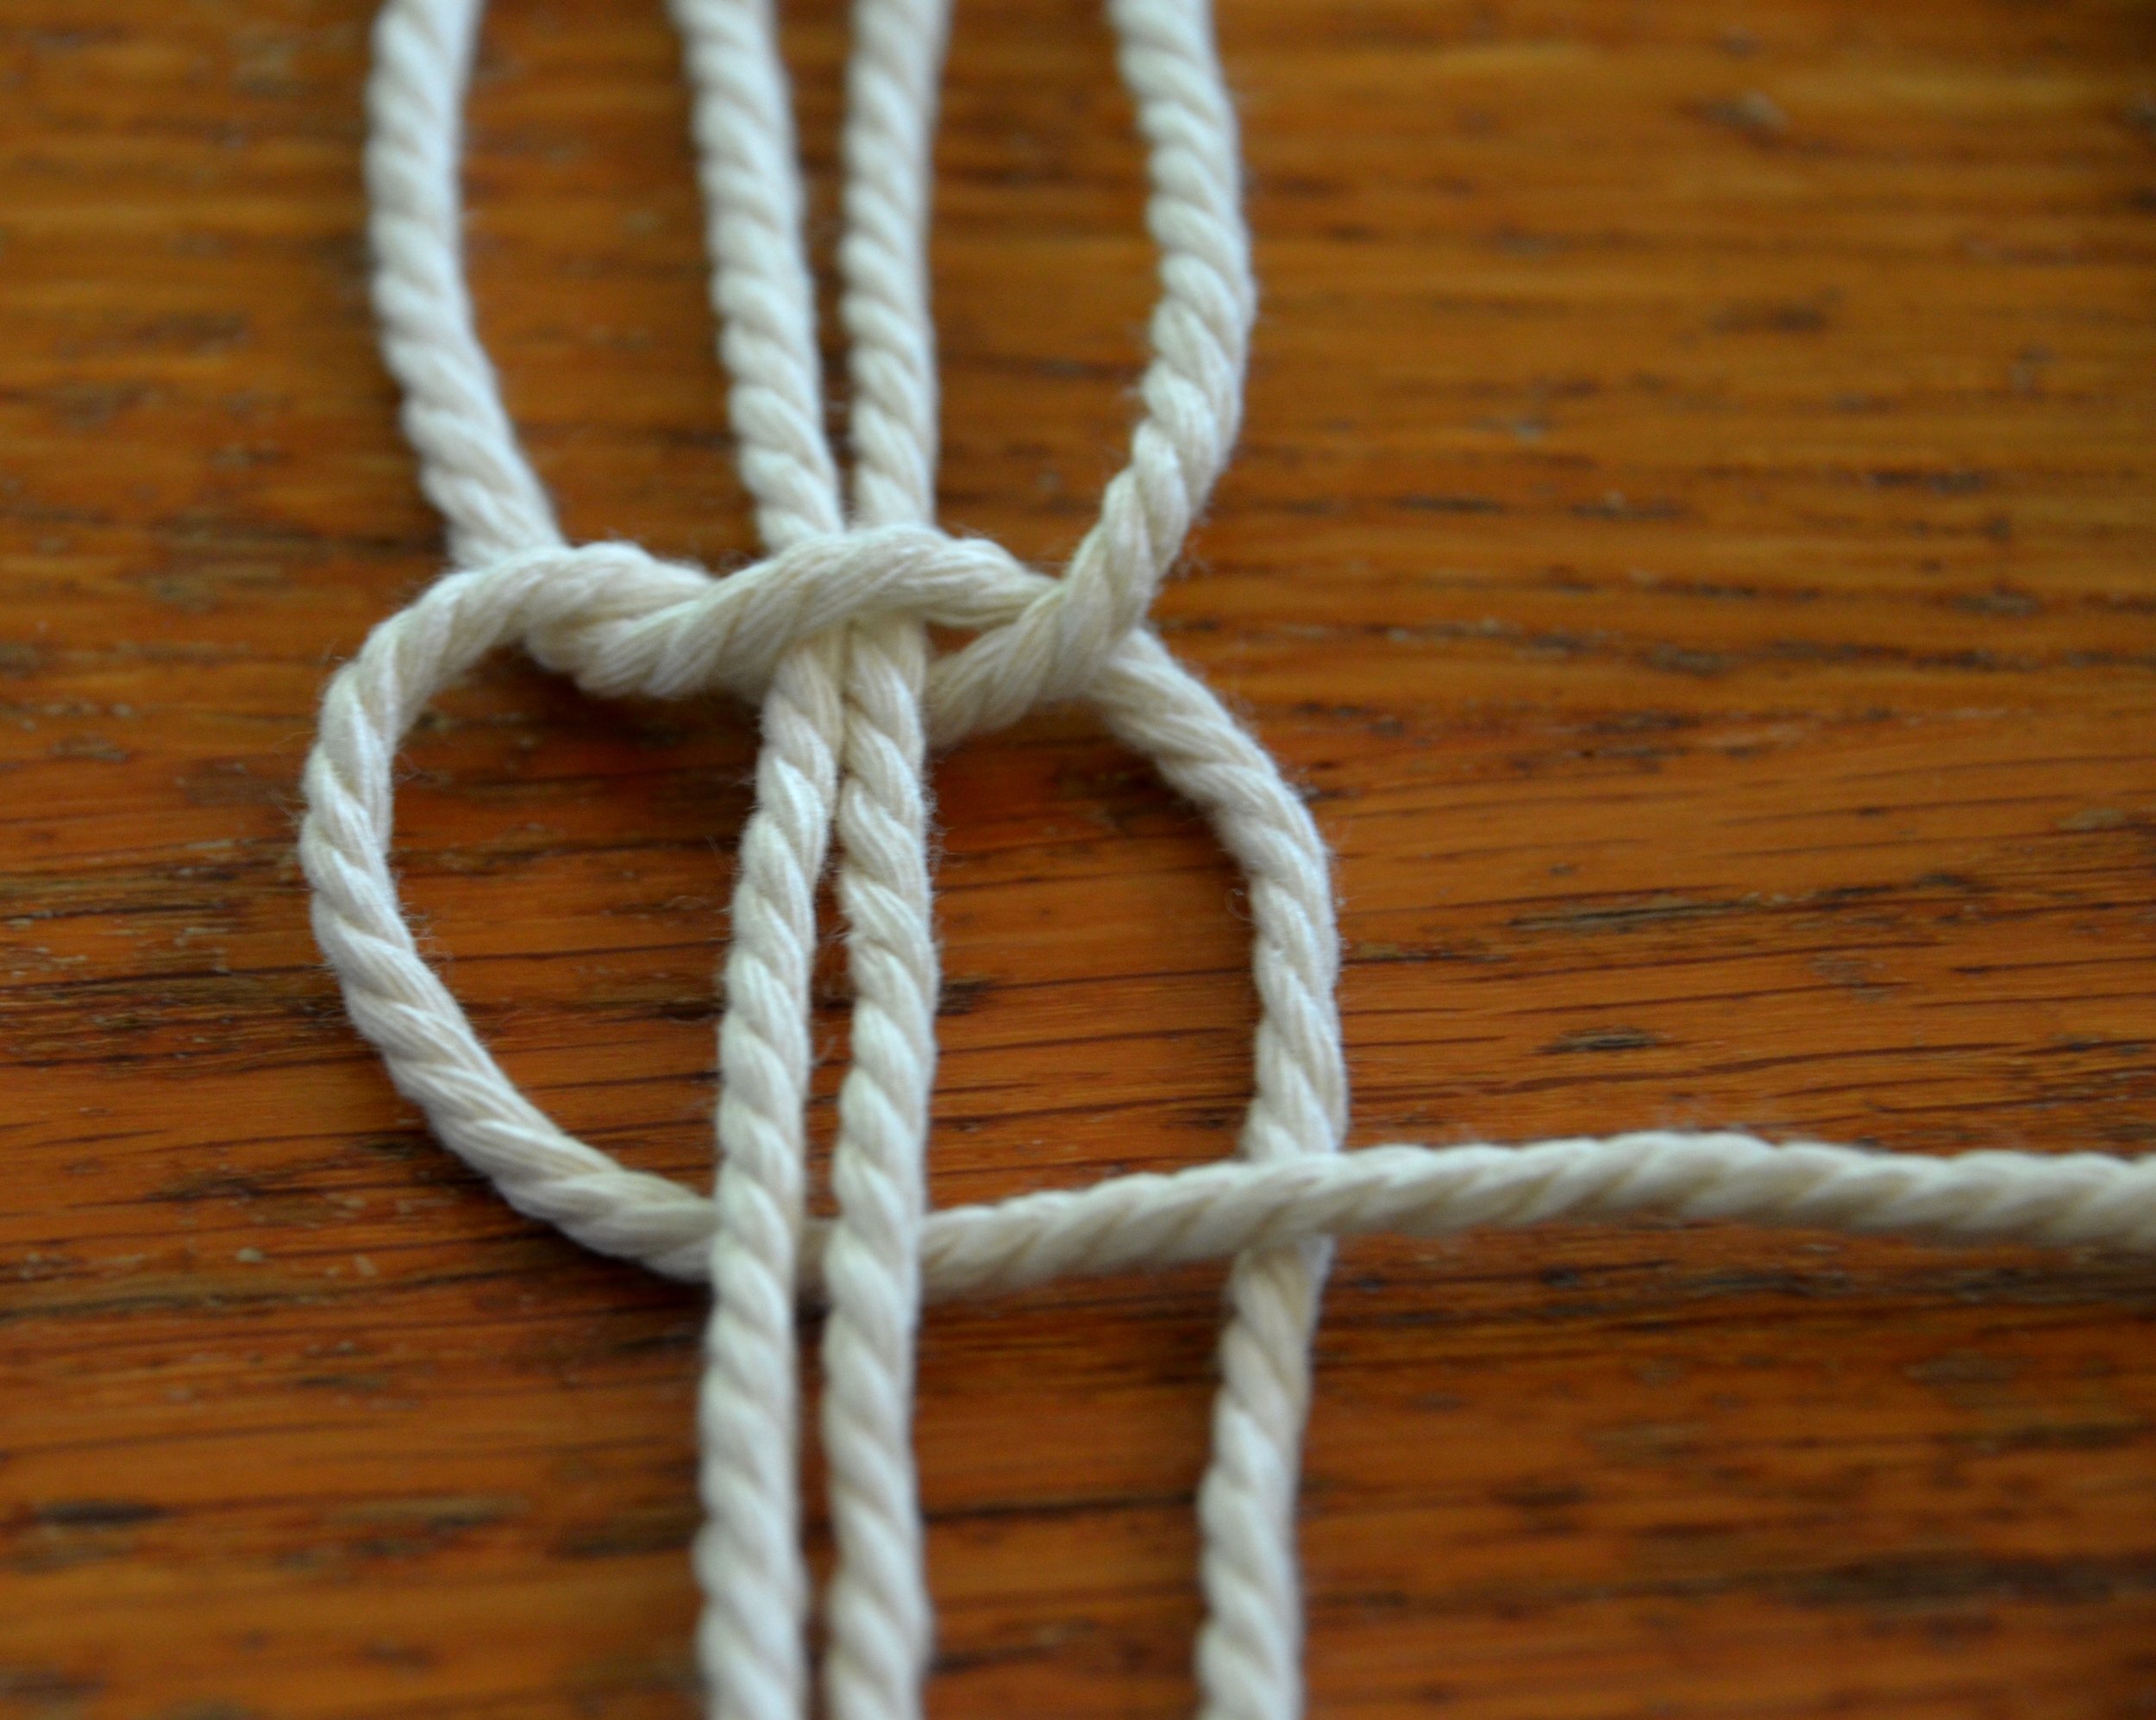
The Twisted Sinnet
Follow the steps as shown by the pictures below.


Continue this sequence until you reach the length you desire!
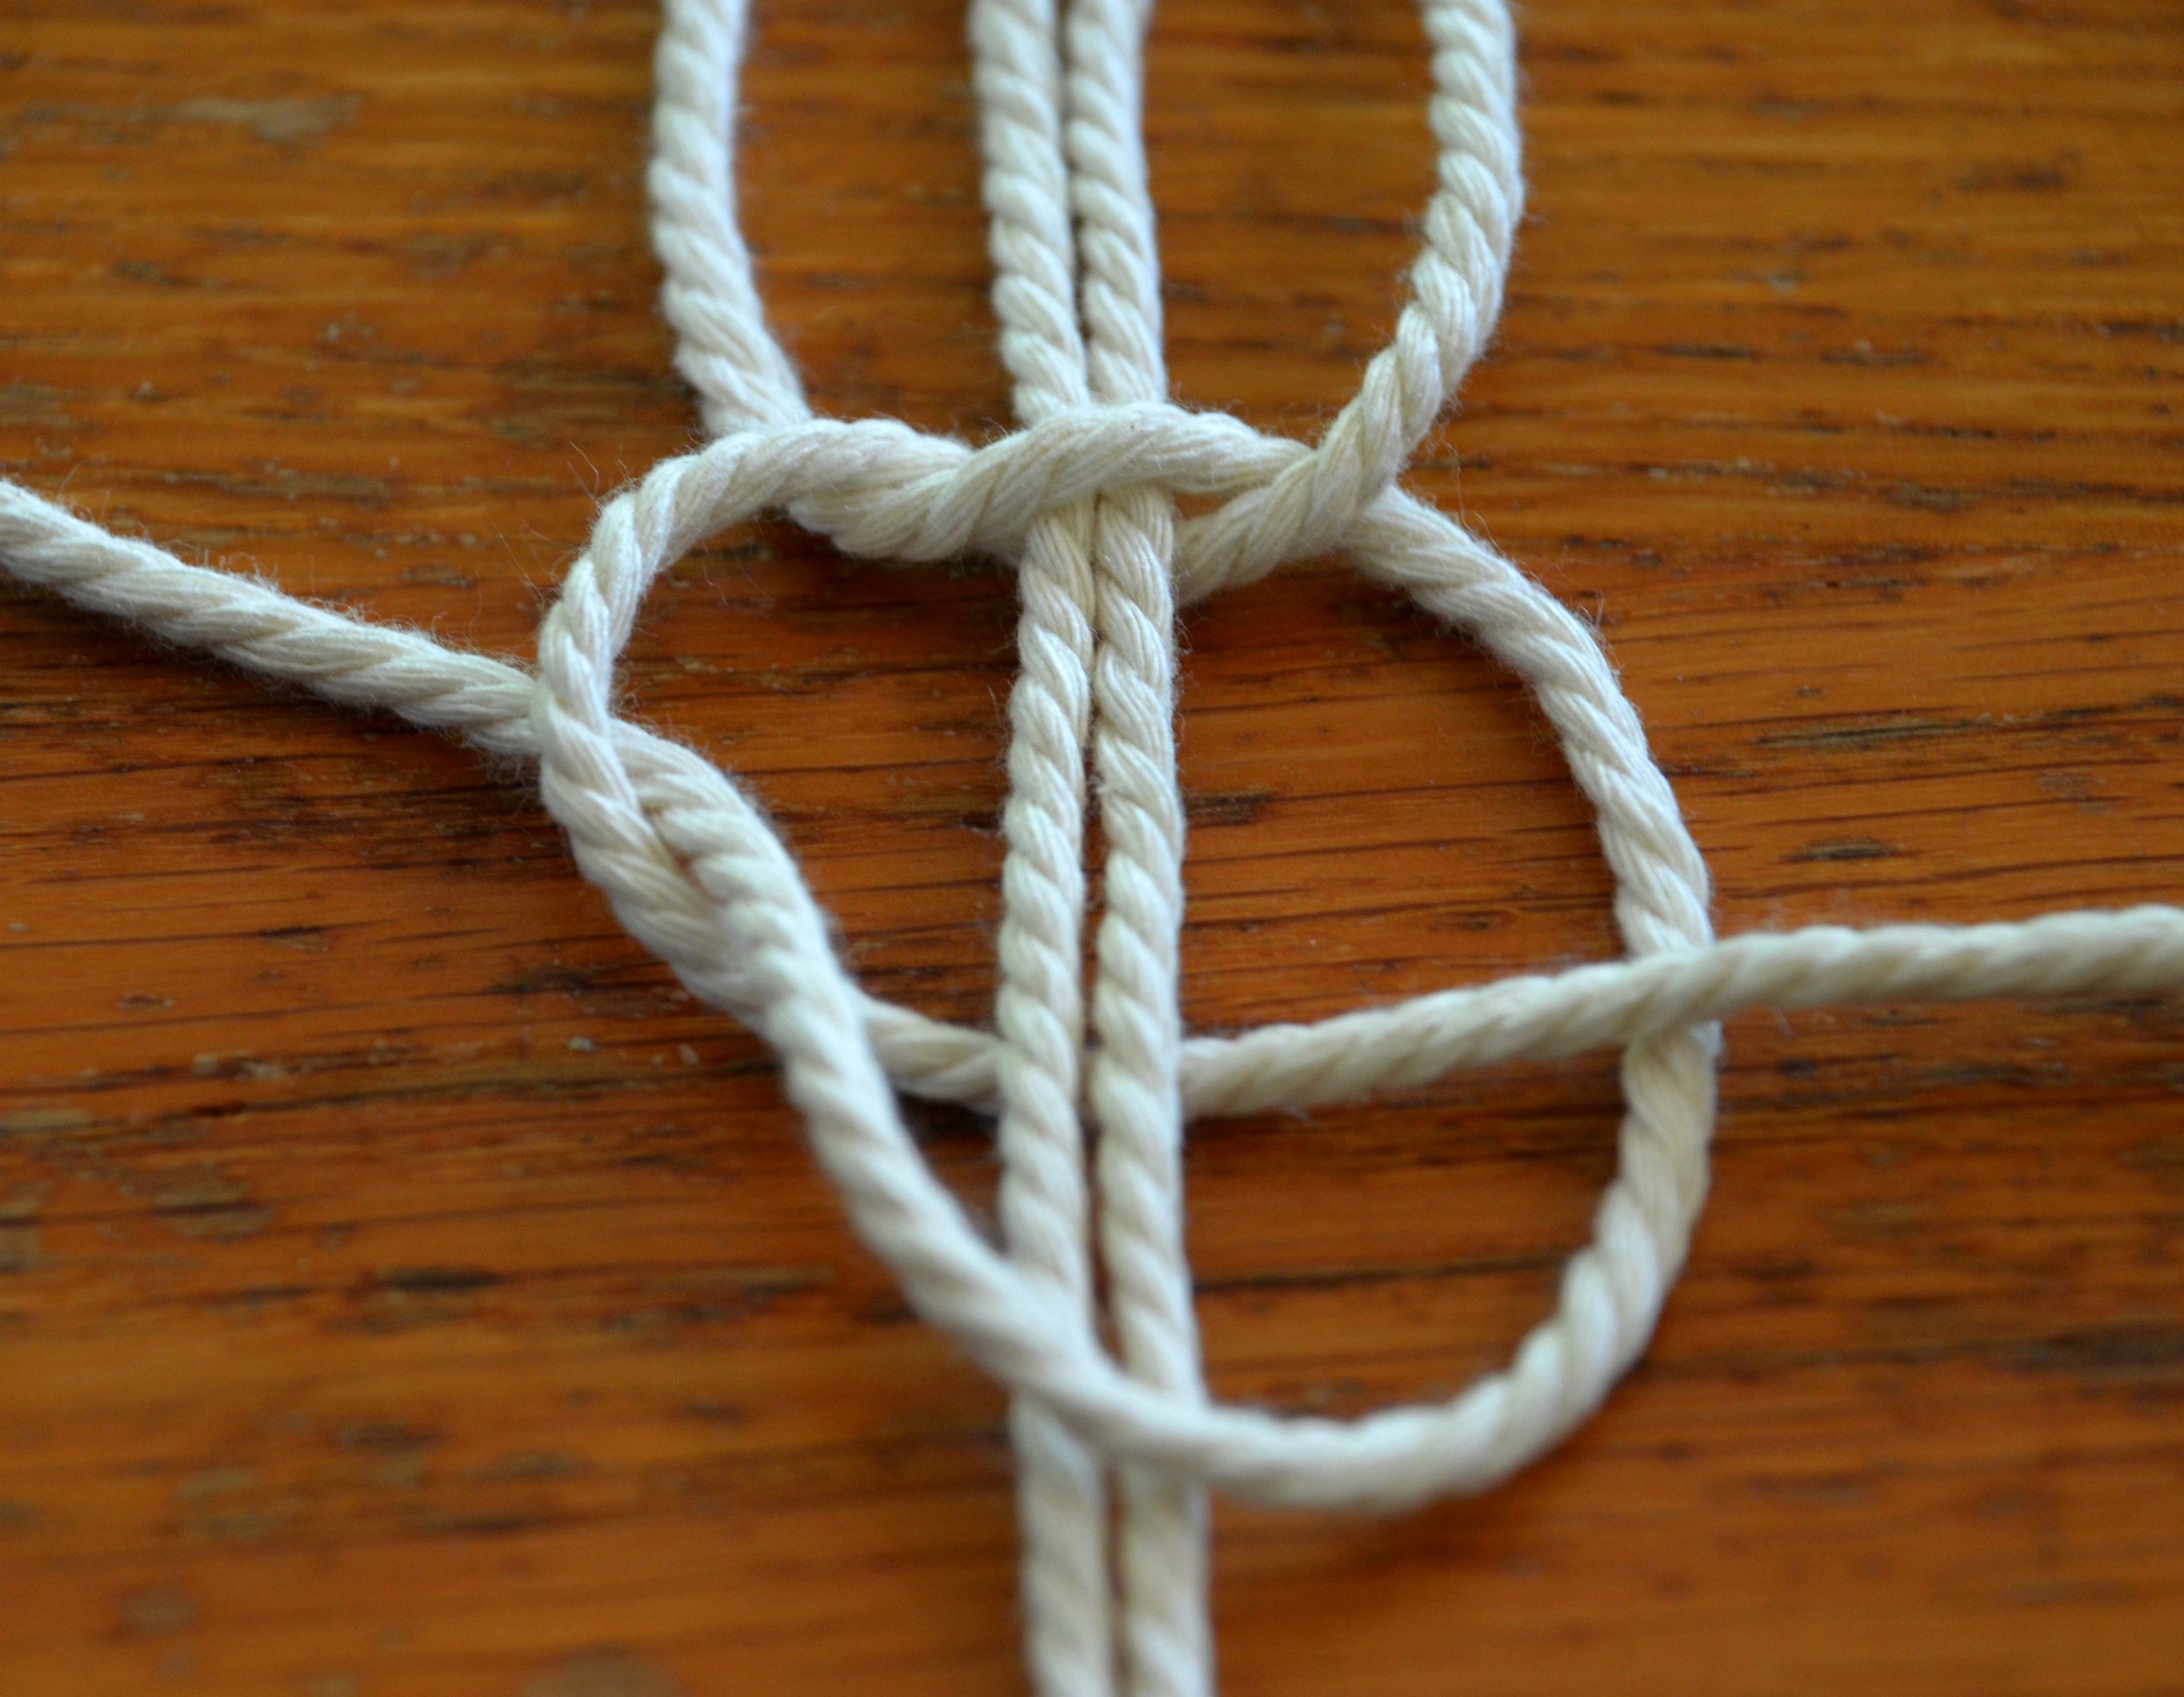
The Double Knot
This knot follows the first few steps of the Twisted Sinnet, but the latter steps differ ever so slightly to create a different kind of knot!


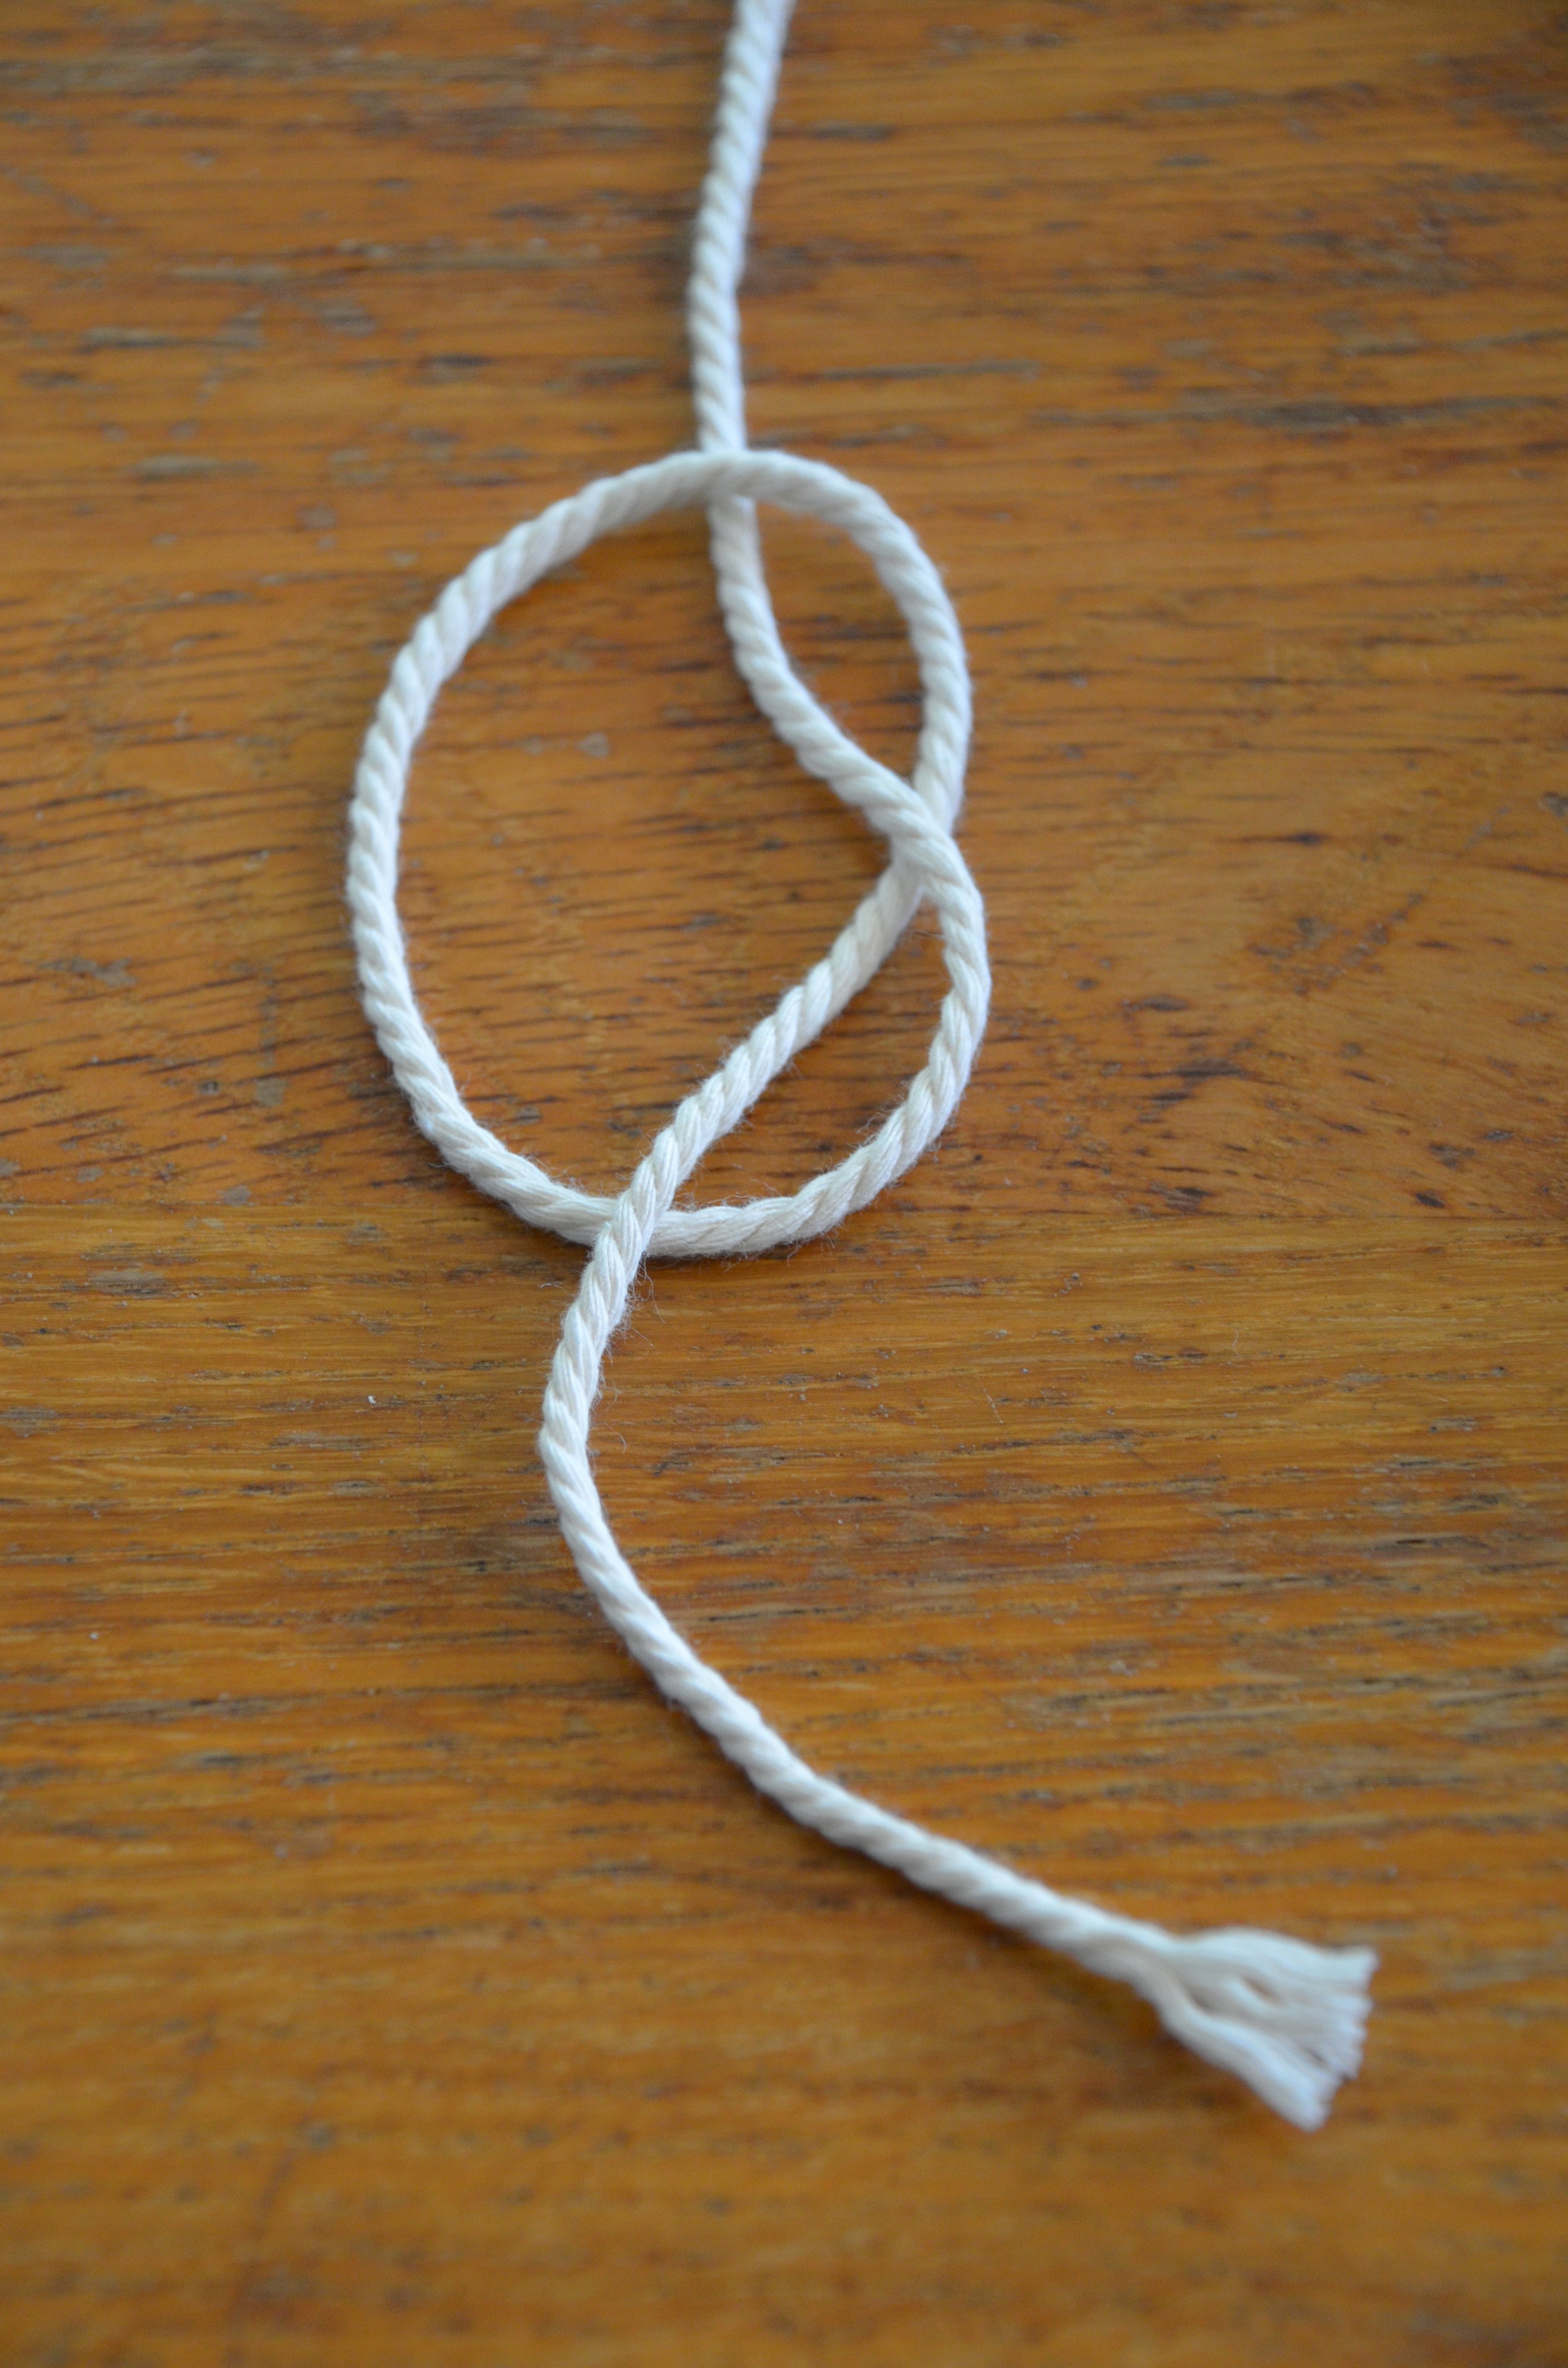
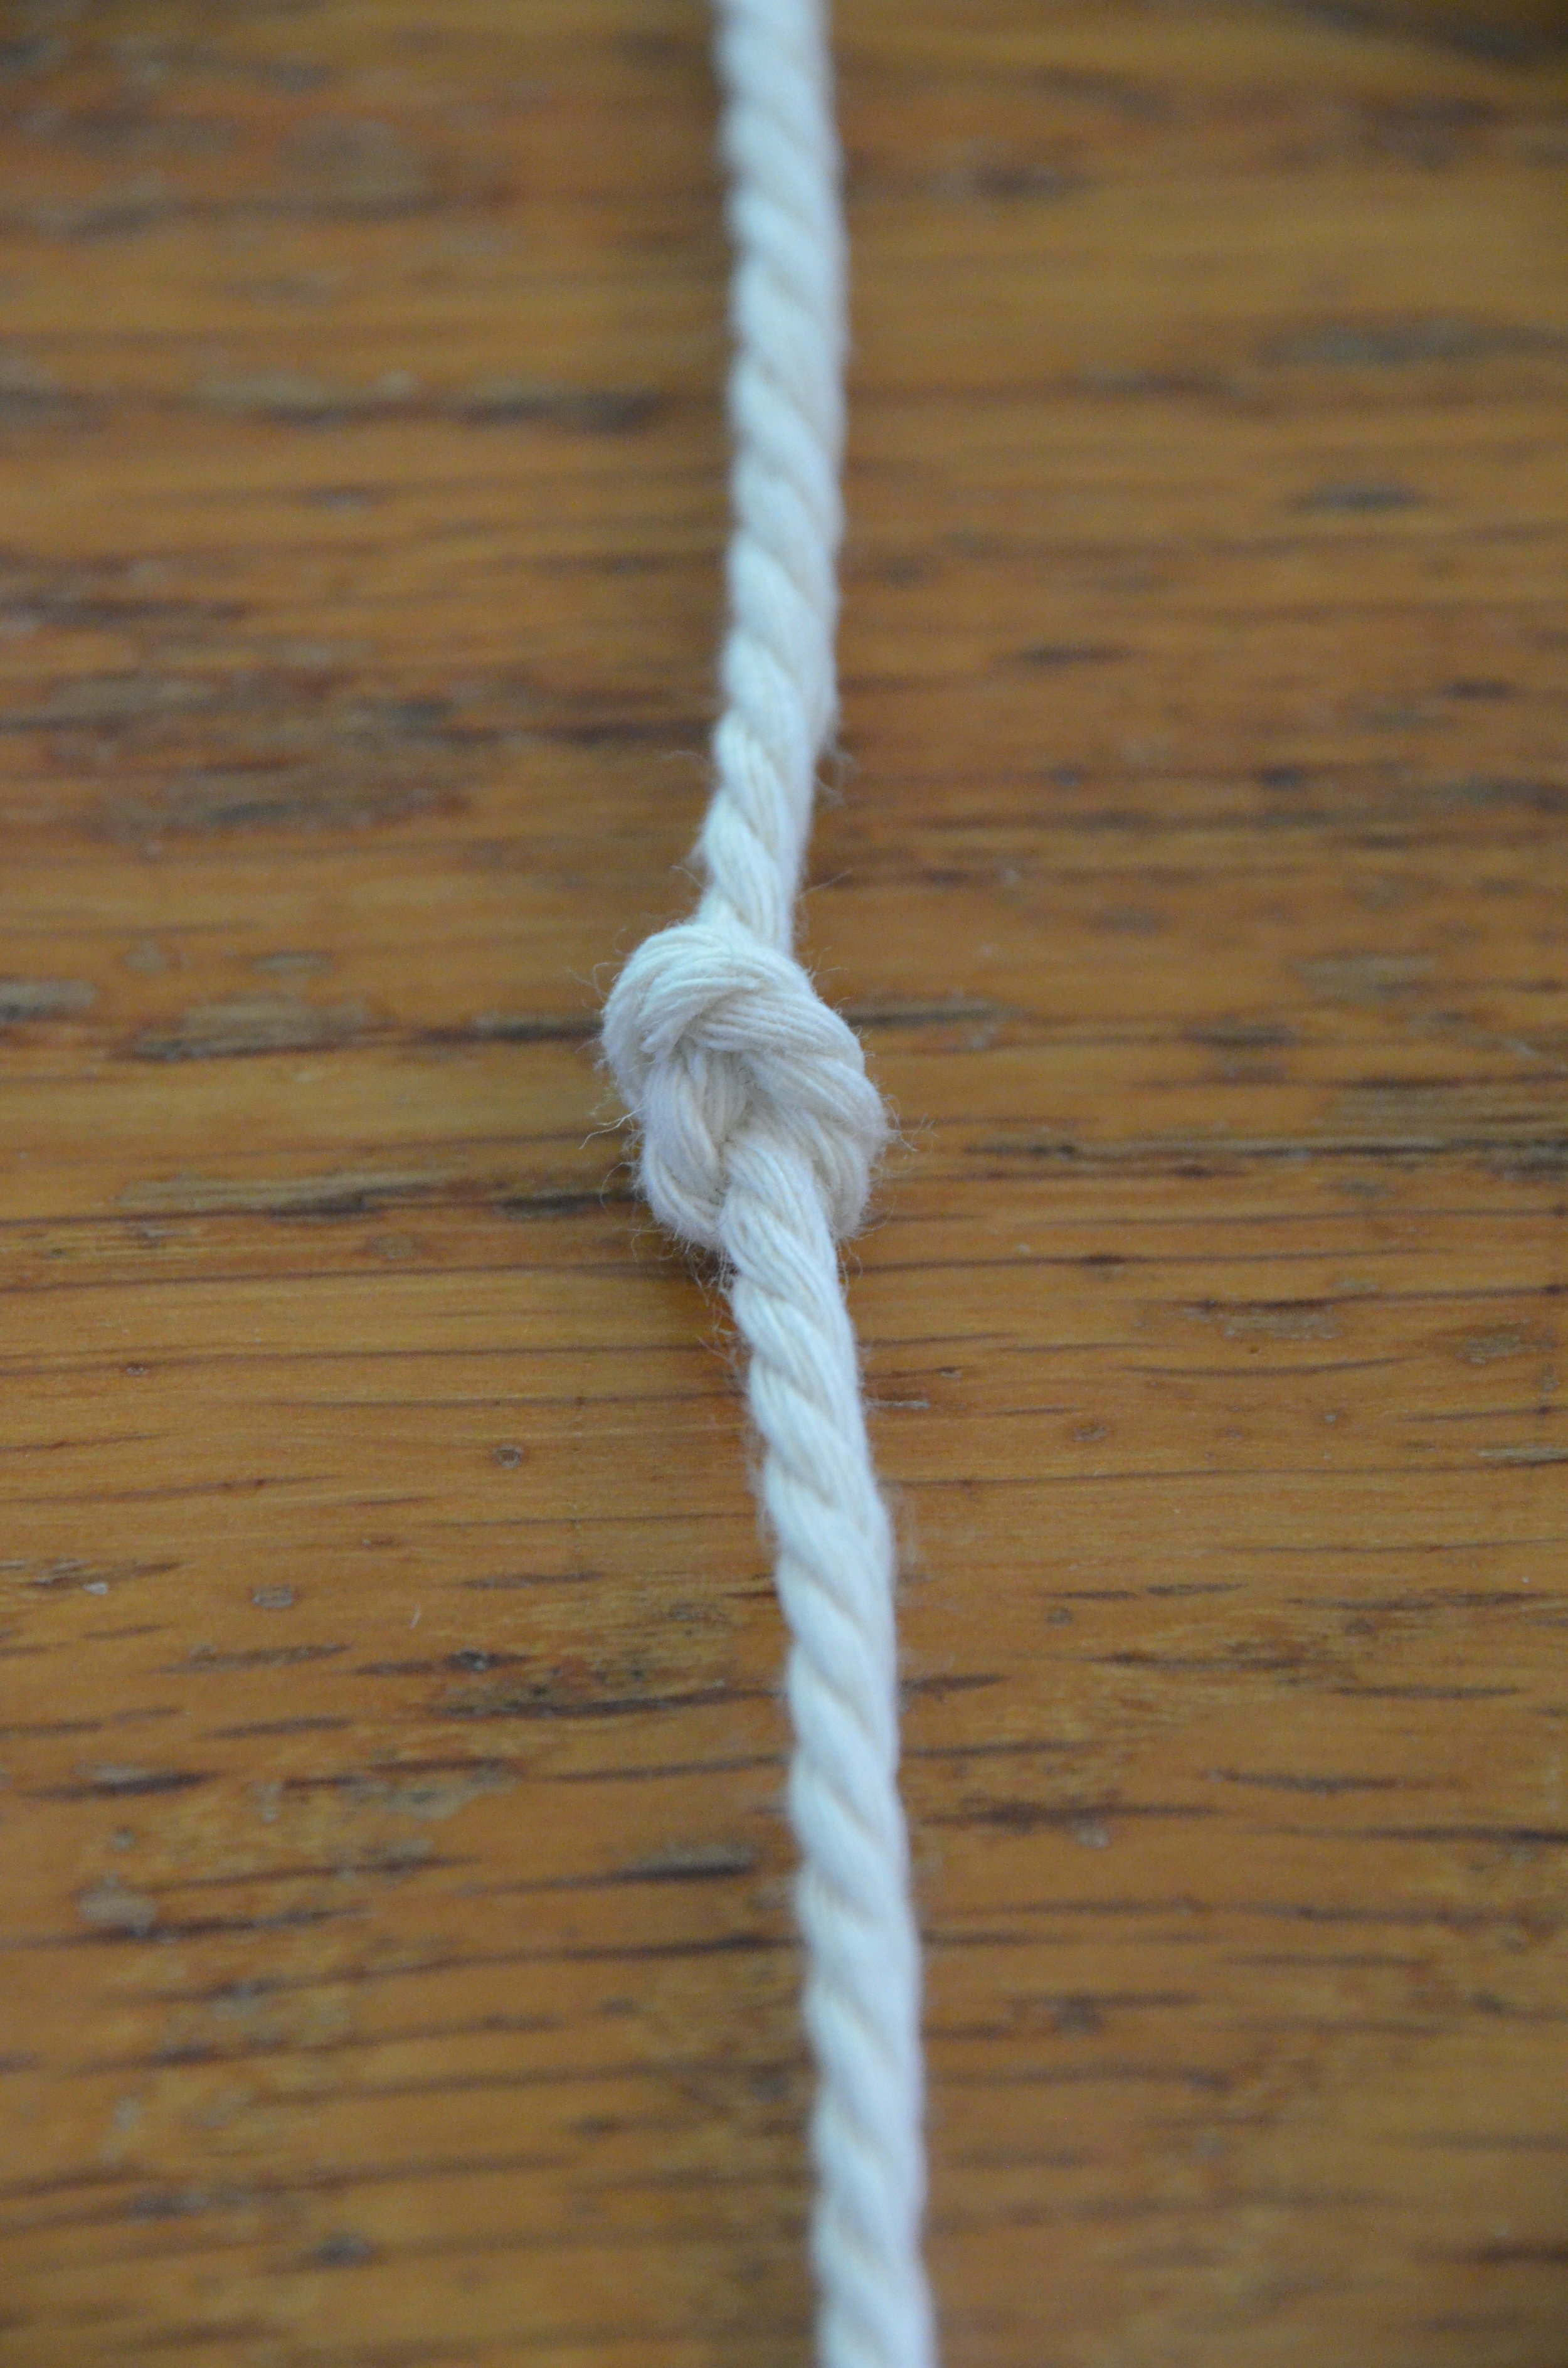
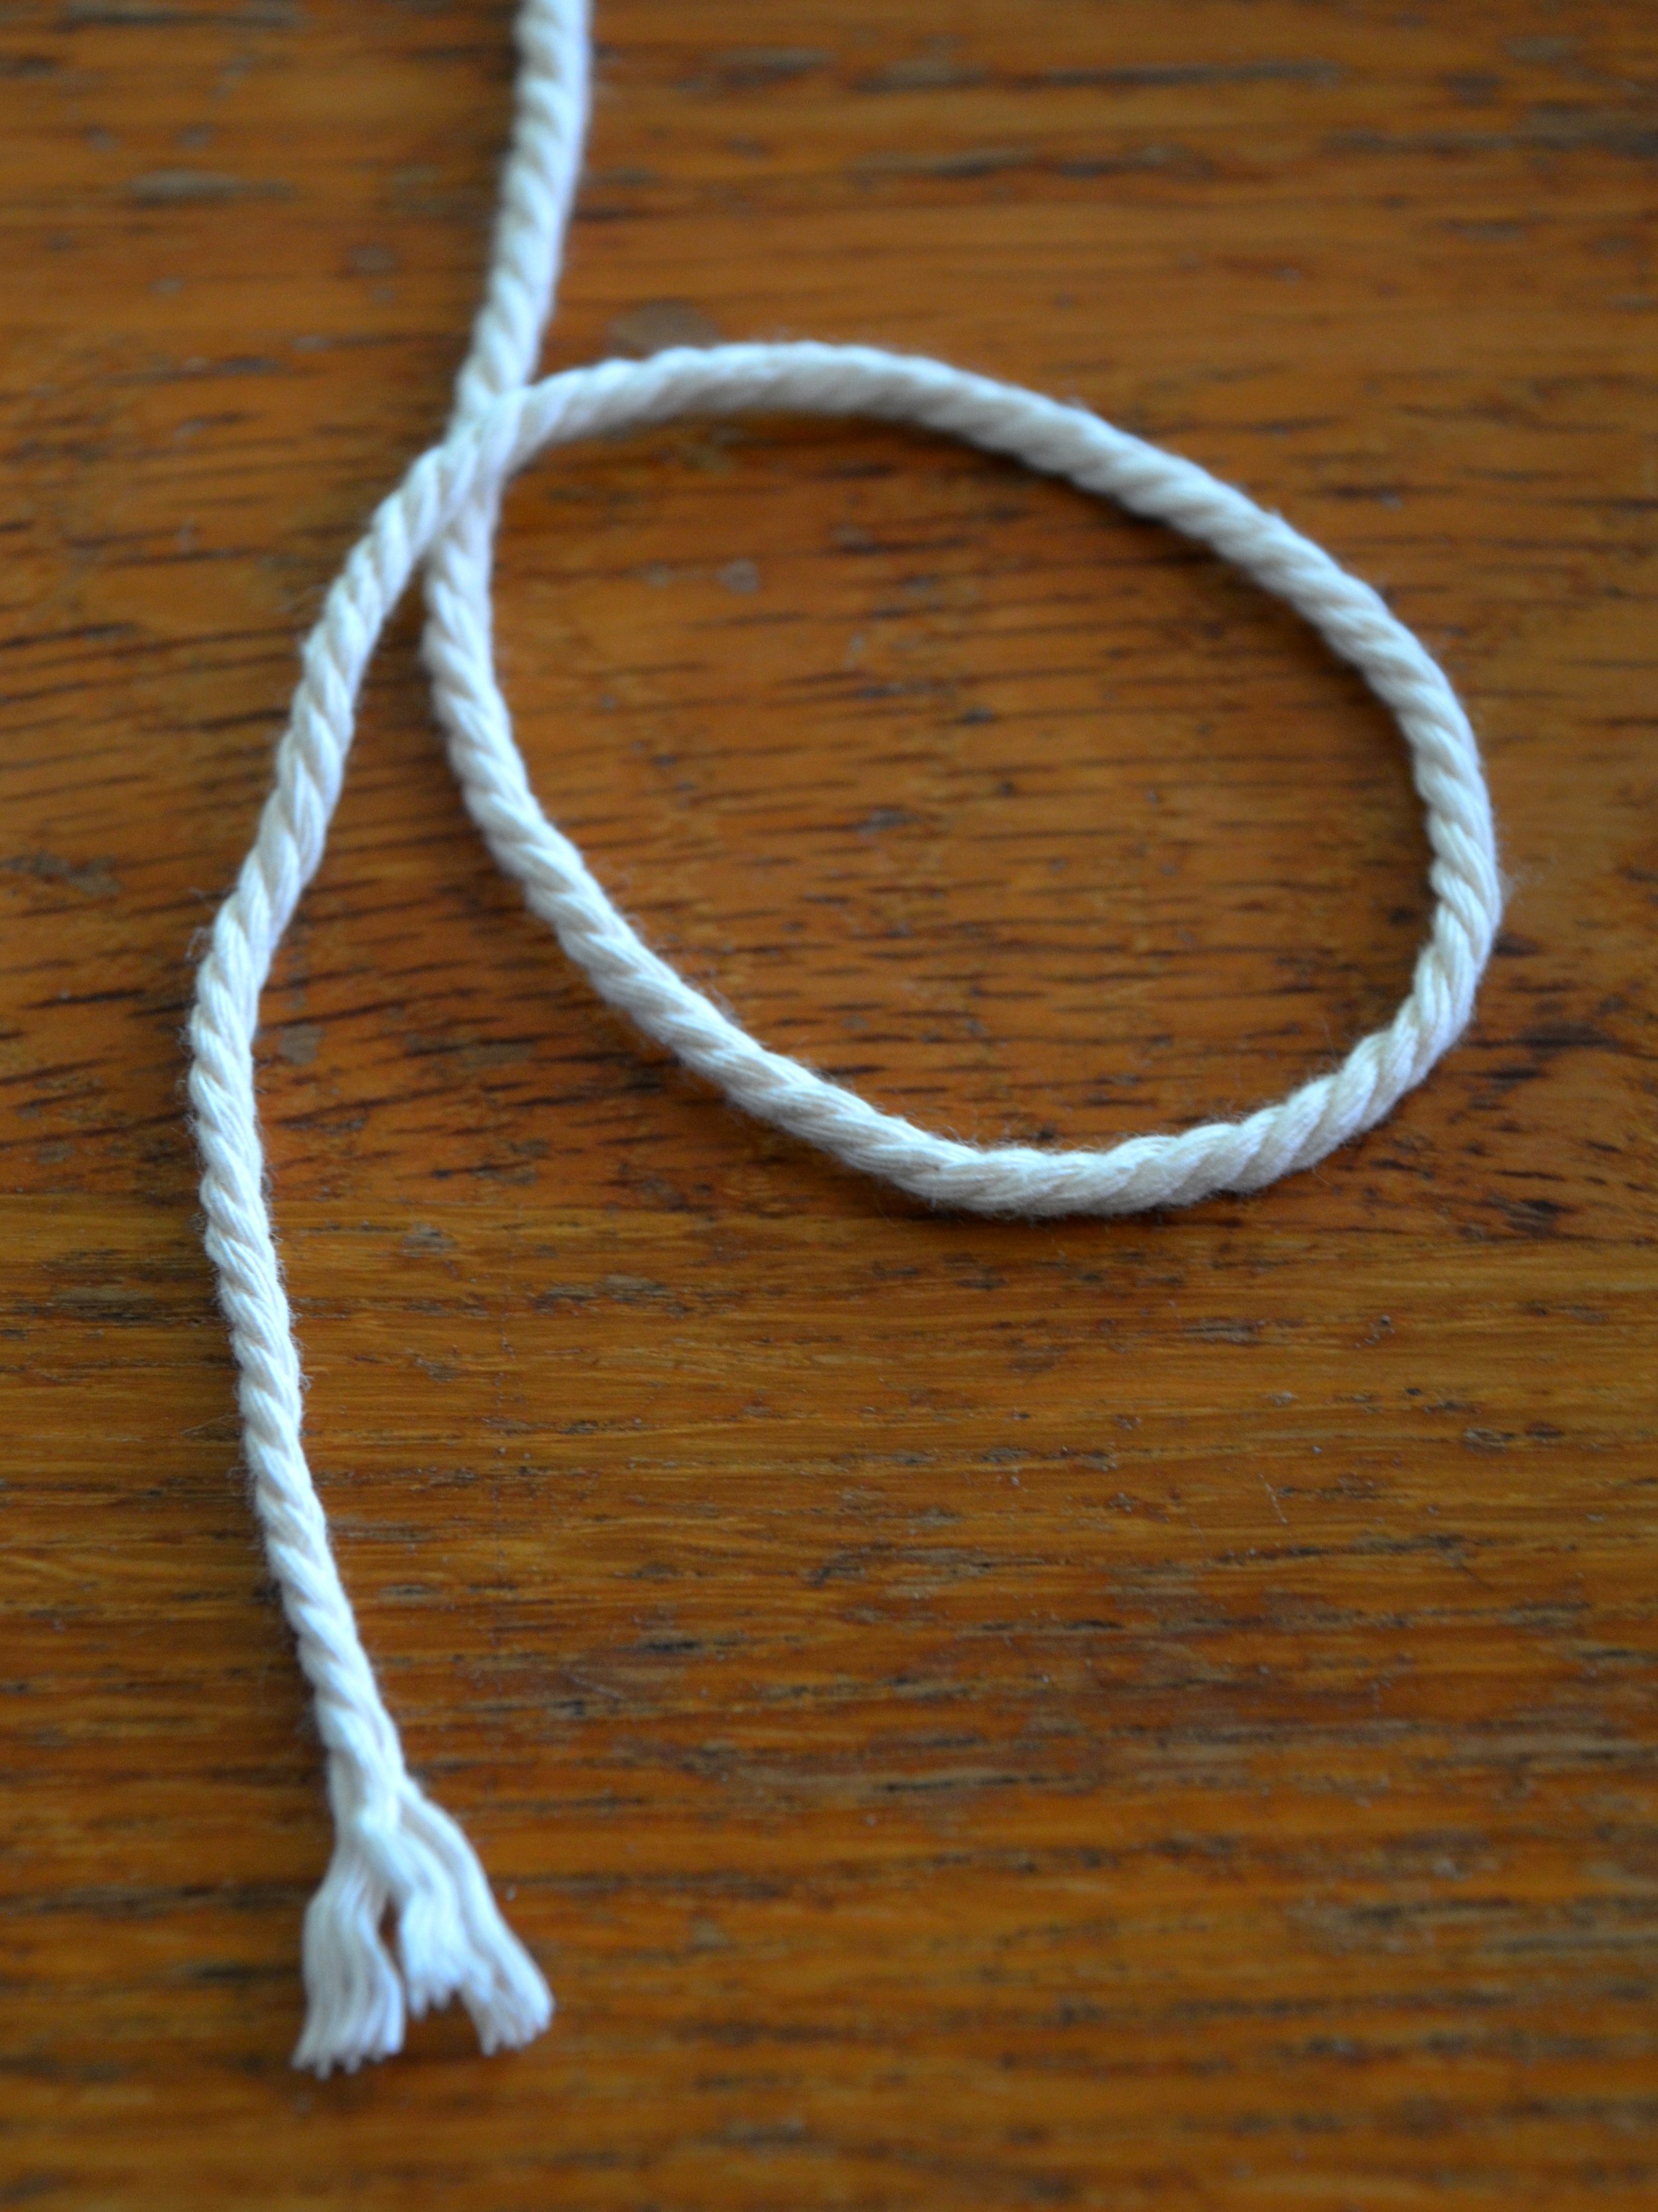
The Overhand Knot
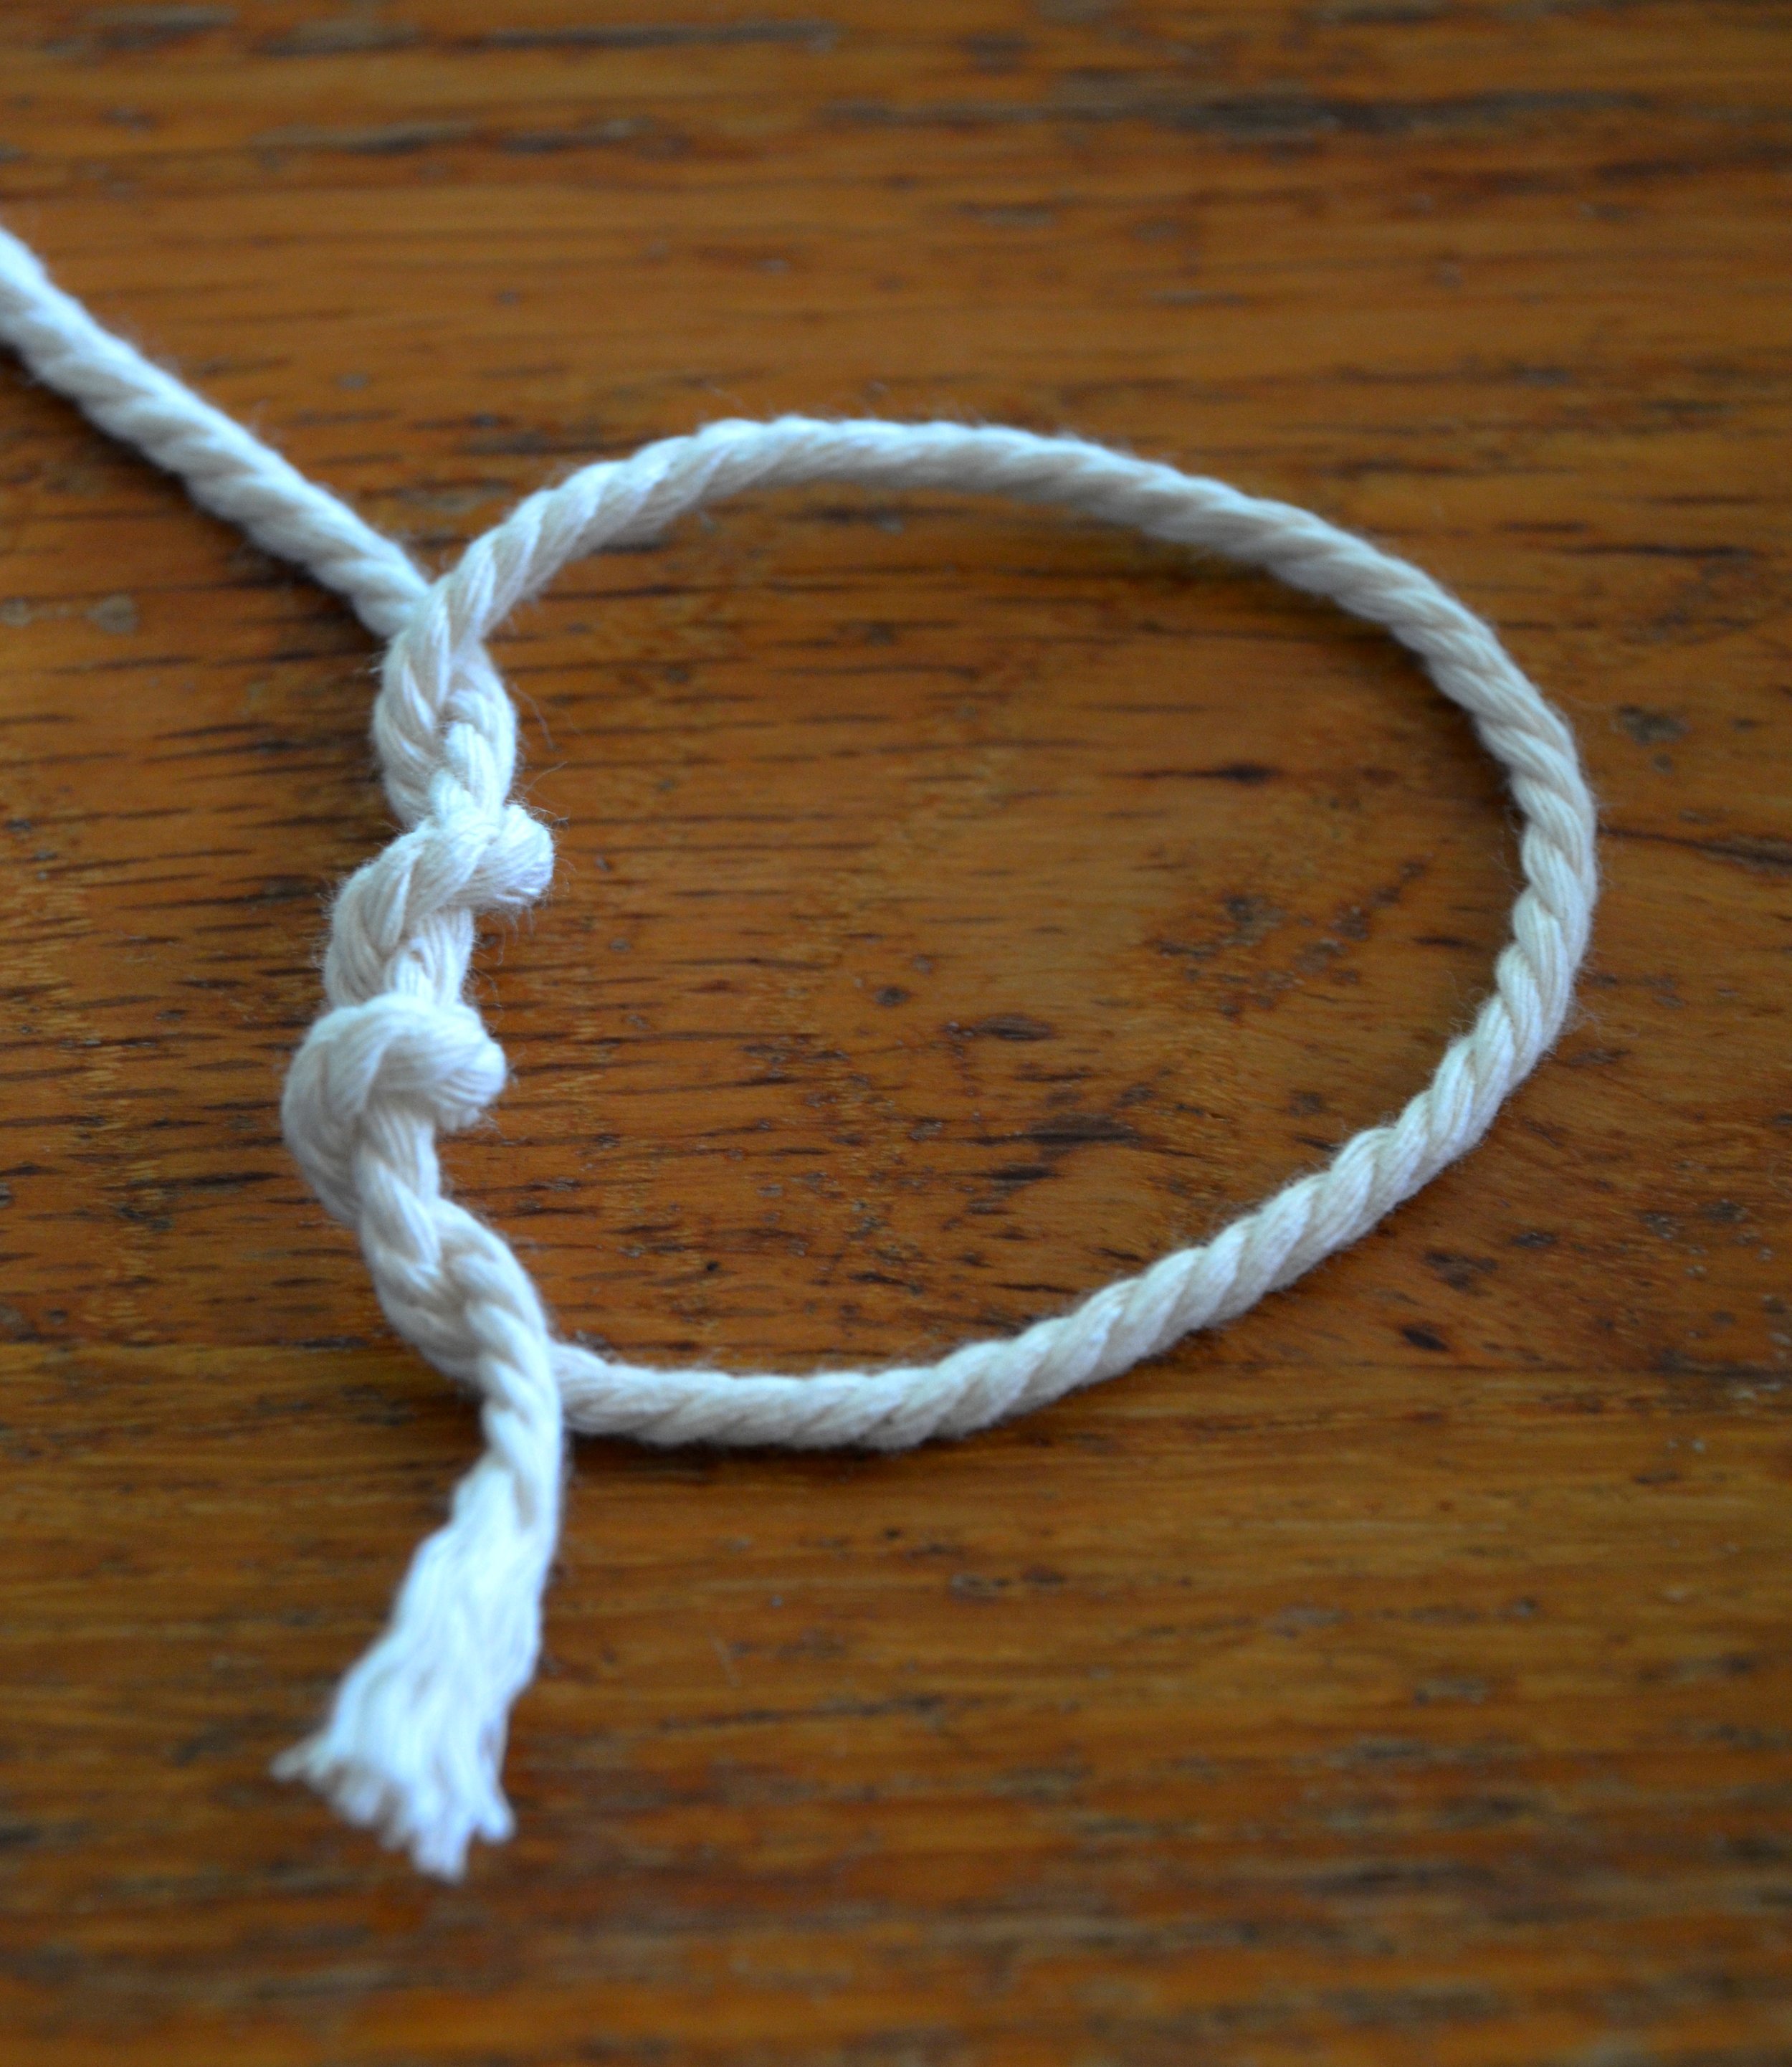
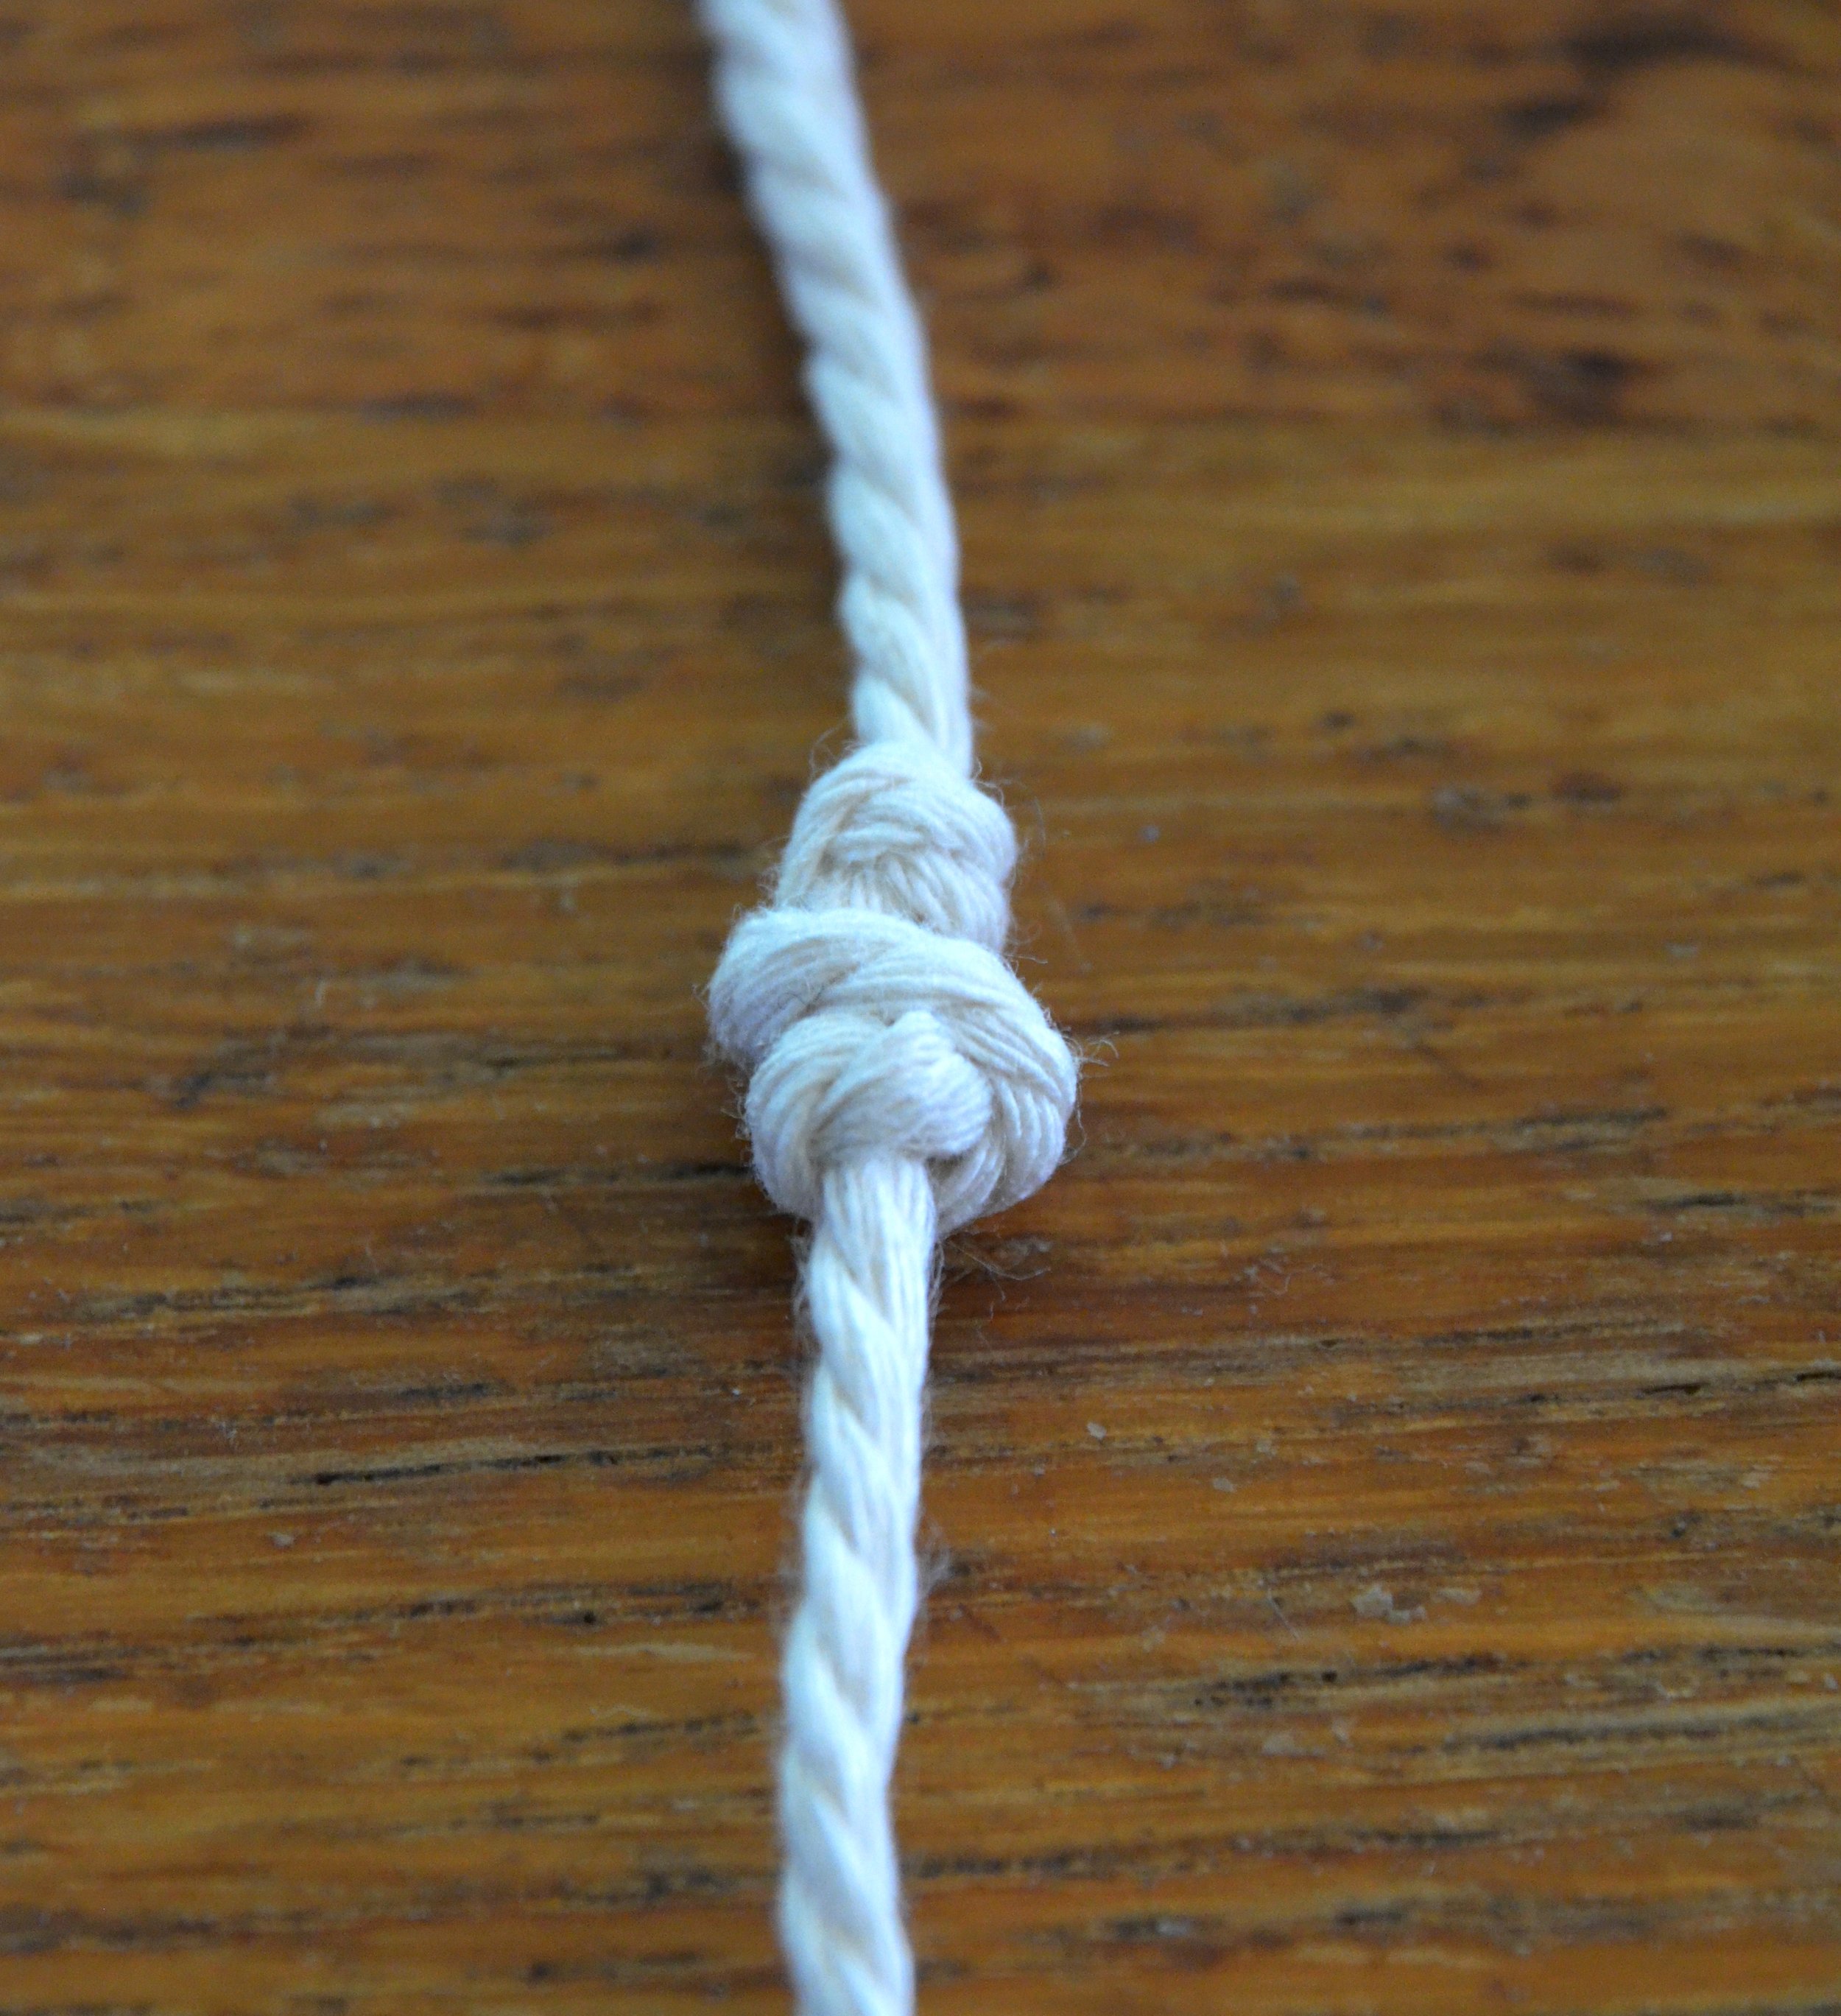
The Bead Knot
Now that you've seen the different kinds of knots that I learnt, check out the final product!
