
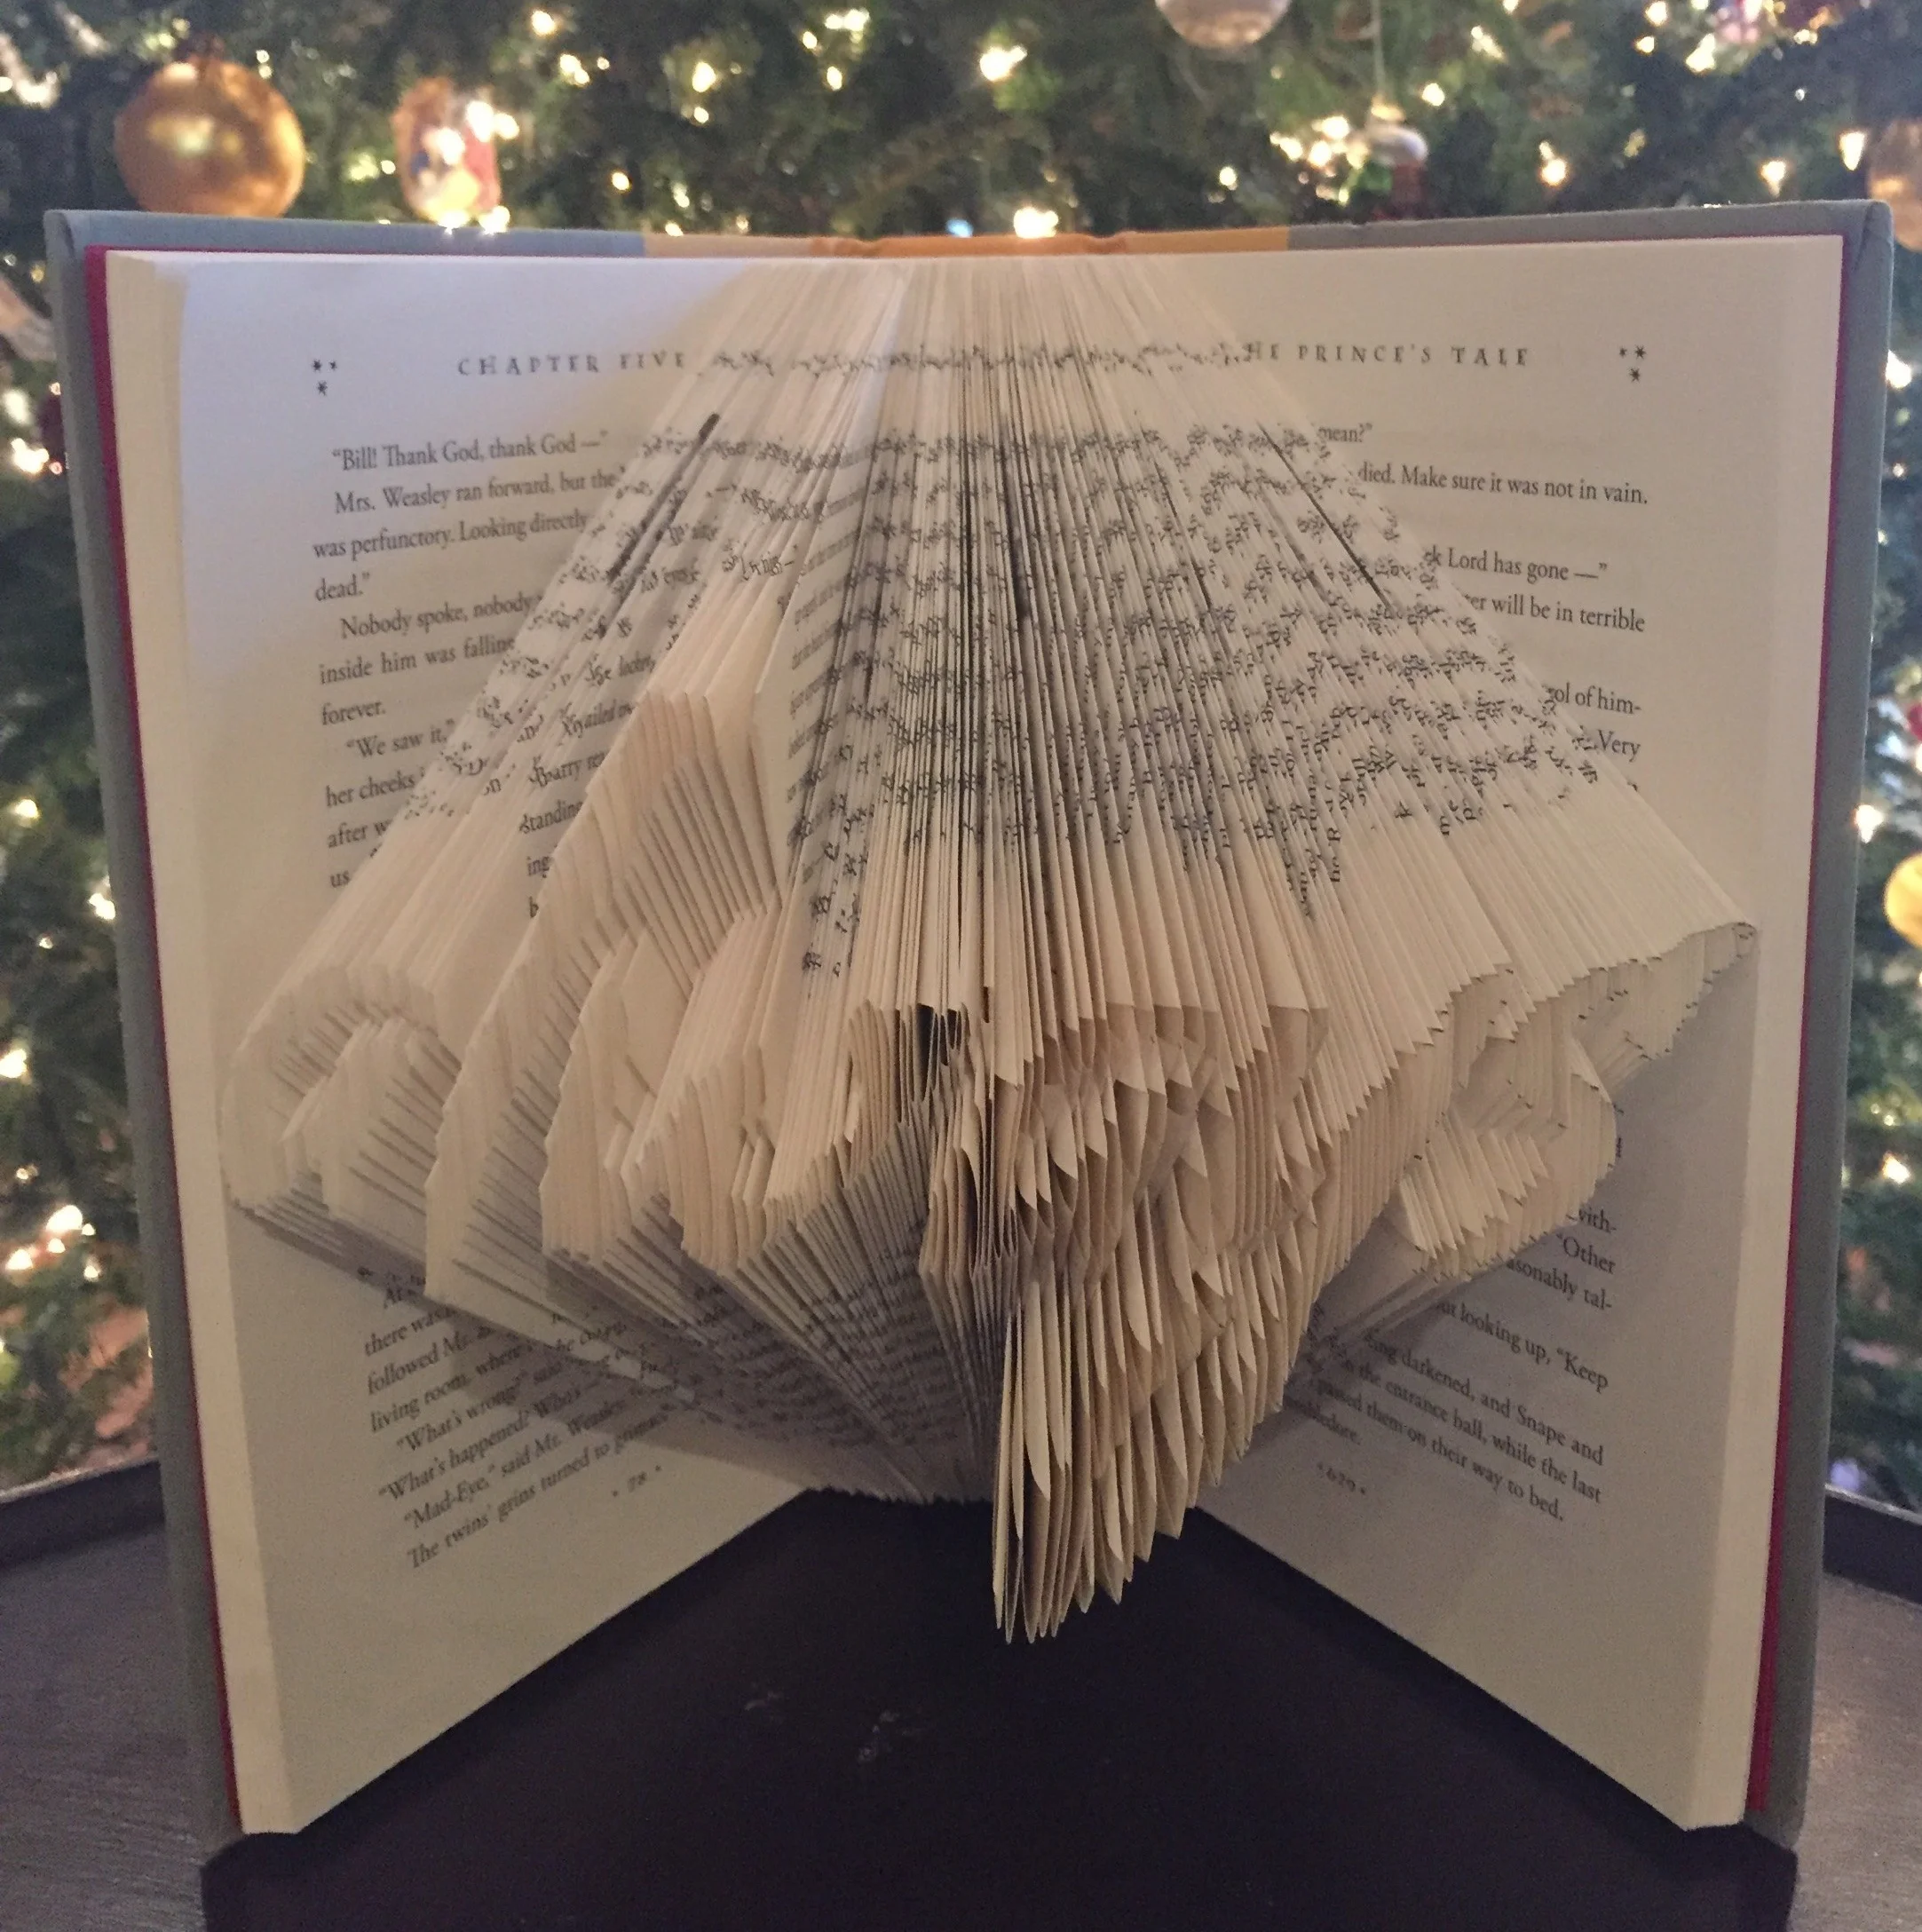
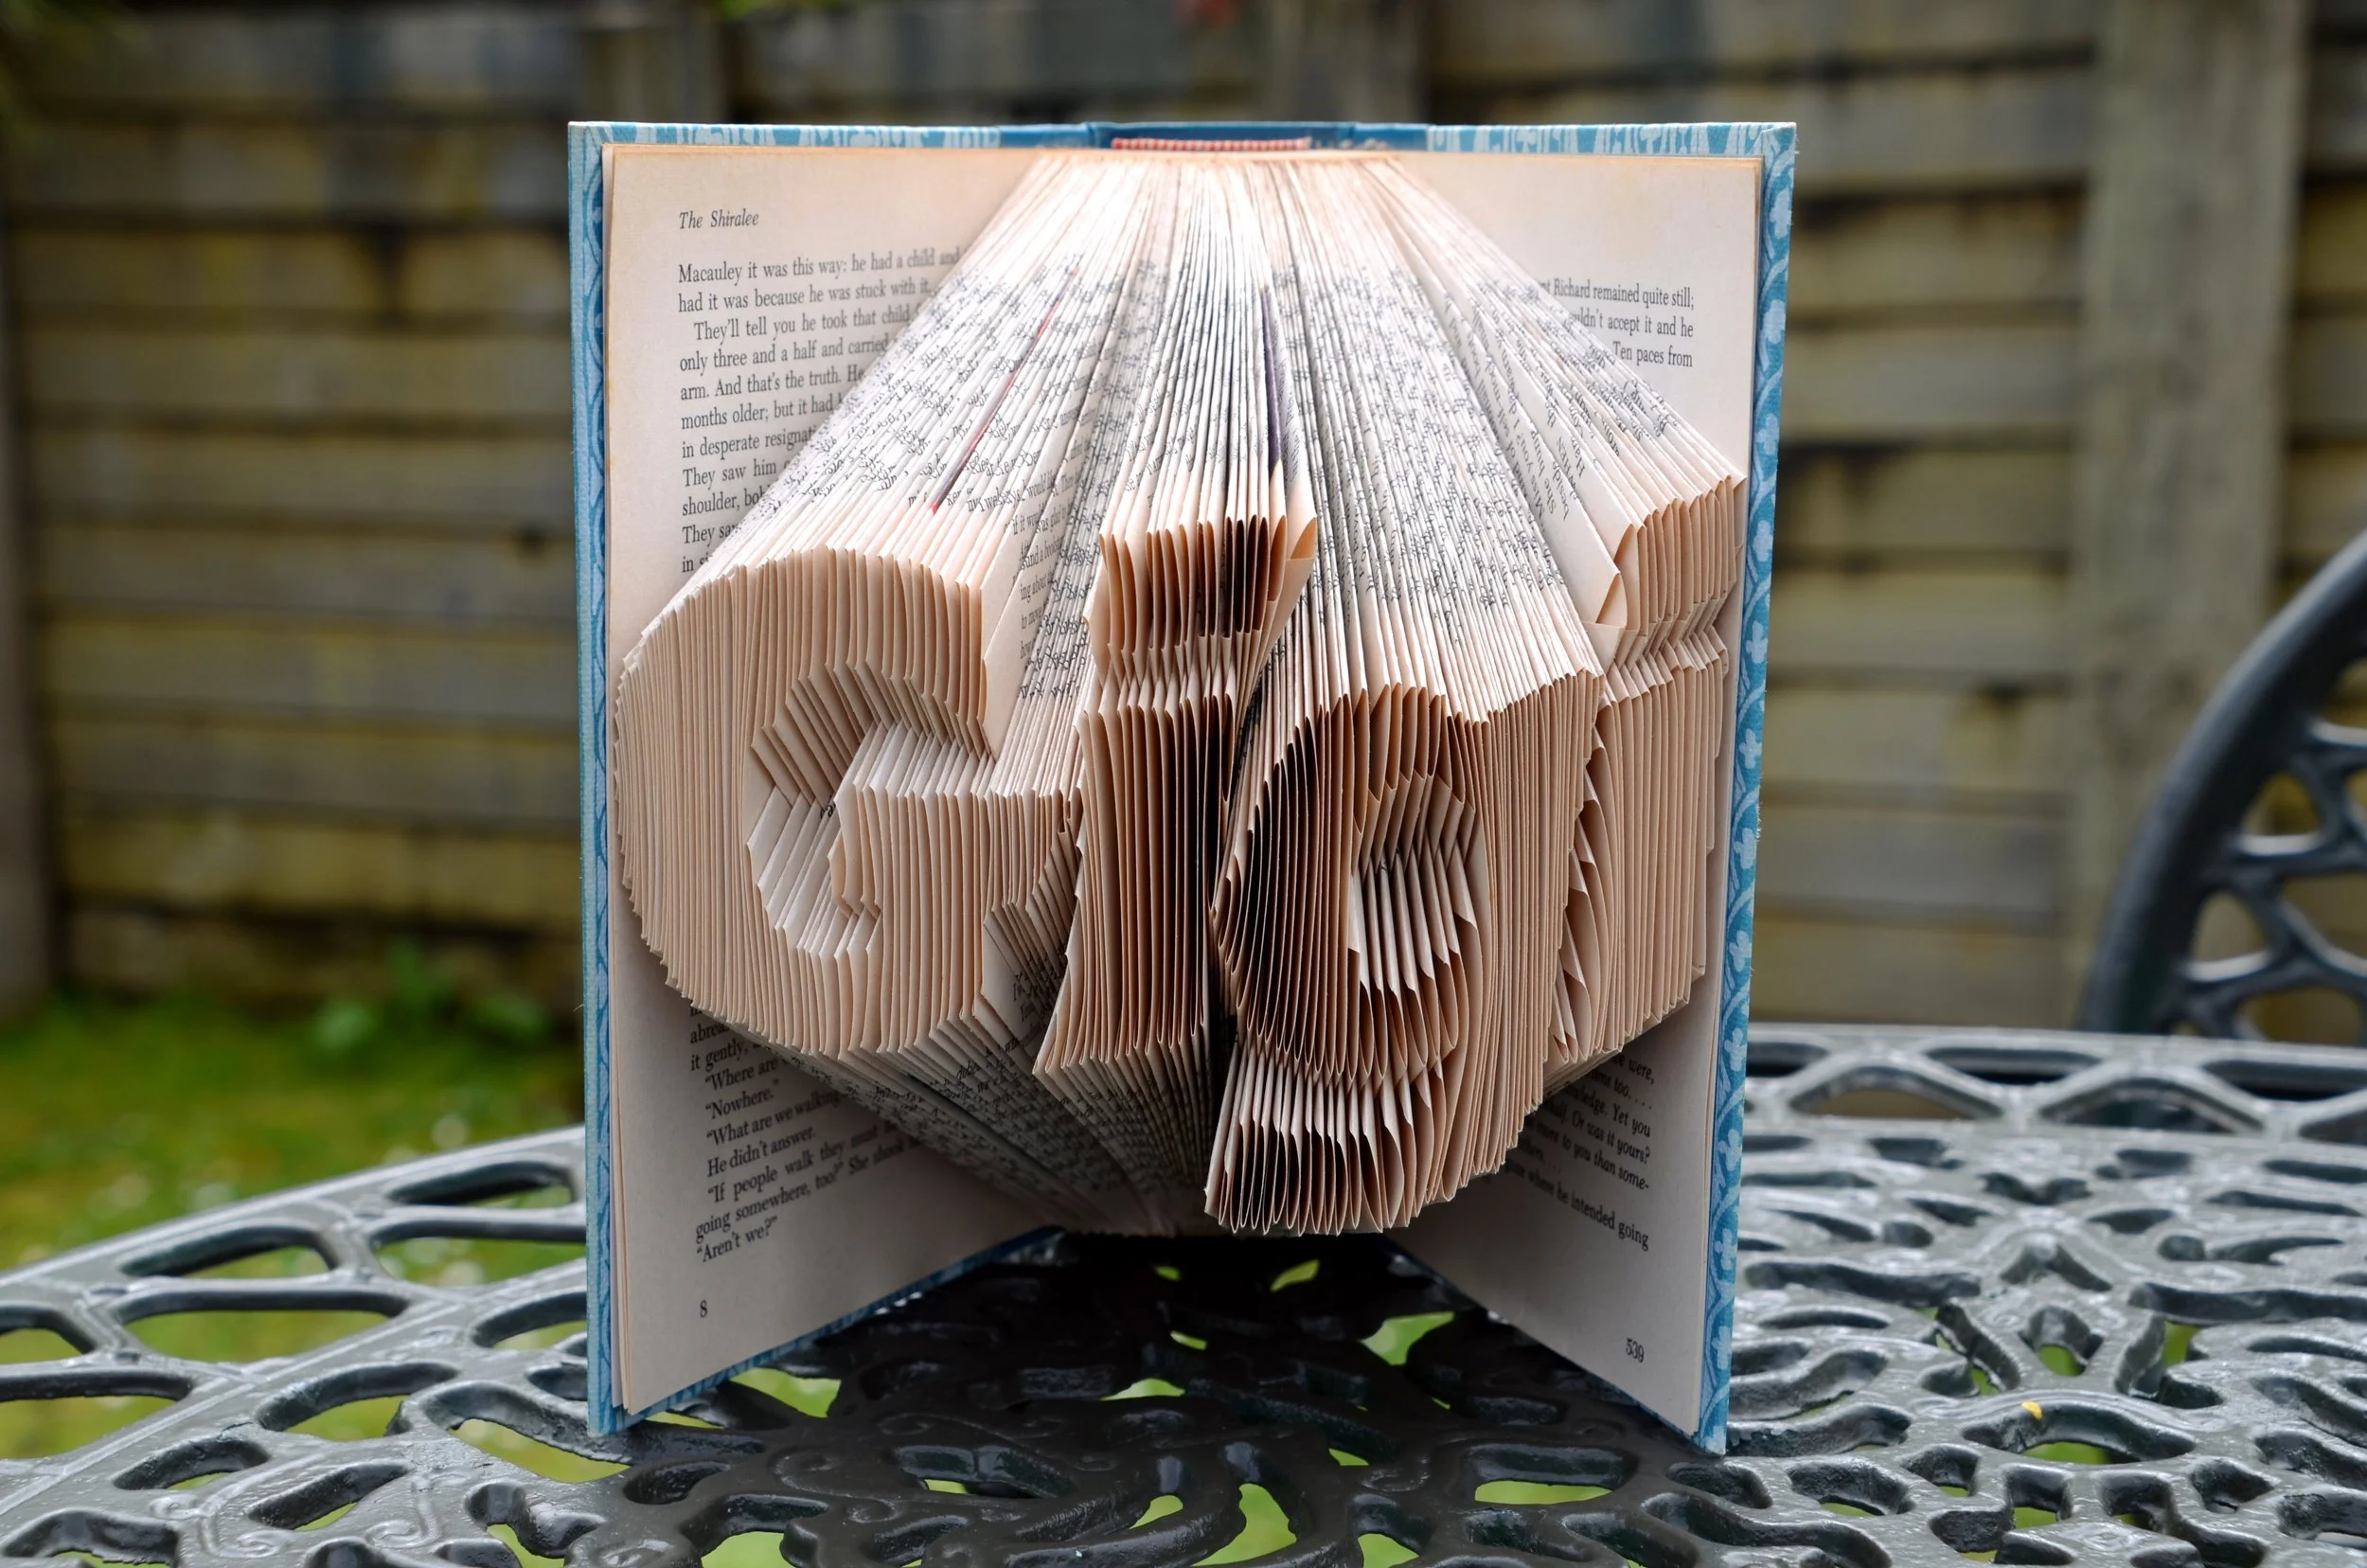
Book folding is my favourite craft. I created a folded book as a gift for my husband years ago and have been hooked ever since. There is something incredibly satisfying about transforming an ordinary book into a piece of art using nothing more than careful folds.
Book Selection
I tend to look for my book folding books in secondhand book shops – gravitating towards standard sized hardcover books that have at least 300 pages. The more pages your book has, the more defined your letters will be. A thicker book gives you more folds to work with, which means smoother curves and clearer shapes in your finished piece.
Creating Your Template
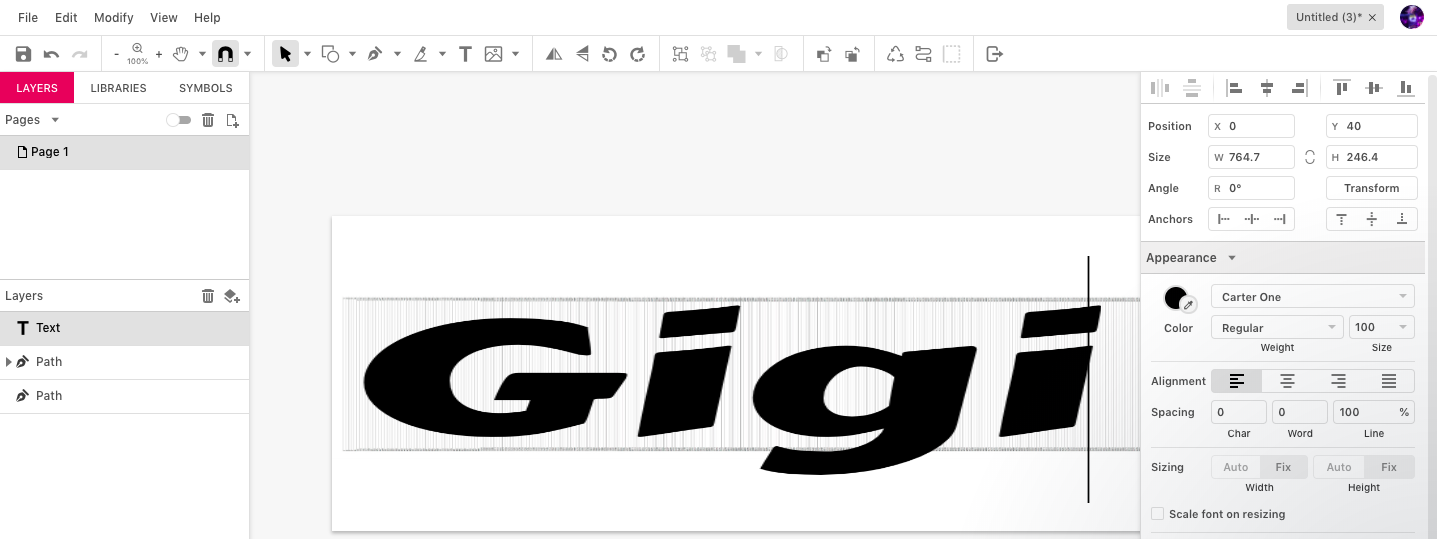
The template is the key to getting your word to look right across the folded pages. I use Gravit (opens in new tab), a free design program, to create my templates.

-
Open Gravit and import a template image to use as your base.
-
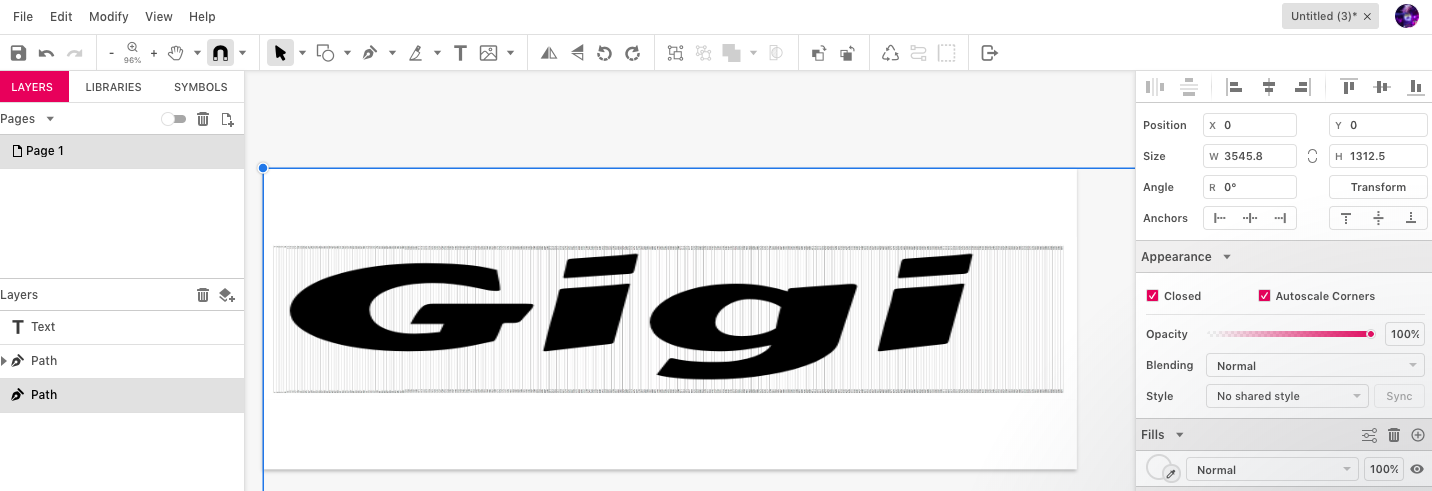
Use the text tool to add your desired word. Choose a bold, clear font that will be easy to read when folded.
-
Position the text so that it aligns across the book’s pages. The text should span the height of your book’s pages when printed.
-
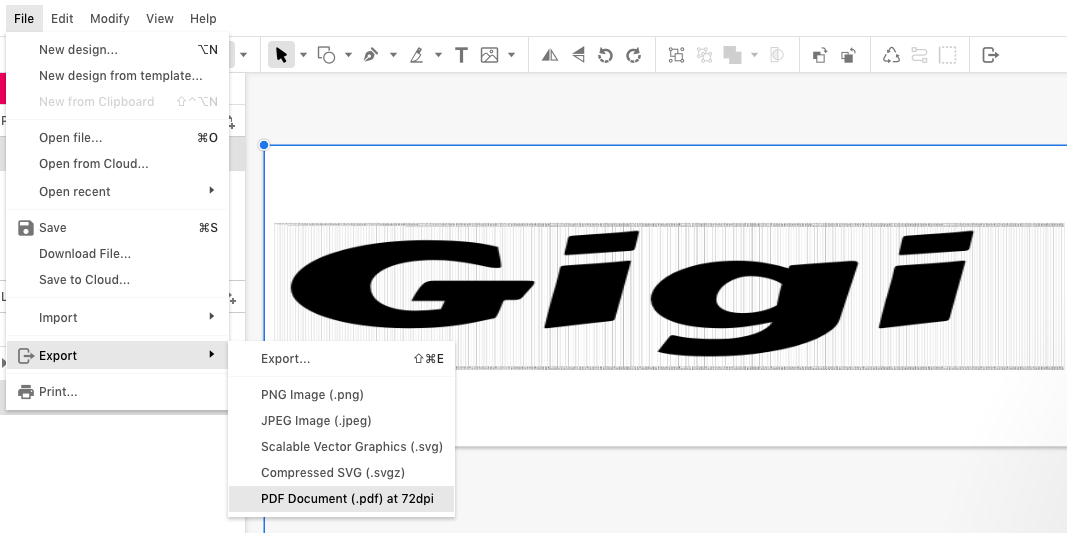
Export the design as a PDF and print it across multiple pages so the template matches the height of your book.
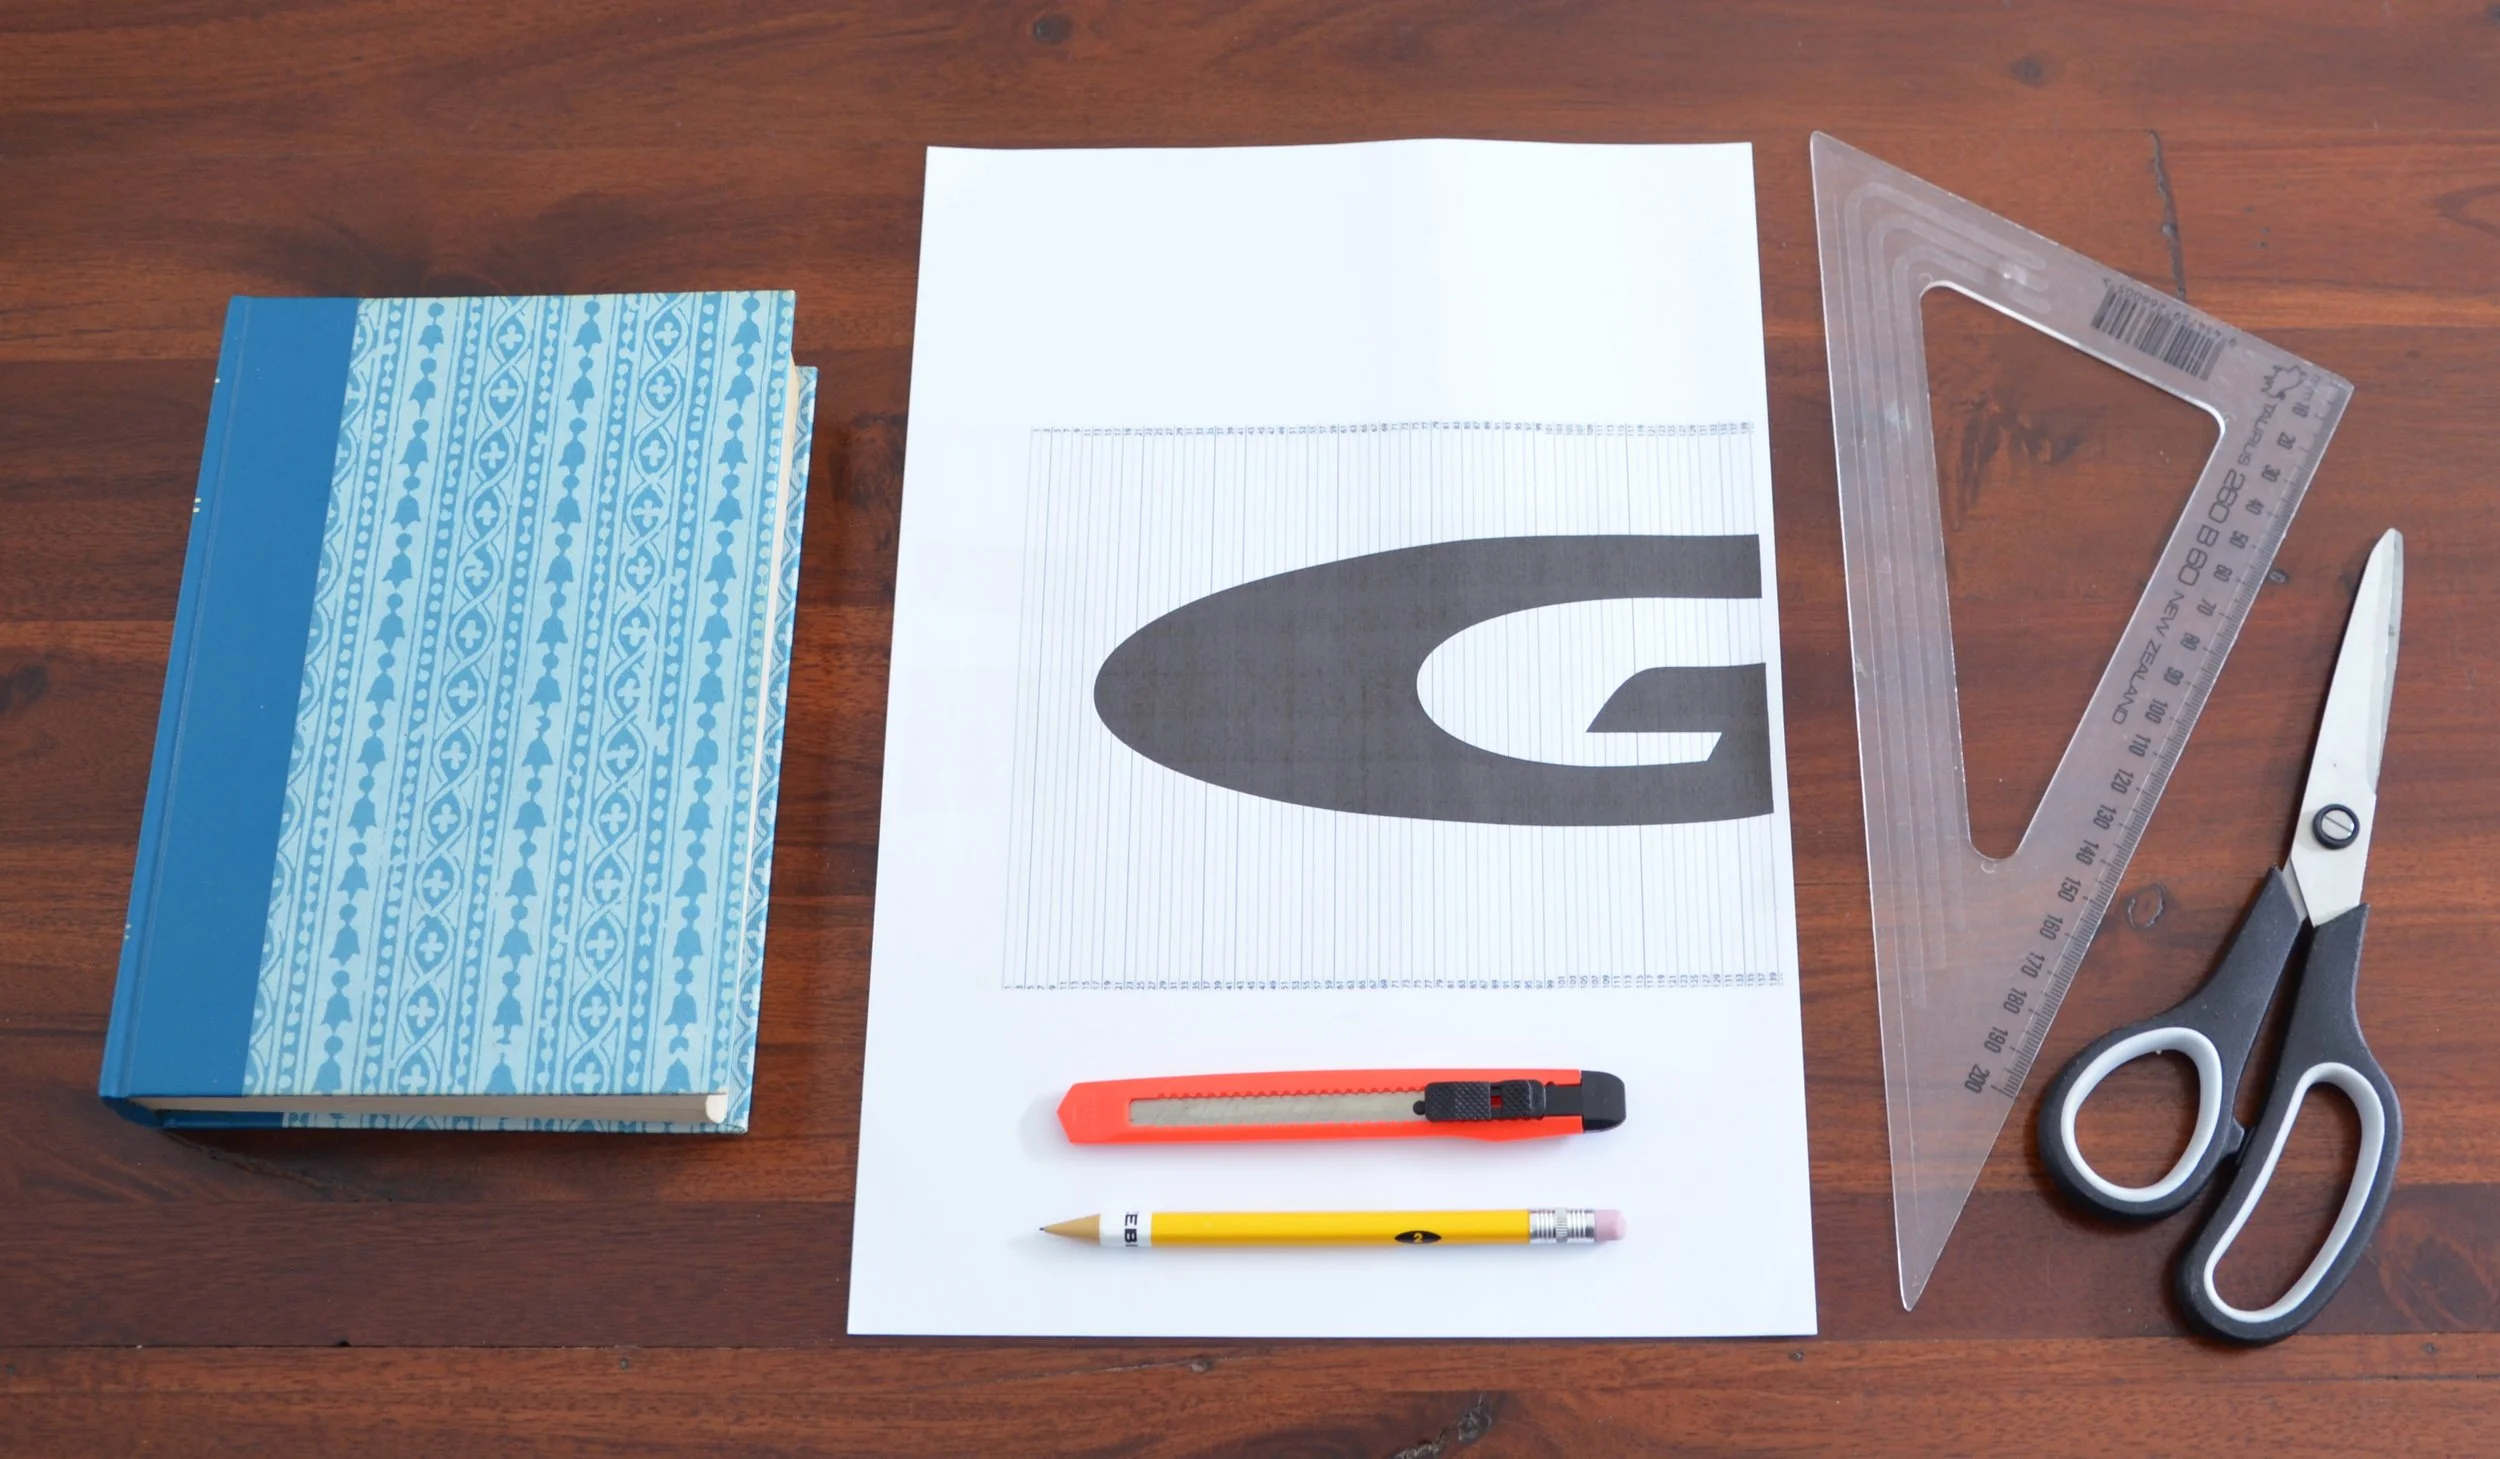
Materials
- A hardcover book (at least 300 pages)
- Printed template
- Computer with internet access
- Printer
- Ruler
- Pencil
- Craft knife
Folding Instructions
-
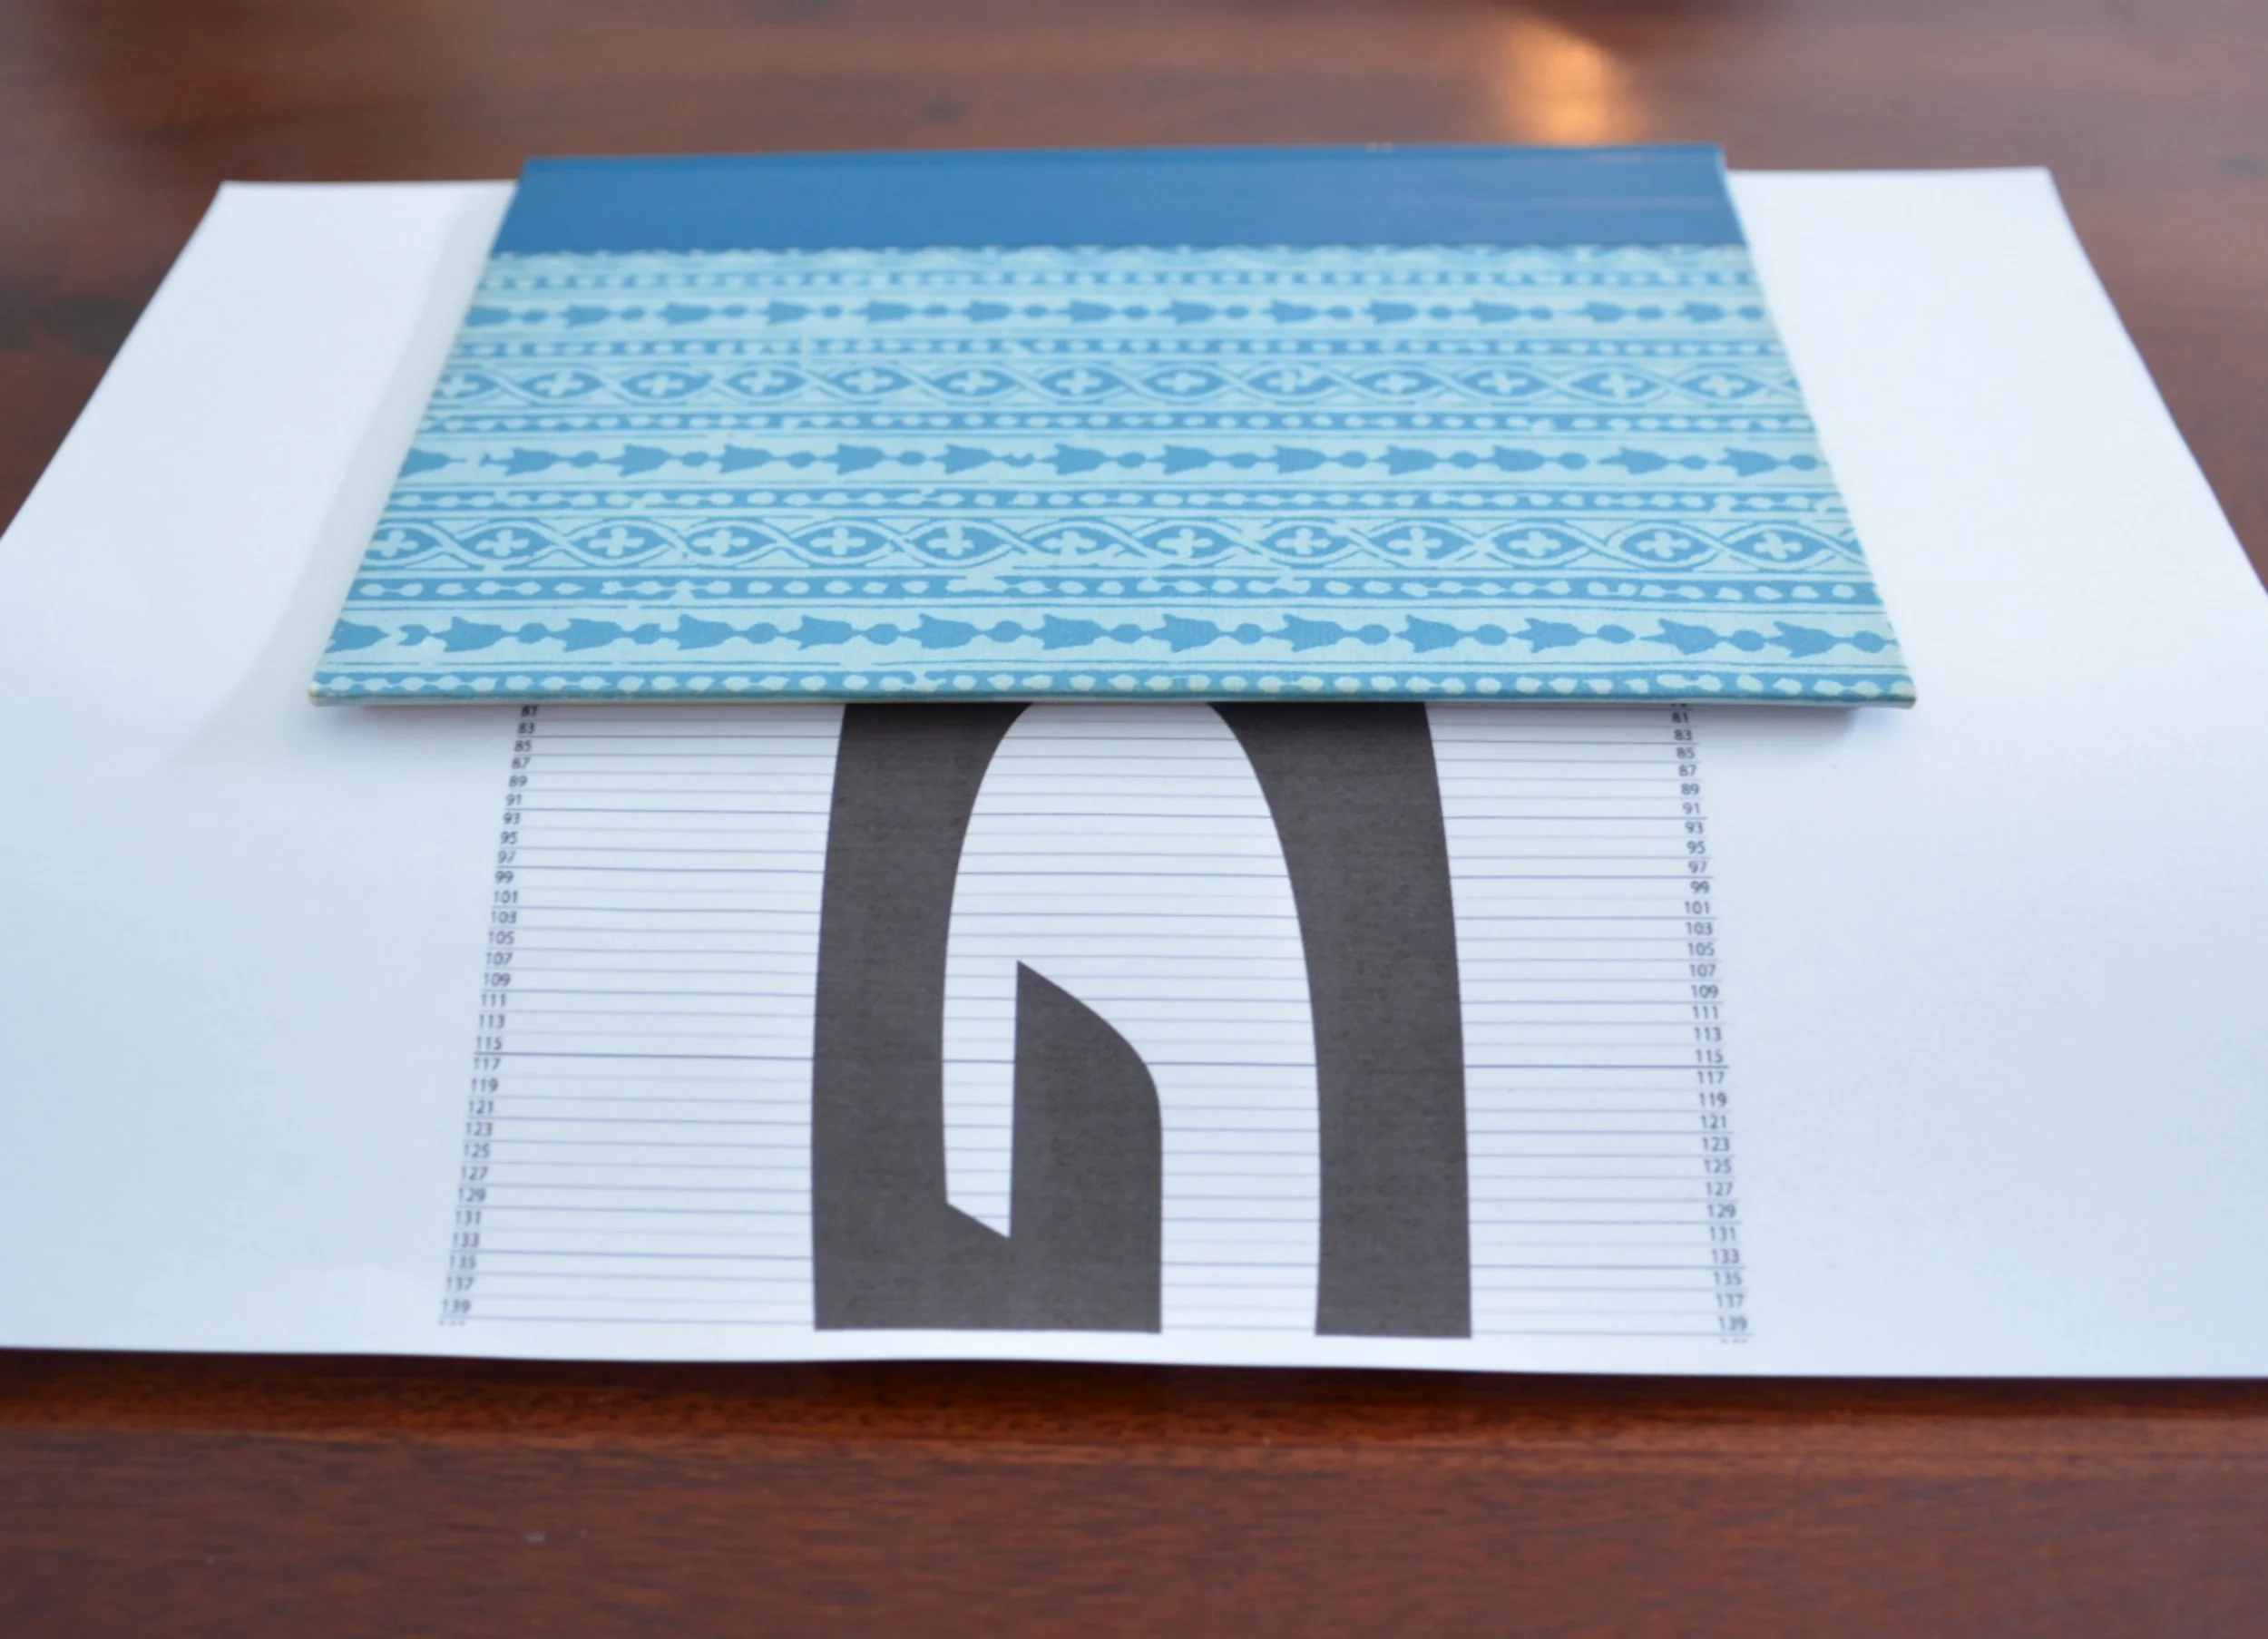
Align your printed template pages with the book. Tape the template pages together if needed so they span the full height of the book’s pages.
-
Using your ruler and pencil, draw reference lines on the template to guide your folding.
-
With your craft knife, create grooves approximately 3–4cm from the spine at both the top and bottom of the page. These grooves serve as anchor points for your folds.

-
Using the template as a guide, mark the positions on each page where the fold needs to begin and end. These marks indicate where the letters of your word appear.
-
Remove any pages where the word does not appear. Carefully cut or tear out pages that fall outside the template area.
-
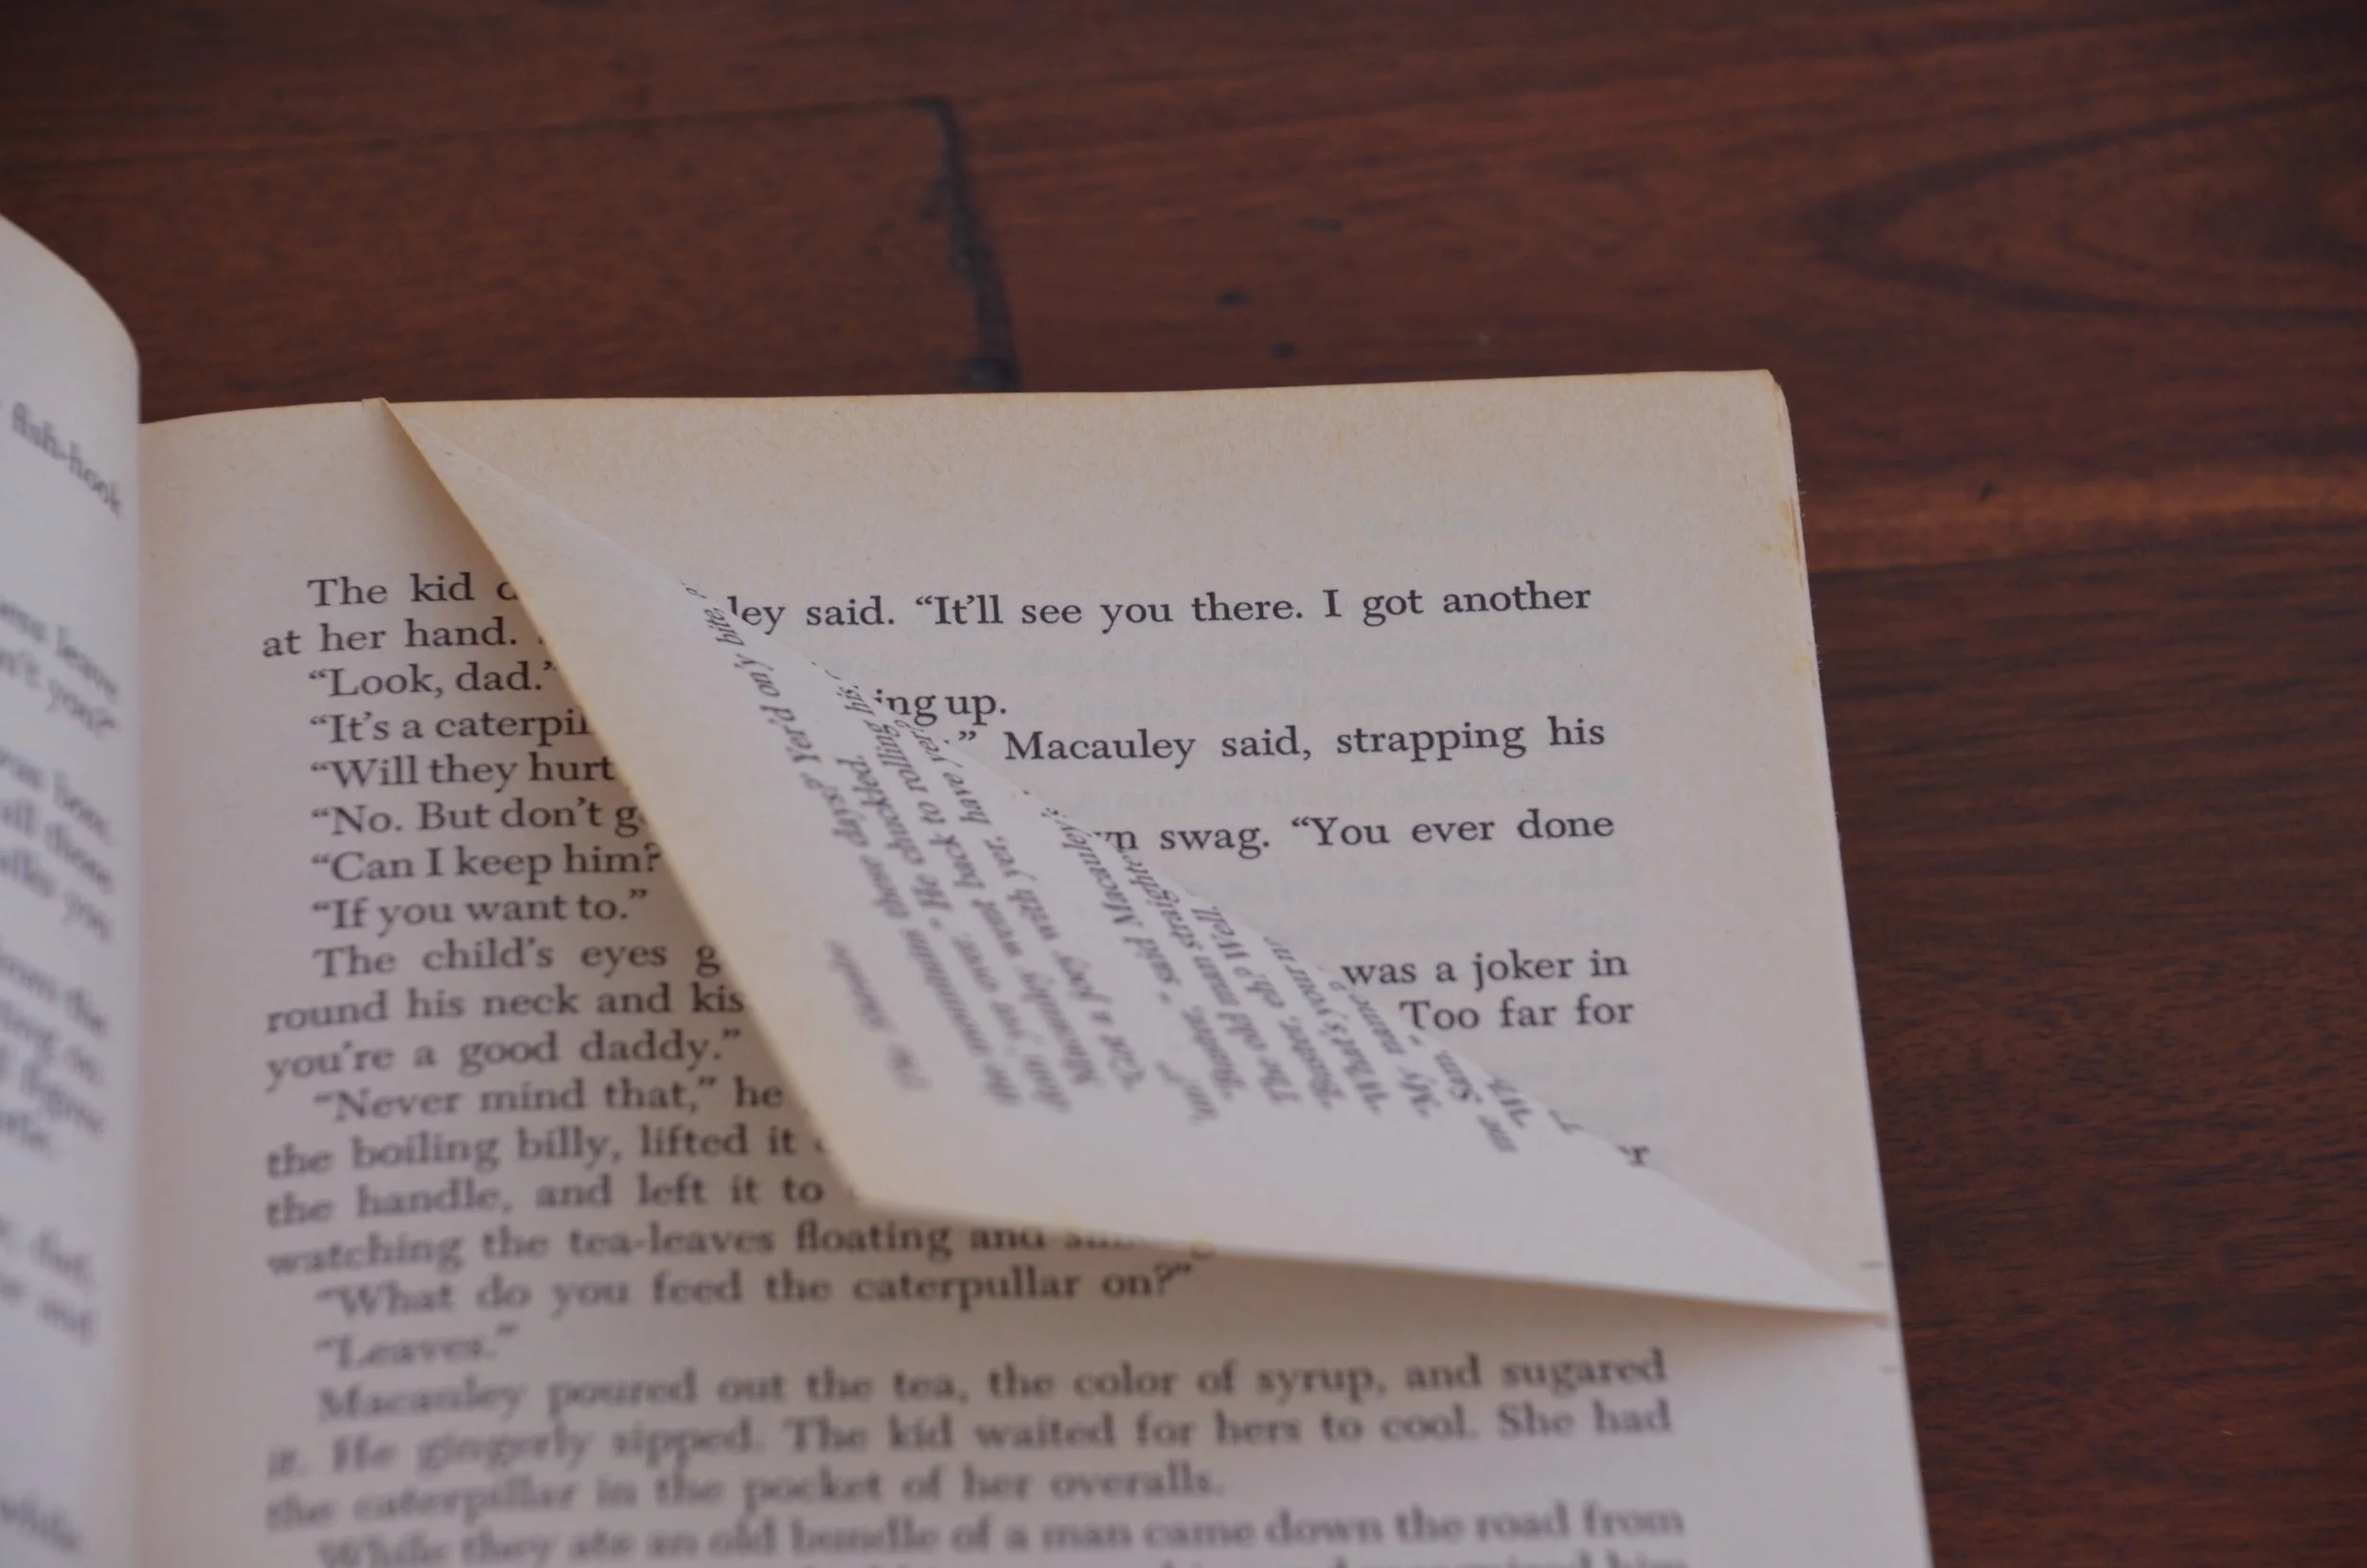
Begin folding each page by creating a straight line between the marked points and the knife notches at the top and bottom. Fold the page inward along this line.
-
Continue folding each page, working through the book one page at a time. Take your time to keep the folds neat and consistent.
-
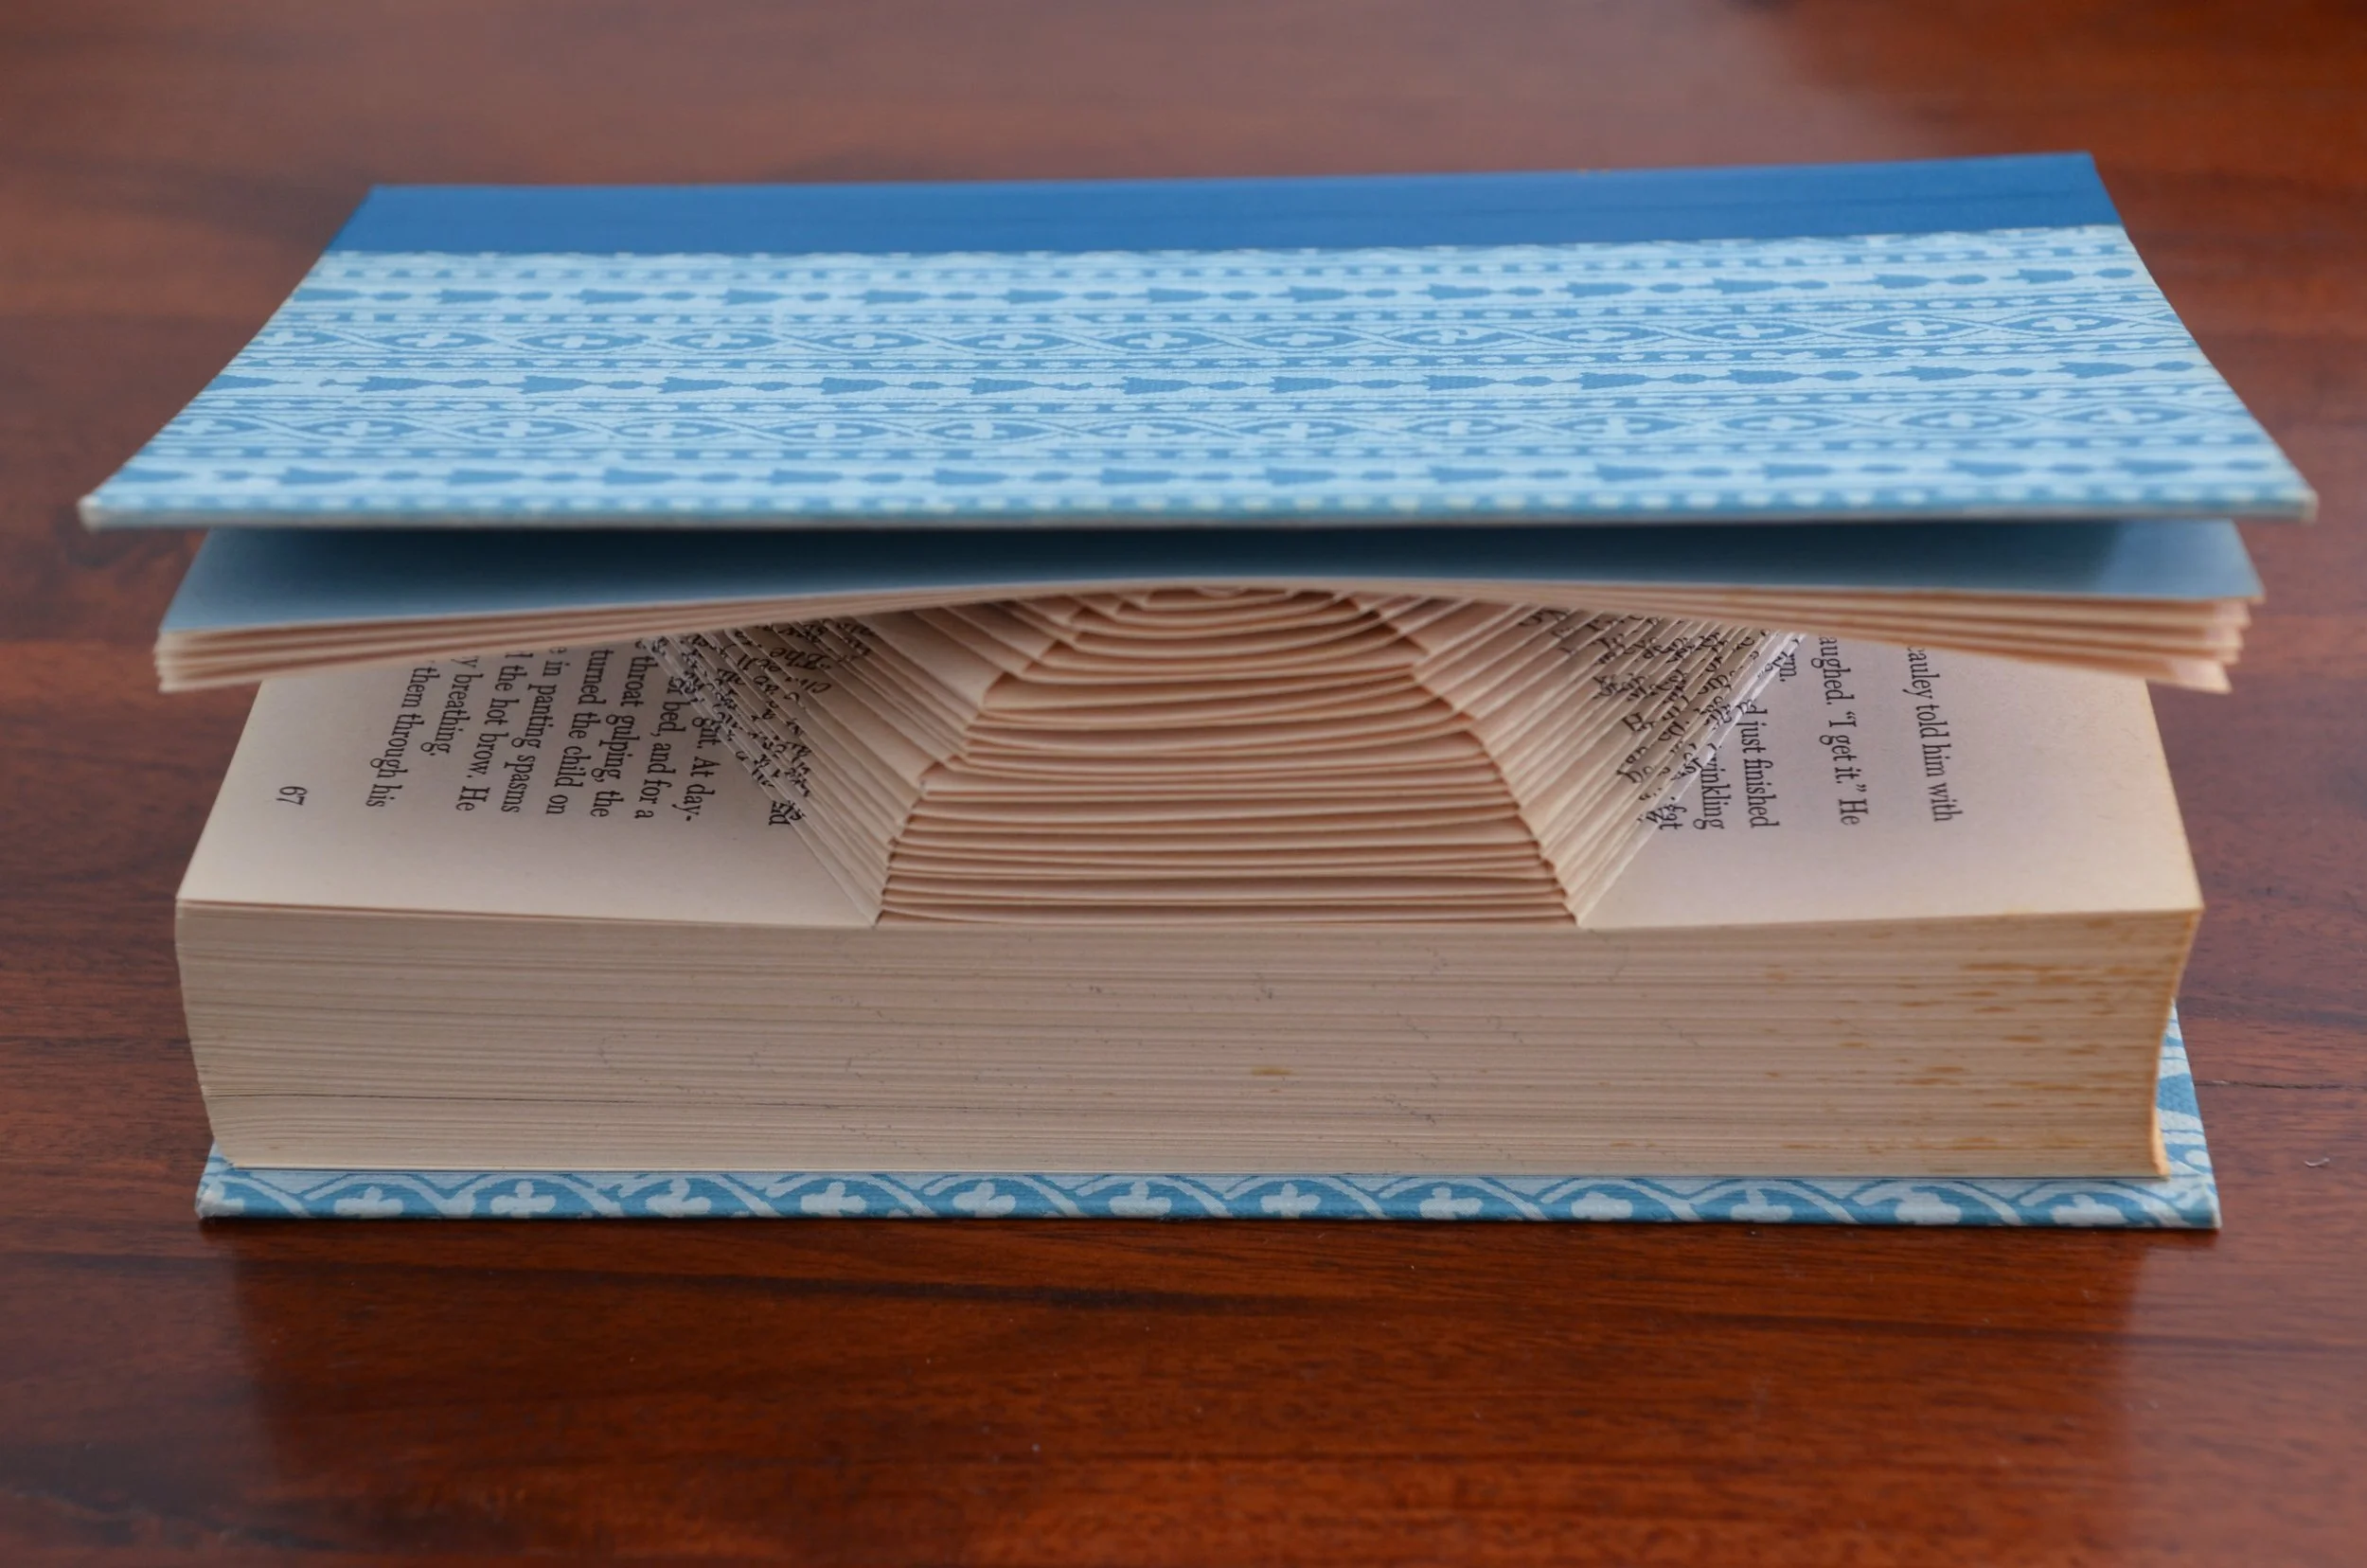
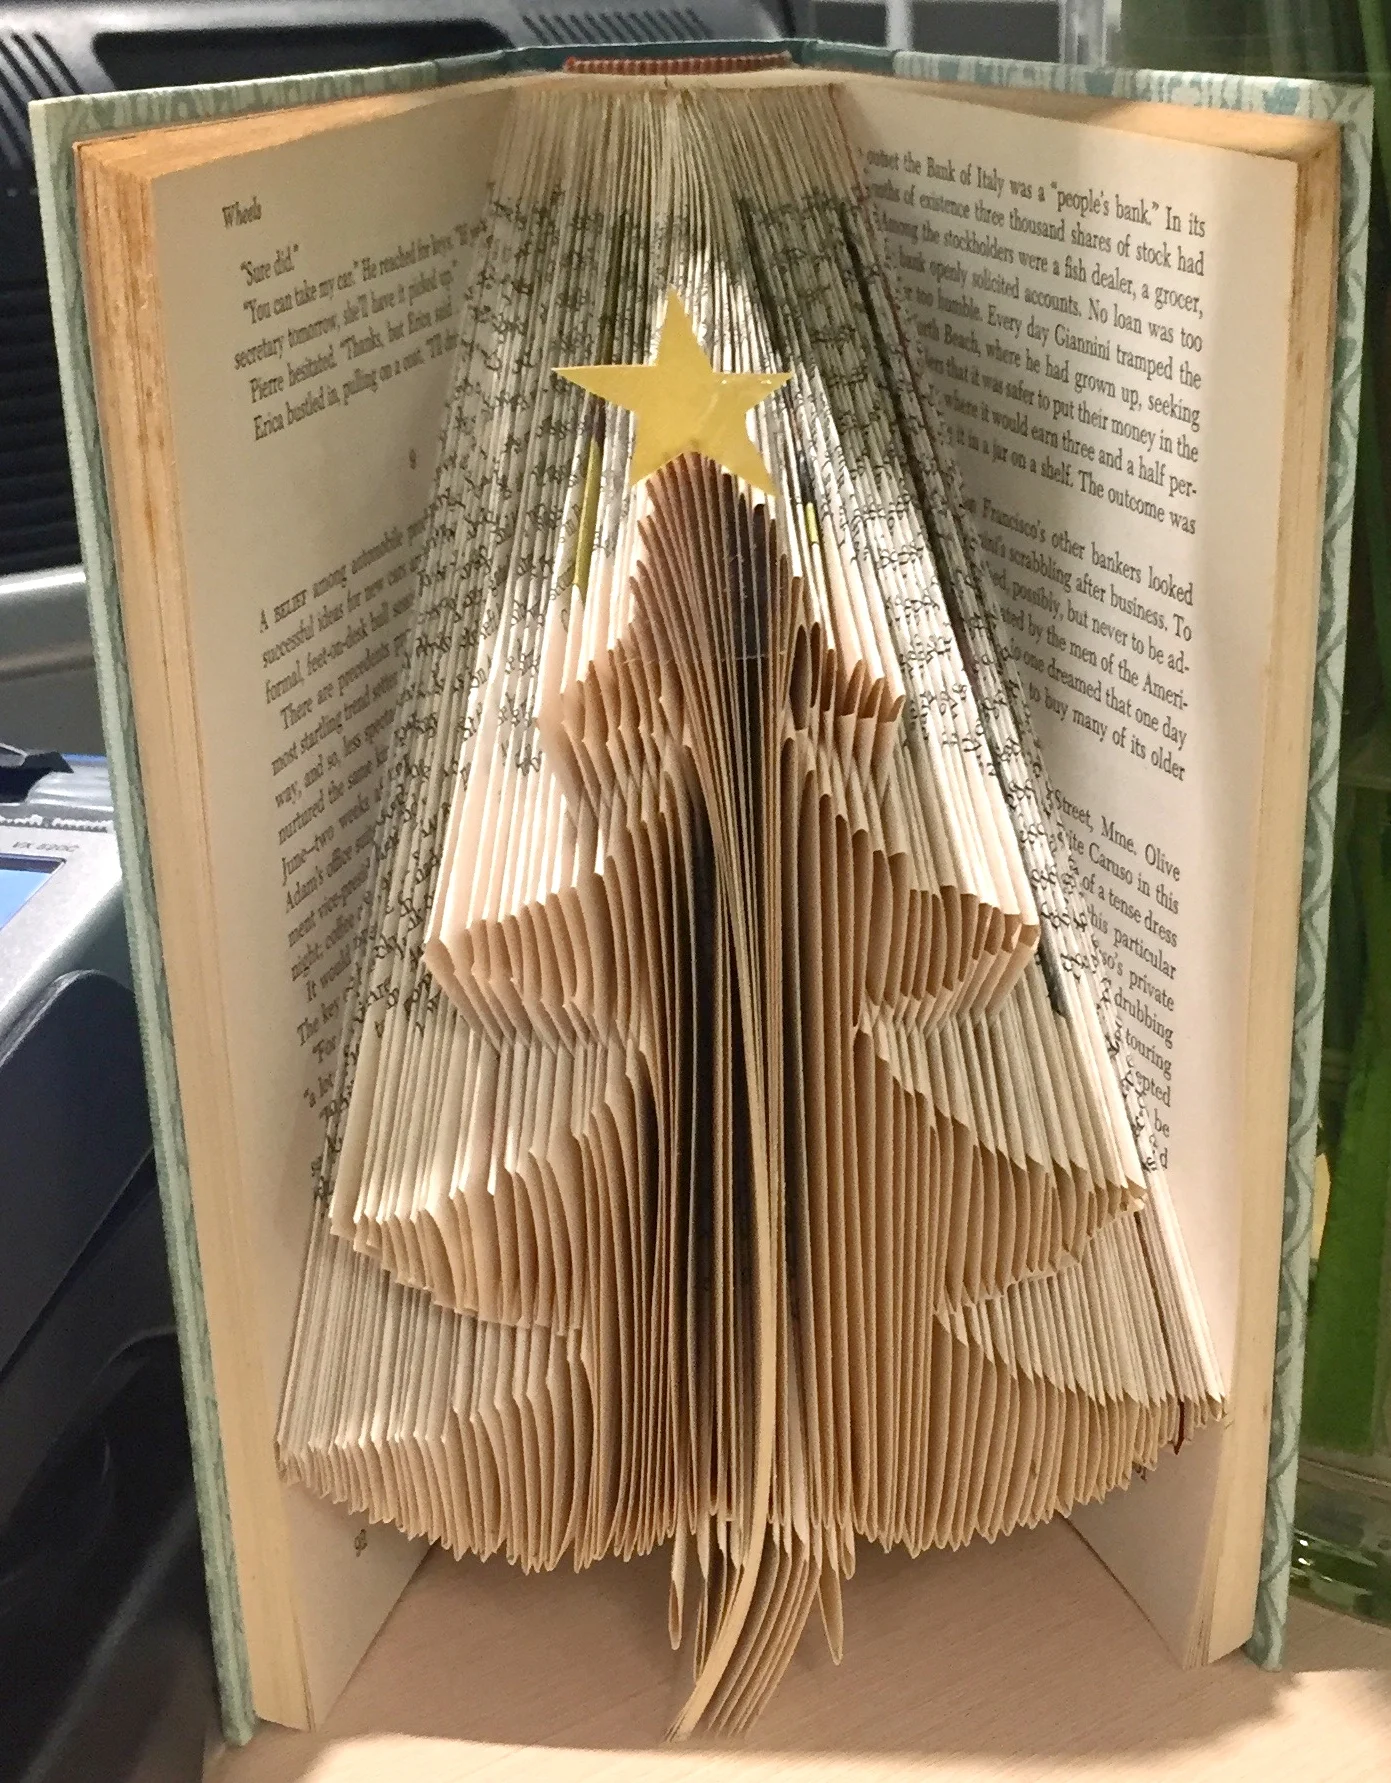
As you progress, the word will begin to take shape across the folded pages.
-
Once all pages are folded, store the book under a heavy weight for a few days. This compresses the pages and helps the folds hold their shape permanently.